O que você precisa
-
Este passo não foi traduzido. Ajude a traduzi-lo
-
The Original iPhone dock!
-
This dock only holds the original iPhone. It will not hold the iPhone 3G/3GS as it is wider and thicker.
-
-
Este passo não foi traduzido. Ajude a traduzi-lo
-
Use a hair dryer or heat gun to weaken the adhesive holding the rubber foot to the dock.
-
Use a razor blade or flathead screwdriver to pull up part of the rubber foot.
-
While still hot, pull the rubber foot off the dock.
-
-
Este passo não foi traduzido. Ajude a traduzi-lo
-
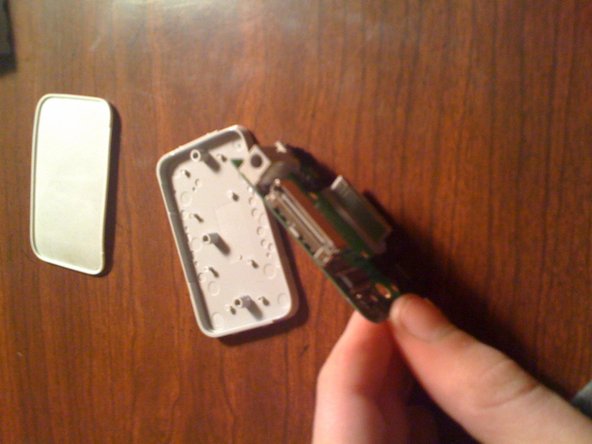
Using a spudger or a flat head screwdriver, release the 6 clips holding the dock to the white plastic molding.
-
-
Este passo não foi traduzido. Ajude a traduzi-lo
-
Heat up the adhesive that covers the three screws, so you can unscrew the screws that hold the weight in the base of the dock.
-
-
-
Este passo não foi traduzido. Ajude a traduzi-lo
-
Remove the three screws holding the weight to the bottom plate.
-
-
Este passo não foi traduzido. Ajude a traduzi-lo
-
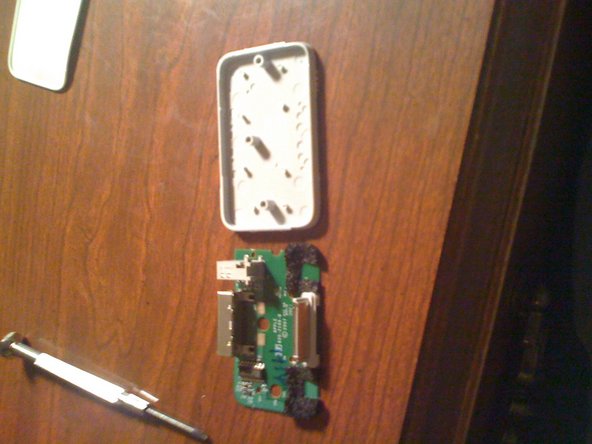
The dock should look like this.
-
If not, go back and see what you did wrong.
-
-
Este passo não foi traduzido. Ajude a traduzi-lo
-
Now remove the green logic board from the little plastic pegs on the bottom plate.
-
There is one peg under each black foam padding.
-
-
Este passo não foi traduzido. Ajude a traduzi-lo
-
The little white things are the pegs.
-
Gently use a spudger or flathead screwdriver to pry the logic board from the bottom plate.
-
-
Este passo não foi traduzido. Ajude a traduzi-lo
-
Once done separating the logic board from the bottom plate, you should have 2 parts.
-
-
Este passo não foi traduzido. Ajude a traduzi-lo
-
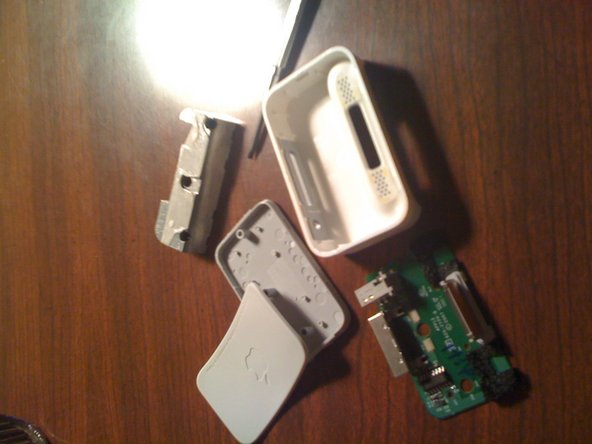
Disassembly is now complete. You will have five separate parts as shown in the picture.
-
-
Este passo não foi traduzido. Ajude a traduzi-lo
-
Boom! Your done. It took me 32 minutes to figure this out with out damaging the dock.
-
I can do it in 3 minutes now that I've mastered the process.
-