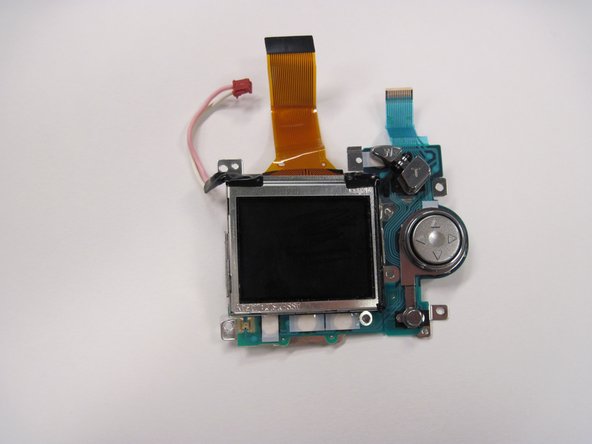
Ir para o conteúdo principal

O que você precisa

Este teardown (desmontagem analítica) não é um guia de reparo. Para reparar seu/sua Nikon Coolpix 3500, use o nosso manual de serviço.

  1. Nikon Coolpix 3500 Teardown, Nikon Coolpix 3500 Teardown: passo 1, imagem 1 %32
    • Open the battery cover.

    • Remove the battery.

  2. Nikon Coolpix 3500 Teardown: passo 2, imagem 1 %32
    • Remove two 4.5 mm screws next to the battery opening.

    • Remove one 3 mm screw above the CF Card opening.

    • Remove one 4.5 mm screw next to CF card opening.

  3. Nikon Coolpix 3500 Teardown: passo 3, imagem 1 %32
    • Remove two 4.5 mm screws from inside the battery slot.

  4. Nikon Coolpix 3500 Teardown: passo 4, imagem 1 %32
    • Remove two 5 mm screws from the opposite end of the battery.

  5. Nikon Coolpix 3500 Teardown: passo 5, imagem 1 %32
    • Remove the plastic cap and newly revealed 5 mm screw.

  6. Nikon Coolpix 3500 Teardown: passo 6, imagem 1 %32
    • Remove the five identical 3.5 mm screws from the bottom of the camera.

    • Remove the grey plastic piece by gently prying the faceplate up.

    • Note: Do not pull hard, there are two wires connecting the faceplate to the logic board.

  7. Nikon Coolpix 3500 Teardown: passo 7, imagem 1 %32 Nikon Coolpix 3500 Teardown: passo 7, imagem 2 %32 Nikon Coolpix 3500 Teardown: passo 7, imagem 3 %32
    • Use the spudger to lift up the white-capped wire.

    • Use a spudger to lift up the orange-capped wire at the bottom of the camera and set the faceplate aside.

  8. Nikon Coolpix 3500 Teardown: passo 8, imagem 1 %32
    • Disconnect the grey-capped wire from the logic board.

    • Disconnect the blue wire attached to the green chip from the center of the logic board.

  9. Nikon Coolpix 3500 Teardown: passo 9, imagem 1 %32 Nikon Coolpix 3500 Teardown: passo 9, imagem 2 %32
    • Remove the 3.5 mm screw from the logic board next to the rotating lens.

    • Invert the logic board and lens toward the orange and blue wires still connecting the logic board to the LED screen.

  10. Nikon Coolpix 3500 Teardown: passo 10, imagem 1 %32 Nikon Coolpix 3500 Teardown: passo 10, imagem 2 %32
    • Disconnect the blue wire connecting the logic board to the LED screen.

    • Disconnect the orange wire using a spudger while pushing out horizontally.

    • Disconnect the red capped wire from the logic board.

    • Lift the logic board and lens (still connected) out of the back case.

  11. Nikon Coolpix 3500 Teardown: passo 11, imagem 1 %32
    • Lift up on the black covering and remove the orange wire connecting the lens to the logic board.

  12. Nikon Coolpix 3500 Teardown: passo 12, imagem 1 %32
    • Remove the 2.5 mm screw.

    • Remove the two 3.4 mm screws.

    • Remove the two 4.4 mm screws.

  13. Nikon Coolpix 3500 Teardown: passo 13, imagem 1 %32 Nikon Coolpix 3500 Teardown: passo 13, imagem 2 %32
    • Remove the LED screen.

    • Be careful not to let the three-button rubber piece fall out while removing it.

richard guenther

Membro desde: 04/19/10

183 Reputação

Autoria de 6 guias

Equipe

Cal Poly, Team 30-38, Garner Spring 2010 Membro de Cal Poly, Team 30-38, Garner Spring 2010

CPSU-GARNER-S10S30G38

Membros da 5

Autoria de 11 guias

0 comentários

Adicione um comentário

Exibir estatísticas:

Últimas 24 horas: 1

Últimos 7 dias: 2

Últimos 30 dias: 3

Duração total: 7,758