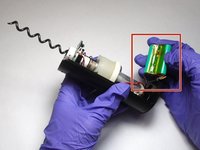
Ir para o conteúdo principal

O que você precisa

Este teardown (desmontagem analítica) não é um guia de reparo. Para reparar seu/sua Modal MD-WORCSS6, use o nosso manual de serviço.

  1. Modal MD-WORCSS6 Teardown Guide, Modal MD-WORCSS6 Teardown Guide: passo 1, imagem 1 %32 Modal MD-WORCSS6 Teardown Guide, Modal MD-WORCSS6 Teardown Guide: passo 1, imagem 2 %32
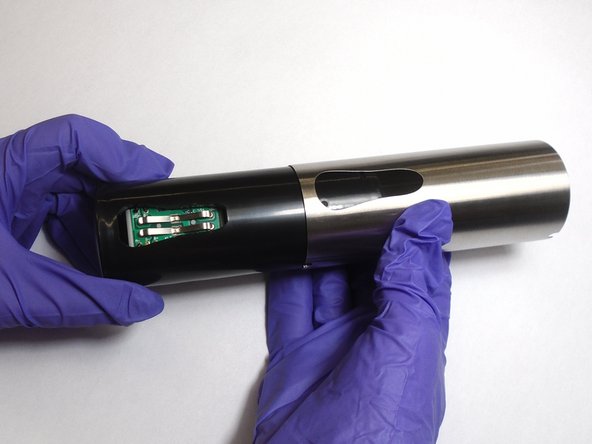
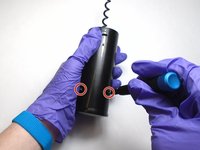
    • Put on Electrostatic Discharge (ESD) bracelet. Hold the device with the transparent plastic casing on the top.

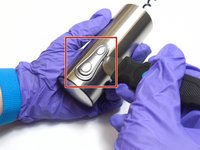
    • Using the jimmy tool, carefully pry off the black plastic ring.

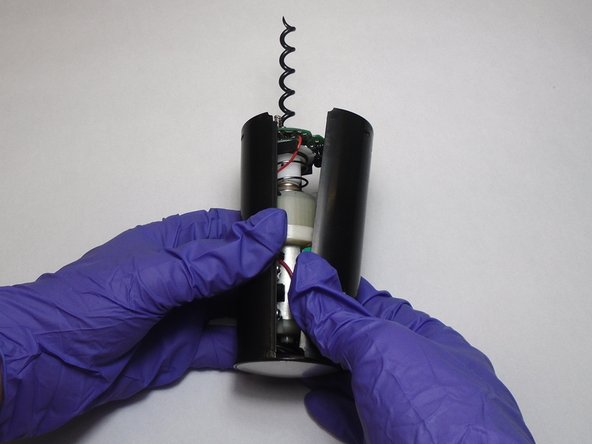
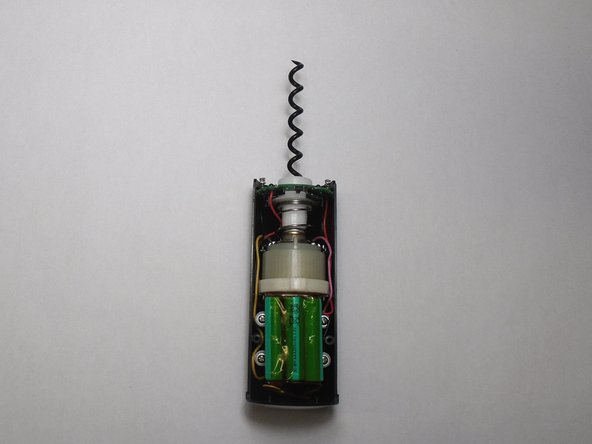
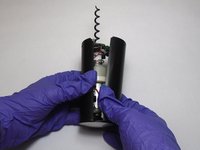
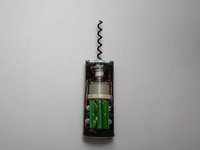
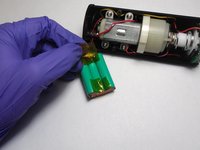
    • Remove the spring assembly from inside the transparent plastic tube.

  2. Modal MD-WORCSS6 Teardown Guide: passo 2, imagem 1 %32 Modal MD-WORCSS6 Teardown Guide: passo 2, imagem 2 %32
    • Using a Phillips #1 screwdriver, unscrew each of the four 12.7 mm screws inside and at the bottom of the plastic tube.

    • Take the plastic tube off of the metal casing.

  3. Modal MD-WORCSS6 Teardown Guide: passo 3, imagem 1 %32 Modal MD-WORCSS6 Teardown Guide: passo 3, imagem 2 %32
    • Place the jimmy tool blade between the button assembly and the metal casing. Gently pry off the button assembly; it should pop out.

    • With the button assembly removed, slide off the metal casing.

  4. Modal MD-WORCSS6 Teardown Guide: passo 4, imagem 1 %32 Modal MD-WORCSS6 Teardown Guide: passo 4, imagem 2 %32 Modal MD-WORCSS6 Teardown Guide: passo 4, imagem 3 %32
    • Unscrew the two 6.4 mm screws in the black plastic body using the Phillips #1 screwdriver.

    • Separate the two halves of the plastic body. Keep the half containing the motor facing up.

  5. Modal MD-WORCSS6 Teardown Guide: passo 5, imagem 1 %32 Modal MD-WORCSS6 Teardown Guide: passo 5, imagem 2 %32 Modal MD-WORCSS6 Teardown Guide: passo 5, imagem 3 %32
    • Carefully peel the tape off far enough to remove the 3 batteries.

0 comentários

Adicione um comentário

Exibir estatísticas:

Últimas 24 horas: 0

Últimos 7 dias: 1

Últimos 30 dias: 6

Duração total: 290