Ir para o conteúdo principal

O que você precisa

Este teardown (desmontagem analítica) não é um guia de reparo. Para reparar seu/sua Hyppe Max Air 5000, use o nosso manual de serviço.

  1. Hyppe Max Air 5000 Teardown, Bumper Removal: passo 1, imagem 1 %32 Hyppe Max Air 5000 Teardown, Bumper Removal: passo 1, imagem 2 %32 Hyppe Max Air 5000 Teardown, Bumper Removal: passo 1, imagem 3 %32
    • Remove rubber bumper

  2. Hyppe Max Air 5000 Teardown, Shell Removal: passo 2, imagem 1 %32
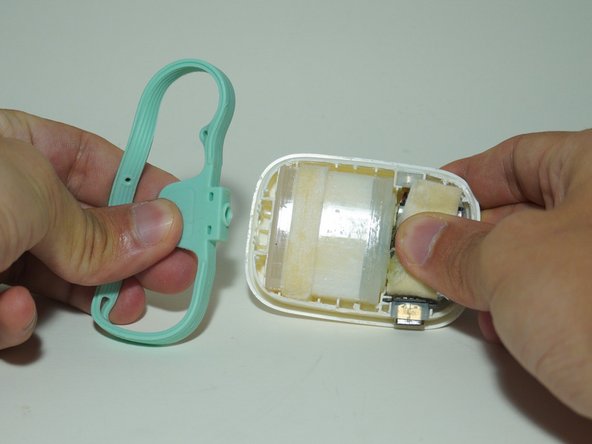
    • The plastic shell is ultrasonically welded shut

    • This is due to the disposable nature of the device

    • I don't have images of the removal process but I used a razor to lightly go along the seam and then spit it apart with a spudger

  3. Hyppe Max Air 5000 Teardown, Mouthpiece Removal: passo 3, imagem 1 %32 Hyppe Max Air 5000 Teardown, Mouthpiece Removal: passo 3, imagem 2 %32
    • Lift upwards

  4. Hyppe Max Air 5000 Teardown, Battery Removal: passo 4, imagem 1 %32 Hyppe Max Air 5000 Teardown, Battery Removal: passo 4, imagem 2 %32 Hyppe Max Air 5000 Teardown, Battery Removal: passo 4, imagem 3 %32
    • Lift up the battery

    • 3.7V 1.85Wh

  5. Hyppe Max Air 5000 Teardown, Charge Port Removal: passo 5, imagem 1 %32 Hyppe Max Air 5000 Teardown, Charge Port Removal: passo 5, imagem 2 %32
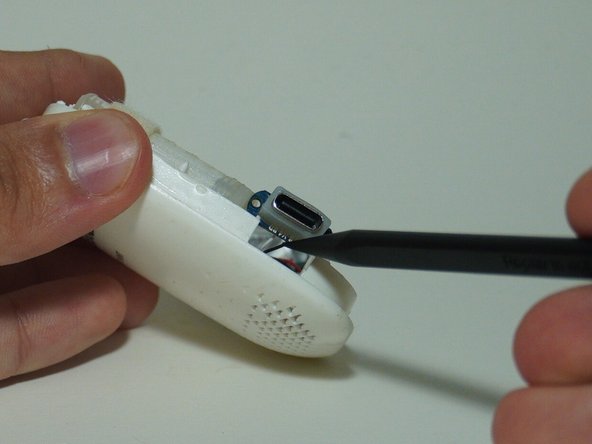
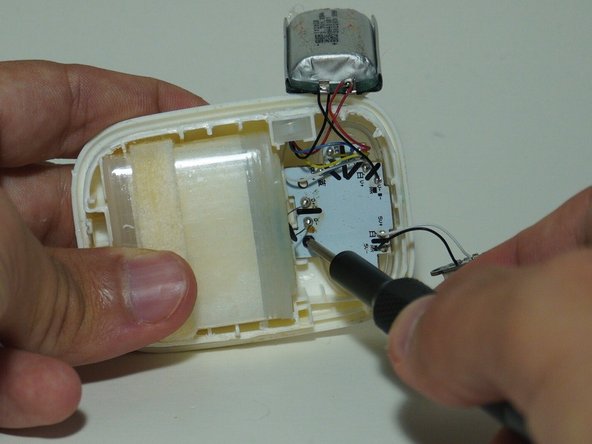
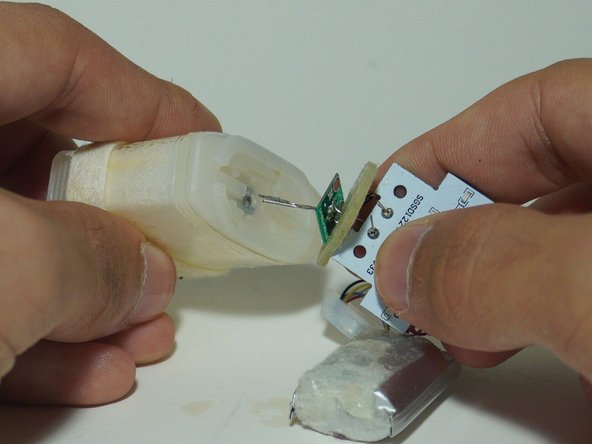
    • Use the point part of the spudger to get under the port and pry it up

  6. Hyppe Max Air 5000 Teardown, Motherboard screw: passo 6, imagem 1 %32 Hyppe Max Air 5000 Teardown, Motherboard screw: passo 6, imagem 2 %32
    • Remove the PH00 screw

  7. Hyppe Max Air 5000 Teardown, Airflow sensor: passo 7, imagem 1 %32 Hyppe Max Air 5000 Teardown, Airflow sensor: passo 7, imagem 2 %32 Hyppe Max Air 5000 Teardown, Airflow sensor: passo 7, imagem 3 %32
    • Use the ponty end of the spudger to lift up the airflow sensor

  8. Hyppe Max Air 5000 Teardown, Electronics Removal: passo 8, imagem 1 %32 Hyppe Max Air 5000 Teardown, Electronics Removal: passo 8, imagem 2 %32
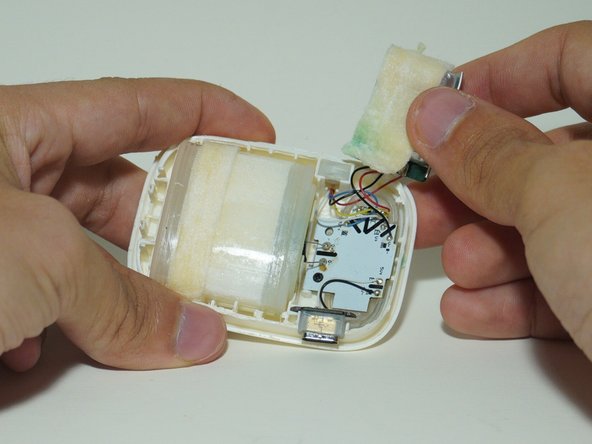
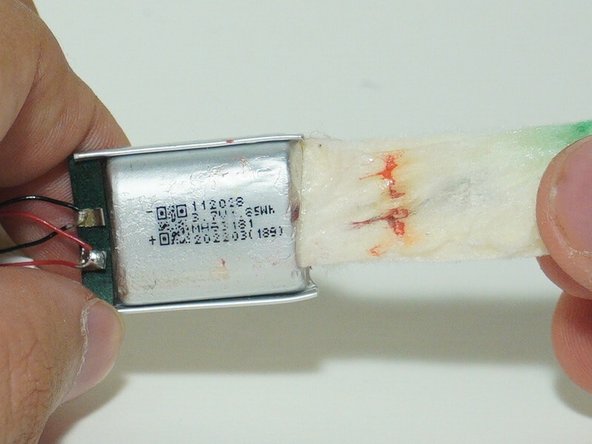
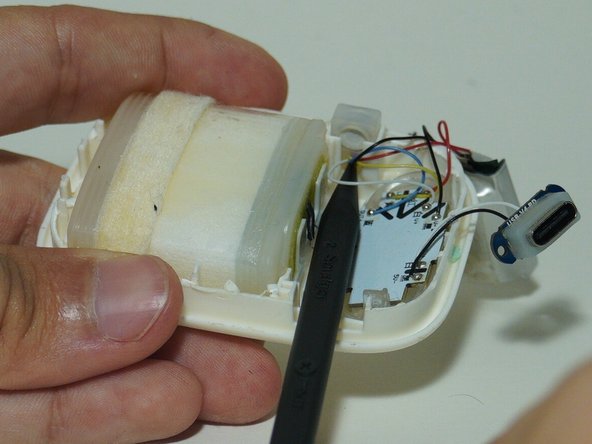
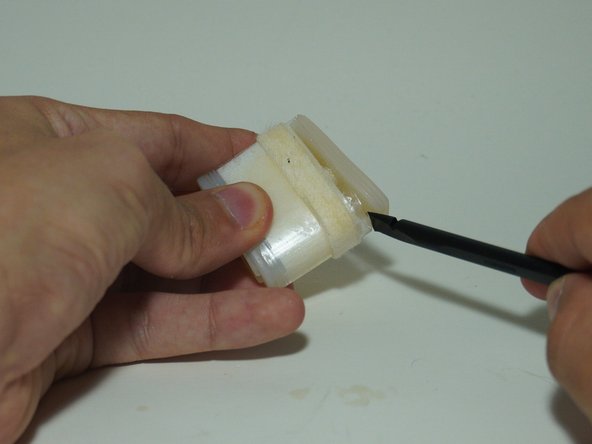
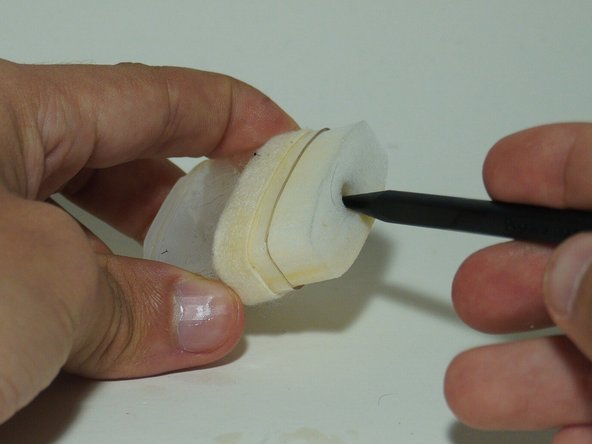
    • Use flat end of spudger to pry out chamber

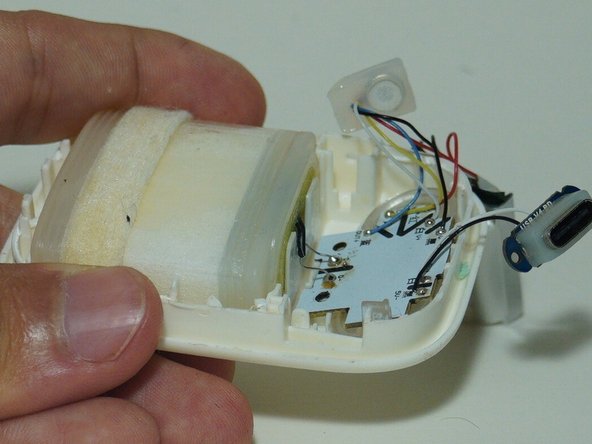
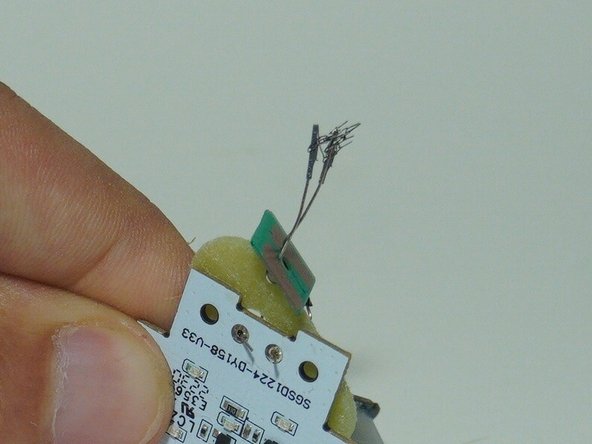
    • Everything should now be come out of the plastic housing

  9. Hyppe Max Air 5000 Teardown, PCB Closeup: passo 9, imagem 1 %32 Hyppe Max Air 5000 Teardown, PCB Closeup: passo 9, imagem 2 %32
    • Some close up images of the PCB

  10. Hyppe Max Air 5000 Teardown, Heater Removal: passo 10, imagem 1 %32 Hyppe Max Air 5000 Teardown, Heater Removal: passo 10, imagem 2 %32 Hyppe Max Air 5000 Teardown, Heater Removal: passo 10, imagem 3 %32
    • Pull on the heater and it should just pop out

    • It's interesting to see that the heater geometry is just a mesh

  11. Hyppe Max Air 5000 Teardown, Chamber Lid Removal: passo 11, imagem 1 %32 Hyppe Max Air 5000 Teardown, Chamber Lid Removal: passo 11, imagem 2 %32
    • Use the spudger to pop off the rubber lid of the chamber

  12. Hyppe Max Air 5000 Teardown, Wicking Material: passo 12, imagem 1 %32 Hyppe Max Air 5000 Teardown, Wicking Material: passo 12, imagem 2 %32
    • Pull out the foam-like material

  13. Hyppe Max Air 5000 Teardown, Metal Core: passo 13, imagem 1 %32 Hyppe Max Air 5000 Teardown, Metal Core: passo 13, imagem 2 %32 Hyppe Max Air 5000 Teardown, Metal Core: passo 13, imagem 3 %32
    • Use spudger to push out core

    • The heating element sits inside the sleeve. There is some wicking material on the inside to bring the nicotine liquid close to the heating mesh.

ShellingRook27

Membro desde: 08/21/19

1.790 Reputação

Autoria de 7 guias

Equipe

Repair For You Membro de Repair For You

Business

1 Membro

Autoria de 11 guias

0 comentários

Adicione um comentário

Exibir estatísticas:

Últimas 24 horas: 3

Últimos 7 dias: 14

Últimos 30 dias: 104

Duração total: 1,796