Ir para o conteúdo principal

O que você precisa

Este teardown (desmontagem analítica) não é um guia de reparo. Para reparar seu/sua Harman Kardon HK3700, use o nosso manual de serviço.

  1. Harman Kardon HK3700 Teardown, Introduction: passo 1, imagem 1 %32 Harman Kardon HK3700 Teardown, Introduction: passo 1, imagem 2 %32 Harman Kardon HK3700 Teardown, Introduction: passo 1, imagem 3 %32
    • Here is the Harman/Kardon HK3700.

    • Please be careful with the high voltage capacitors and other components inside. I am not responsible for any of your actions as a result of this guide.

    • Using a P2 phillips screwdriver, you can remove all screws on the sides and back of the unit. After those are removed, you can remove the top cover by sliding it towards the back and then lifting away.

    • Your top cover will probably not be dented in like mine is.

  2. Harman Kardon HK3700 Teardown, The inside: passo 2, imagem 1 %32 Harman Kardon HK3700 Teardown, The inside: passo 2, imagem 2 %32
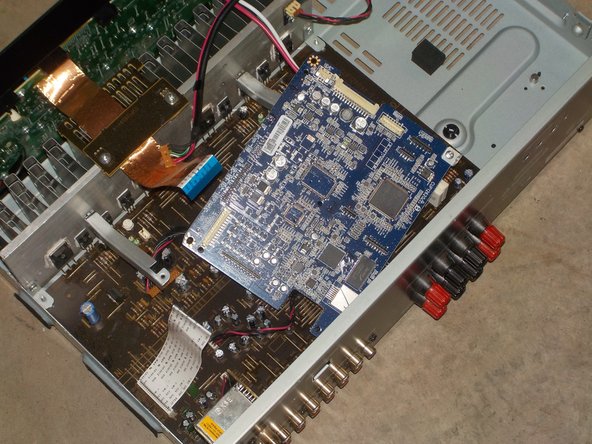
    • You should now be inside the enclosure.

  3. Harman Kardon HK3700 Teardown, Remove the cables and PSU: passo 3, imagem 1 %32 Harman Kardon HK3700 Teardown, Remove the cables and PSU: passo 3, imagem 2 %32 Harman Kardon HK3700 Teardown, Remove the cables and PSU: passo 3, imagem 3 %32
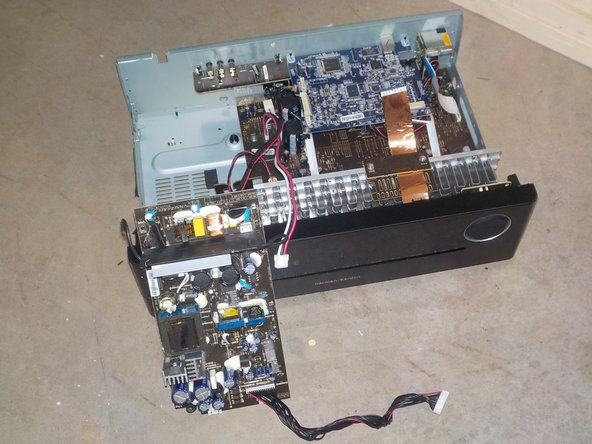
    • Just start by removing any cables that are accessible.

    • After the cables have been disconnected, go ahead and remove the 4 phillips screws holding down the power supply board and lift it away from the enclosure.

  4. Harman Kardon HK3700 Teardown, IR Board: passo 4, imagem 1 %32 Harman Kardon HK3700 Teardown, IR Board: passo 4, imagem 2 %32
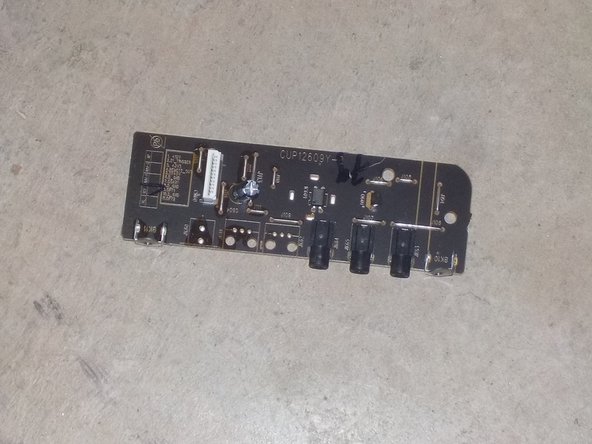
    • At this point, you can go ahead and remove all the screws from the back panel. This will make your life easier later.

    • After the screws are removed, you can remove the IR Remote board.

  5. Harman Kardon HK3700 Teardown, Ethernet Card: passo 5, imagem 1 %32 Harman Kardon HK3700 Teardown, Ethernet Card: passo 5, imagem 2 %32 Harman Kardon HK3700 Teardown, Ethernet Card: passo 5, imagem 3 %32
    • Remove the 2 screws holding the ethernet card down to the bracket. Then, if the back panel screws are removed and all cables are disconnected, you can remove the ethernet board from the device.

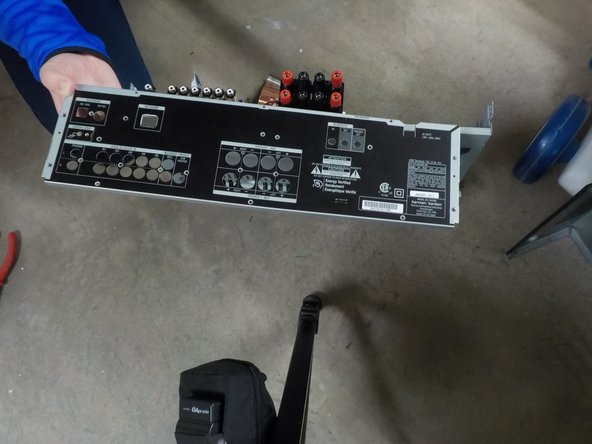
  6. Harman Kardon HK3700 Teardown, Remove the back panel: passo 6, imagem 1 %32 Harman Kardon HK3700 Teardown, Remove the back panel: passo 6, imagem 2 %32
    • Remove the screws holding on the back panel from both sides.

    • After the screws are removed, go ahead and remove the back panel.

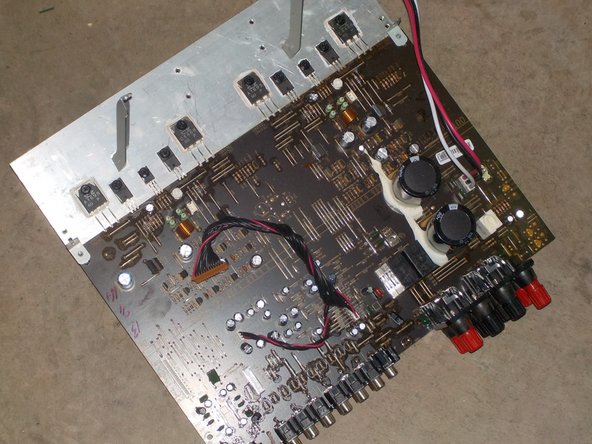
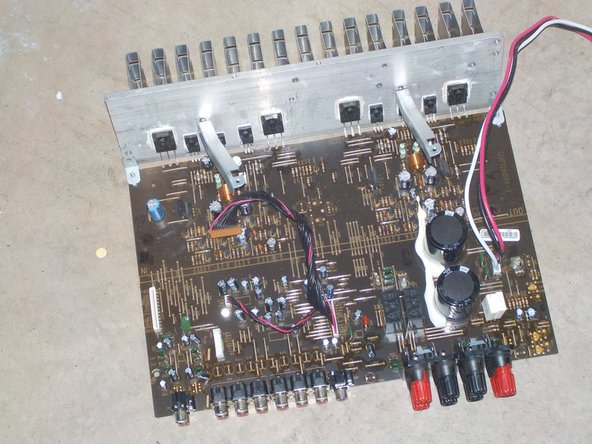
  7. Harman Kardon HK3700 Teardown, Remove the mainboard: passo 7, imagem 1 %32 Harman Kardon HK3700 Teardown, Remove the mainboard: passo 7, imagem 2 %32 Harman Kardon HK3700 Teardown, Remove the mainboard: passo 7, imagem 3 %32
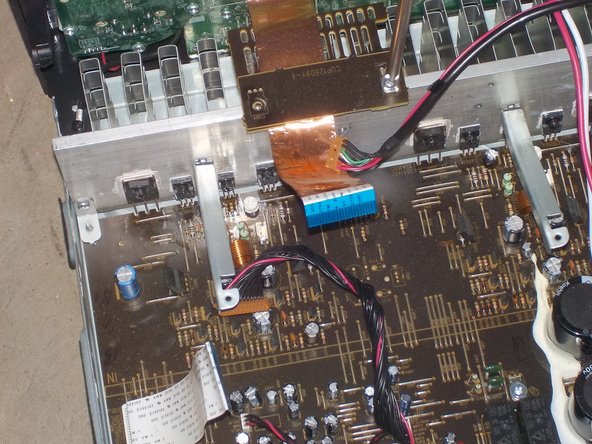
    • Remove all the screws holding down the main board and heat sink. Unplug the cable from the front panel if you can, or cut it if you can't. If you do cut it, it can be re-soldered later if you wish.

    • You can now remove the board from the frame.

    • I did not remove the transistors from the heat sink, but you can with a phillips screwdriver and something to separate the transistors from their thermal compound.

  8. Harman Kardon HK3700 Teardown, Feet: passo 8, imagem 1 %32
    • Remove the screws and lift away the feet. That's all there is to it.

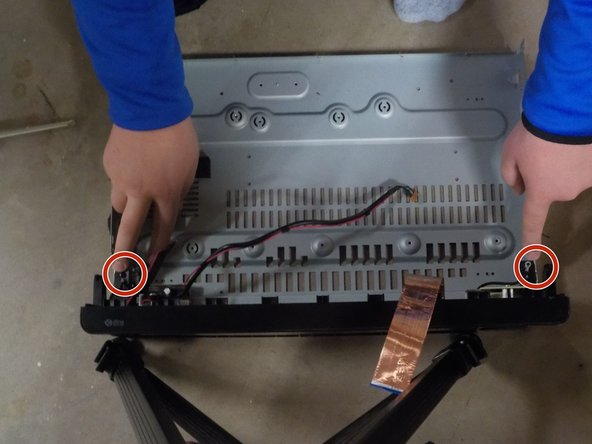
  9. Harman Kardon HK3700 Teardown, Remove the front panel: passo 9, imagem 1 %32 Harman Kardon HK3700 Teardown, Remove the front panel: passo 9, imagem 2 %32 Harman Kardon HK3700 Teardown, Remove the front panel: passo 9, imagem 3 %32
    • Remove the screws from the bottom of the frame holding the front panel on.

    • Also remove the 2 larger screws from the top holding the front panel on

    • After these screws are removed, you can remove the front panel and set the frame aside.

  10. Harman Kardon HK3700 Teardown, Front panel disassembly: passo 10, imagem 1 %32 Harman Kardon HK3700 Teardown, Front panel disassembly: passo 10, imagem 2 %32
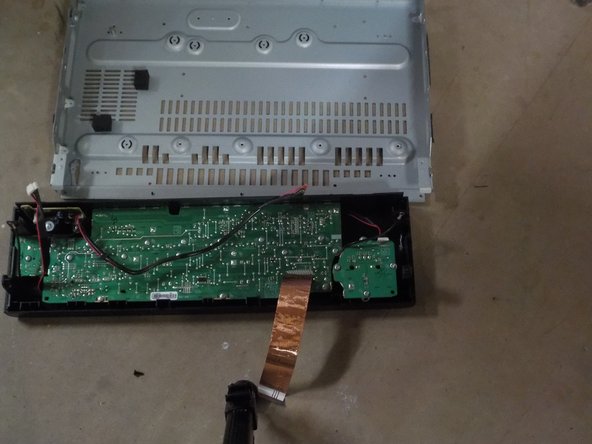
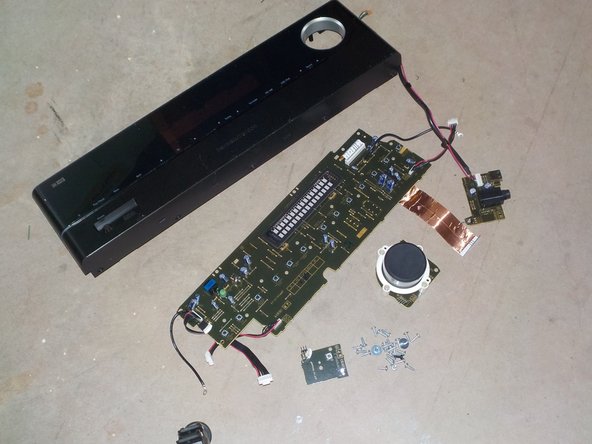
    • Remove all the cables you can access.

    • Remove all the screws from the back of the front panel. All the pieces then lift out of the front panel.

  11. Harman Kardon HK3700 Teardown, Conclusion: passo 11, imagem 1 %32 Harman Kardon HK3700 Teardown, Conclusion: passo 11, imagem 2 %32
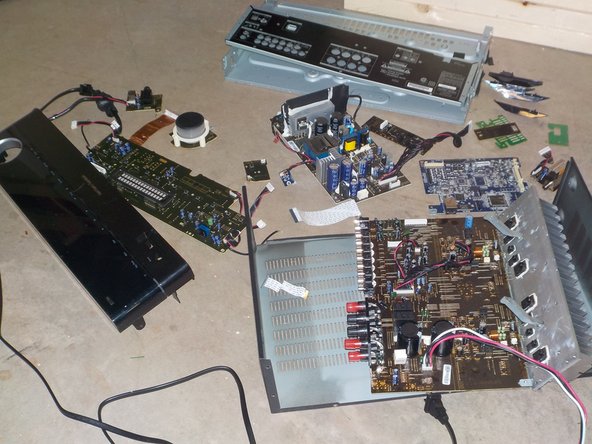
    • This is all the parts laid out. There isn't much more to say about it.

    • As a bonus, here is the original retail box for this unit. I just thought I should include it before recycling the box.

nerdbug96

Membro desde: 06/17/21

1.462 Reputação

Autoria de 8 guias

0 comentários

Adicione um comentário

Exibir estatísticas:

Últimas 24 horas: 3

Últimos 7 dias: 8

Últimos 30 dias: 38

Duração total: 1,703