Needed to get this monitor open to do some tinkering.
Este teardown (desmontagem analítica) não é um guia de reparo. Para reparar seu/sua Flatron E2742 Monitor, use o nosso manual de serviço .
1 - Remove the three screws on the back
2 - Slip iFixit Opening Pick between the back and front.
3 - use an iFixit Opening Tool to pry the halves apart. Work your way slowly around moving the pick until it stops and then prying with the Opening Tool.
There are 3 connections and 6 screws that need to be removed.
The top connection needs to removed before you can pull off the white tape. Squeeze the tabs in and pull down.
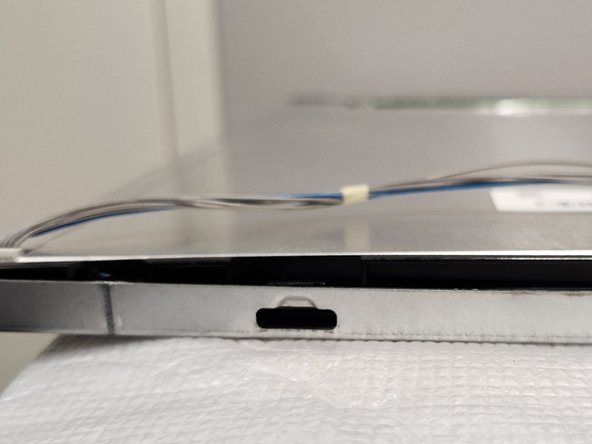
Pry up the clip locks up before pulling out.
Incorporar este guia
Escolha um tamanho e copie o código abaixo para incorporar este guia como um pequeno widget no seu site / fórum.
Passo único
Guia completo
Pequeno - 600px
Médio - 800px
Grande - 1200px
Pré-Visualização