Ir para o conteúdo principal

O que você precisa

Este teardown (desmontagem analítica) não é um guia de reparo. Para reparar seu/sua Space Heater, use o nosso manual de serviço.

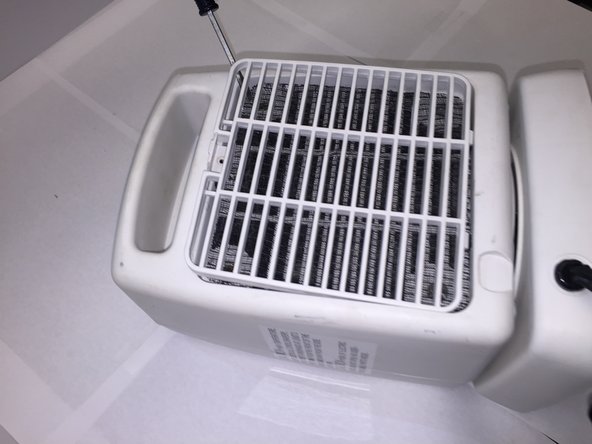
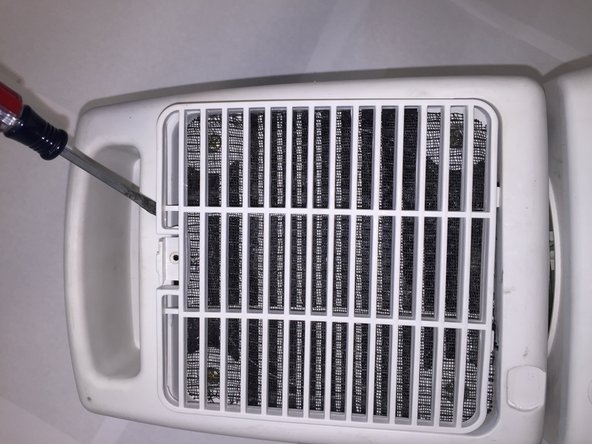
  1. Essential Home HC-409 Teardown, Removed protective grill: passo 1, imagem 1 %32 Essential Home HC-409 Teardown, Removed protective grill: passo 1, imagem 2 %32 Essential Home HC-409 Teardown, Removed protective grill: passo 1, imagem 3 %32
    • Remove the grill from corner to corner.

  2. Essential Home HC-409 Teardown, Unscrewed the four screws in the front of the heater: passo 2, imagem 1 %32 Essential Home HC-409 Teardown, Unscrewed the four screws in the front of the heater: passo 2, imagem 2 %32
    • Carefully remove the screws and place them aside.

  3. Essential Home HC-409 Teardown, Removed filter cover on the back of the heater: passo 3, imagem 1 %32 Essential Home HC-409 Teardown, Removed filter cover on the back of the heater: passo 3, imagem 2 %32 Essential Home HC-409 Teardown, Removed filter cover on the back of the heater: passo 3, imagem 3 %32
    • As seen in the pictures, set the screwdriver on the edge of the cover and pry it out.

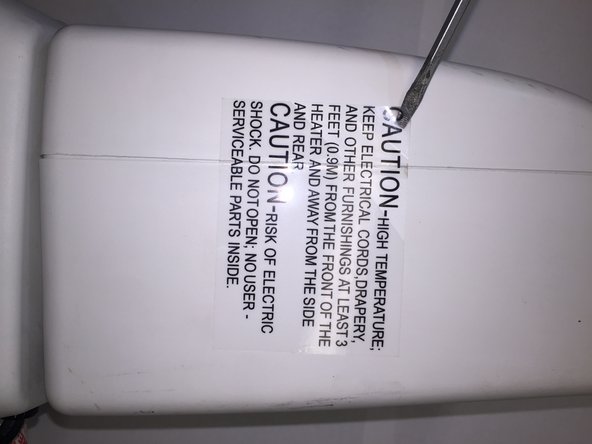
  4. Essential Home HC-409 Teardown, Remove safety sticker: passo 4, imagem 1 %32 Essential Home HC-409 Teardown, Remove safety sticker: passo 4, imagem 2 %32
    • Remove sticker in order to open the plastic casing of the heater.

  5. Essential Home HC-409 Teardown, Pry the product in half: passo 5, imagem 1 %32 Essential Home HC-409 Teardown, Pry the product in half: passo 5, imagem 2 %32
    • Slowly and carefully pry the plastic casing.

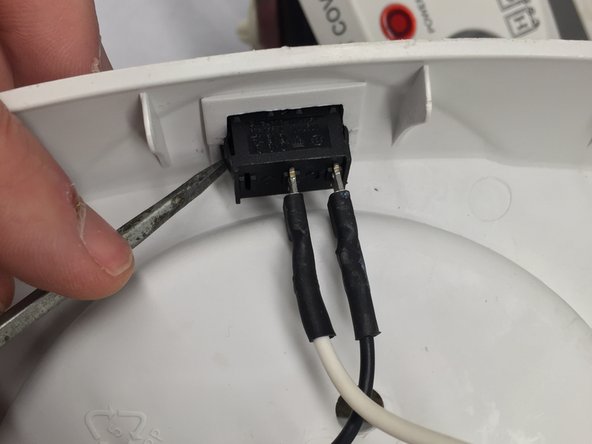
  6. Essential Home HC-409 Teardown, Remove the switch: passo 6, imagem 1 %32 Essential Home HC-409 Teardown, Remove the switch: passo 6, imagem 2 %32
    • Apply pressure onto the sides of the switch while pushing it outwards.

  7. Essential Home HC-409 Teardown, Remove fan: passo 7, imagem 1 %32 Essential Home HC-409 Teardown, Remove fan: passo 7, imagem 2 %32 Essential Home HC-409 Teardown, Remove fan: passo 7, imagem 3 %32
    • Unscrew the four screws located in the rear of the device. Remove the fan.

Garland Poon

Membro desde: 04/03/12

126 Reputação

Autoria de 1 guia

Equipe

Cal Poly, Team 14-8, Forte Spring 2012 Membro de Cal Poly, Team 14-8, Forte Spring 2012

CPSU-FORTE-S12S14G8

Membros da 5

Autoria de 17 guias

Um comentário

I keep having problems with that little part that looks like a pen cap - white plastic. Is it a connector ou a fuse?

Cristina S - Responder

Adicione um comentário

Exibir estatísticas:

Últimas 24 horas: 0

Últimos 7 dias: 6

Últimos 30 dias: 10

Duração total: 1,458