Ir para o conteúdo principal

O que você precisa

Este teardown (desmontagem analítica) não é um guia de reparo. Para reparar seu/sua Headphone, use o nosso manual de serviço.

  1. Ear bud Teardown, Ear bud Teardown: passo 1, imagem 1 %32 Ear bud Teardown, Ear bud Teardown: passo 1, imagem 2 %32
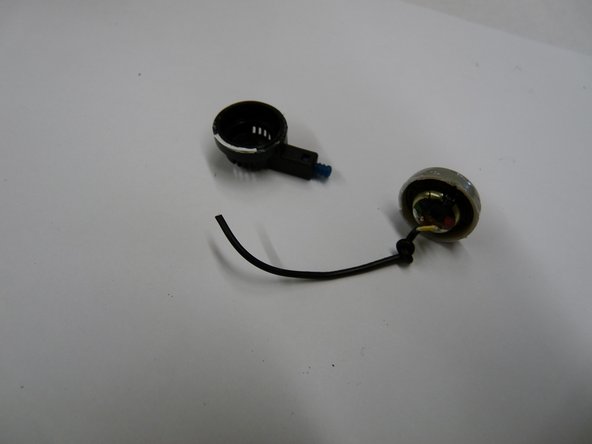
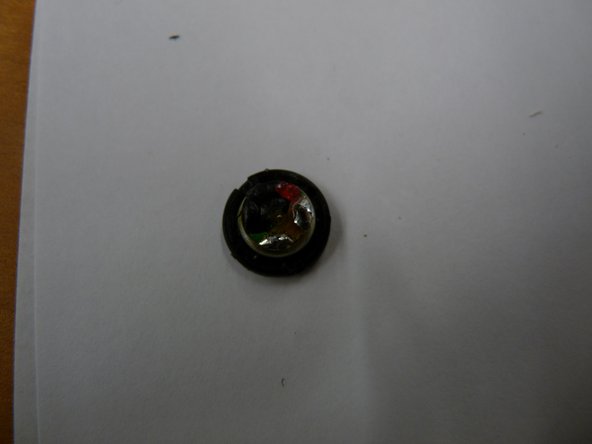
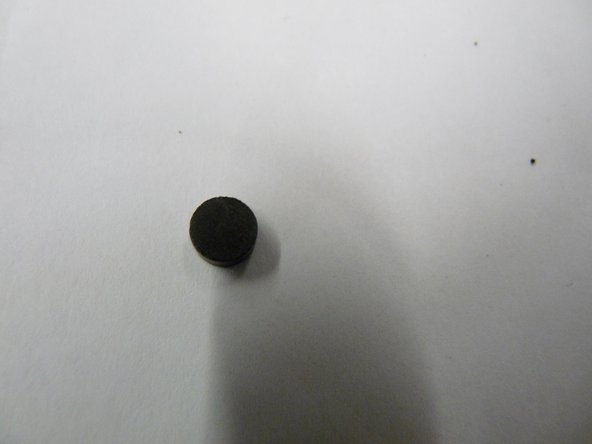
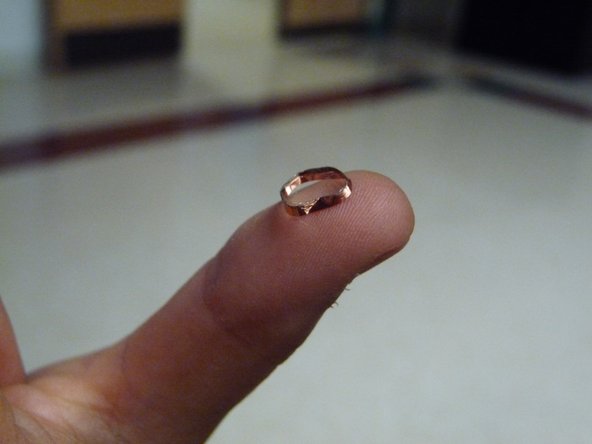
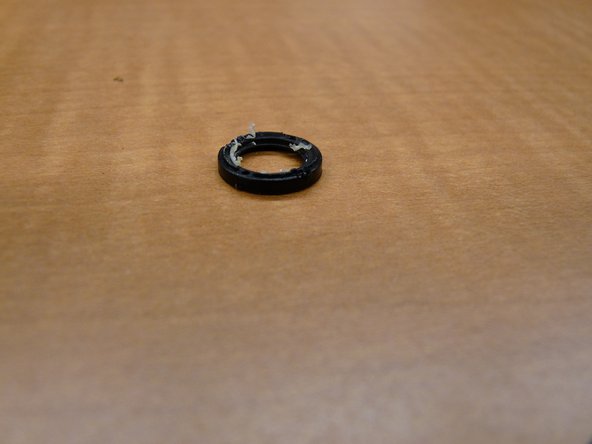
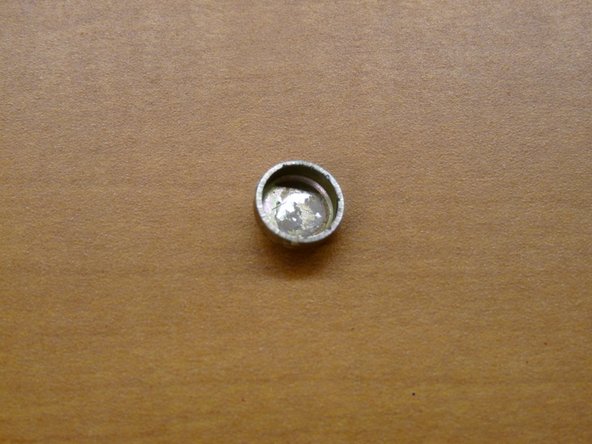
    • As you can see this is your average ear bud, from these two pictures you can see the front and the back.

  2. Ear bud Teardown: passo 2, imagem 1 %32 Ear bud Teardown: passo 2, imagem 2 %32 Ear bud Teardown: passo 2, imagem 3 %32
    • Take the silver covering off of the ear bud, notice the black wire connecting the two (the wire should be knotted)

  3. Ear bud Teardown: passo 3, imagem 1 %32 Ear bud Teardown: passo 3, imagem 2 %32
    • Now detach the black shell completely.

  4. Ear bud Teardown: passo 4, imagem 1 %32 Ear bud Teardown: passo 4, imagem 2 %32
    • Remove the black wire from the ear bud. Take the copper colored wire out of the black covering

  5. Ear bud Teardown: passo 5, imagem 1 %32
    • This is what is inside the ear bud. You will see a silver ring surrounding the wires, and protecting cellophane around it.

  6. Ear bud Teardown: passo 6, imagem 1 %32 Ear bud Teardown: passo 6, imagem 2 %32 Ear bud Teardown: passo 6, imagem 3 %32
    • On the ear bud you will see a magnet on the inside of the black encasing, Remove the Magnet from the encasing.

  7. Ear bud Teardown: passo 7, imagem 1 %32 Ear bud Teardown: passo 7, imagem 2 %32
    • This is the copper band that was suronding the magnet.

  8. Ear bud Teardown: passo 8, imagem 1 %32 Ear bud Teardown: passo 8, imagem 2 %32
    • This is the black ring that was around the magnet.

  9. Ear bud Teardown: passo 9, imagem 1 %32 Ear bud Teardown: passo 9, imagem 2 %32 Ear bud Teardown: passo 9, imagem 3 %32
    • Take the ear bud, with the cellophane like wraping and remove the silver chip

  10. Ear bud Teardown: passo 10, imagem 1 %32 Ear bud Teardown: passo 10, imagem 2 %32
    • This is were the magnet was and were the chip was attached too.

  11. Ear bud Teardown: passo 11, imagem 1 %32
    • This is what the Finished product should look like. These are the things that you will find when you take apart you ear bud

Nicki and AJ

Membro desde: 10/27/10

261 Reputação

Autoria de 1 guia

0 comentários

Adicione um comentário

Exibir estatísticas:

Últimas 24 horas: 1

Últimos 7 dias: 15

Últimos 30 dias: 77

Duração total: 11,595