Introdução
Outline what you are going to teach someone how to do.
O que você precisa
-
-
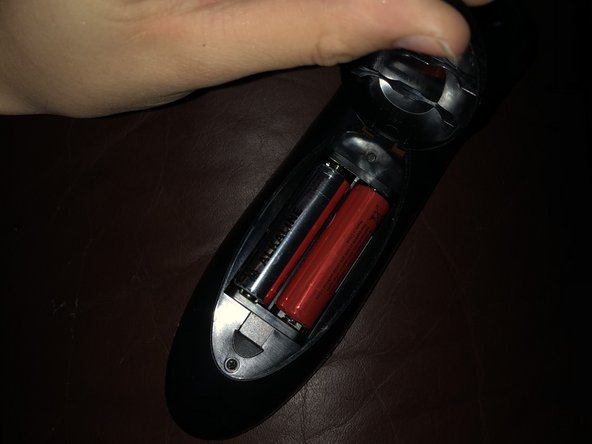
On the back of the remote is a panel that clicks in and out of place. To take out those battery's click the panel out to expose them.
-
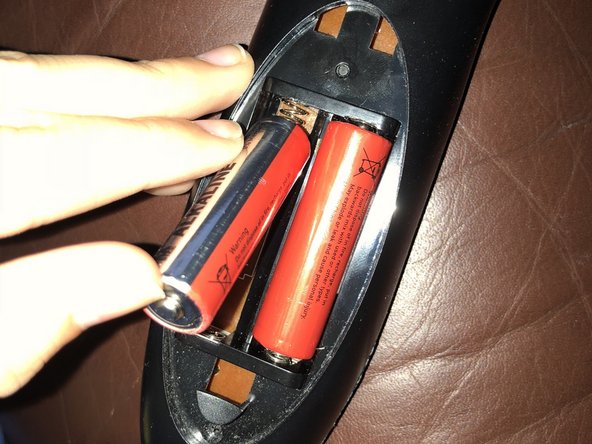
Click out the battery's. Make sure there is no source of power to the remote to avoid injury and damage to the device.
-
-
-
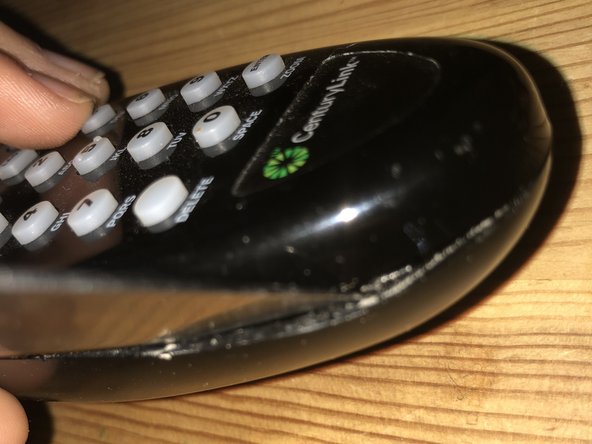
to pry apart the shell wedge a butter knife( or any other thin, sturdy object) into the space between the the plastic shells.
-
Be careful and take your time. This process may become frustrating but keep trying! Be careful to not stab yourself or break the plastic. Also don't insert the knife to far into the remote or you will break the electric boar
-
Slide the knife up both sides of the remote. You will hear many clicks, this is the remote separating, and is normal.
-
The ends of the remote may be hard to separate, you may be able to pull apart the shell with just enough force.
-
-
-
-
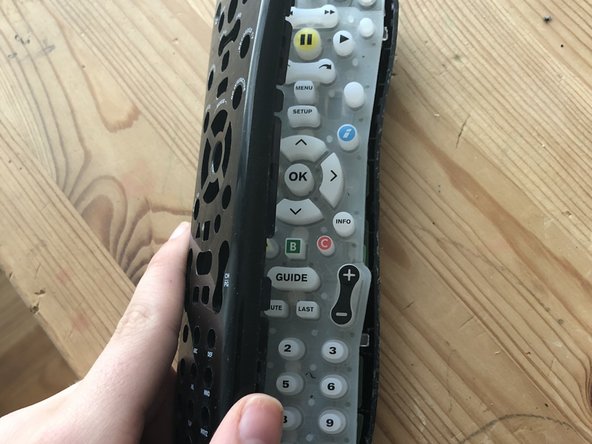
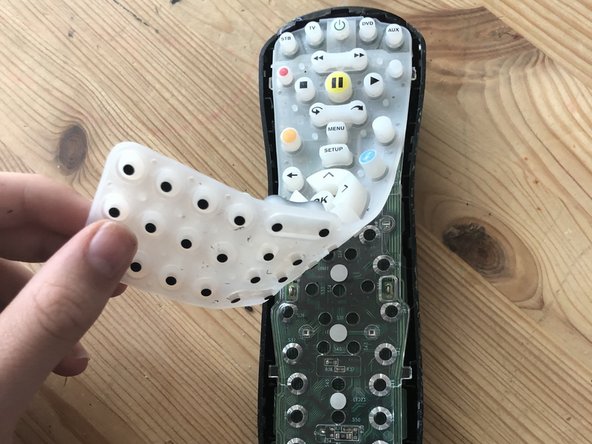
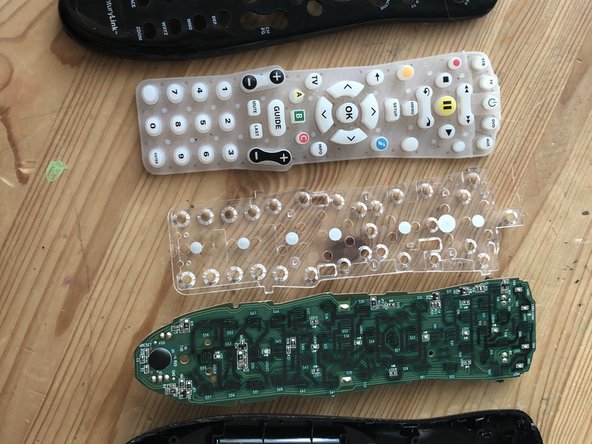
After you open the plastic shell, you will see a silicon layer. These are the buttons that you press in order to send a signal to the TV
-
All you need to do to remove this layer is peel is off.
-
-
-
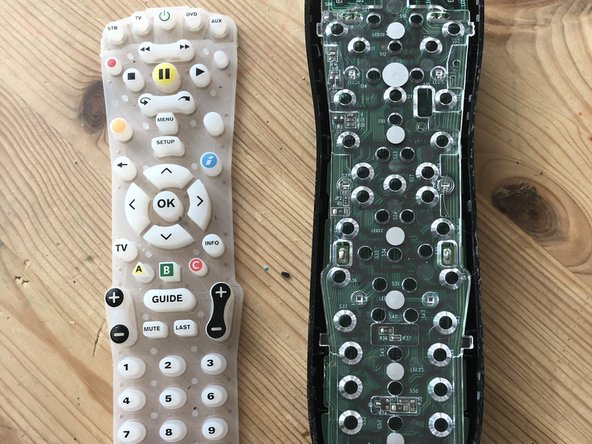
Next your are taking off the plastic guide, all you have to do is lift it of the control board
-
-
-
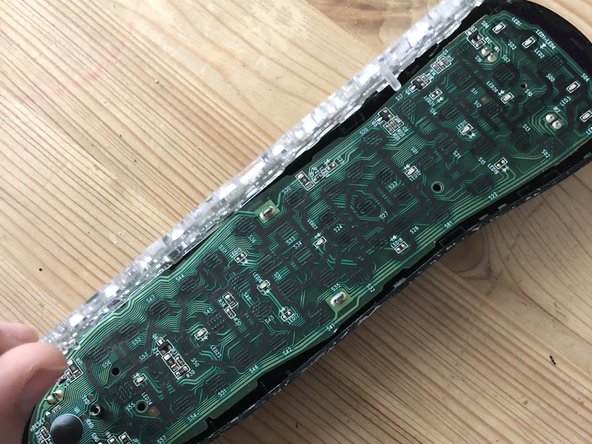
This is wear the circuits lay. Handle this part carefully, because if you damage this the remote will no longer work.
-
to remove this component simply lift it out of the outer protective shell.
-
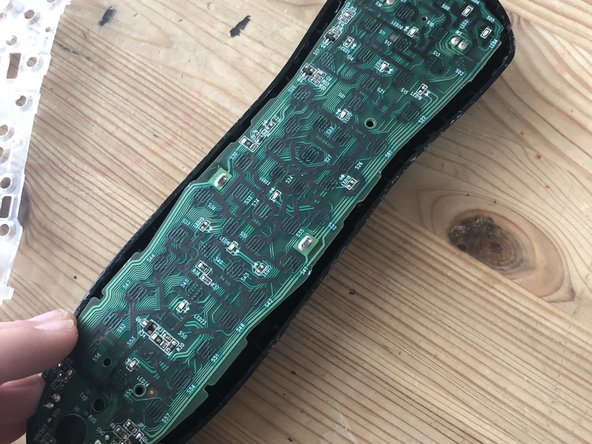
This is a series circuits that is controlled by many switches. This part of the remote is the part that reads when you press a button, it then sends a signal to the devices you are trying to make a change on.
-
To put the remote back together simply put all the layers back on the remote and click the plastic shell back into place.
-