
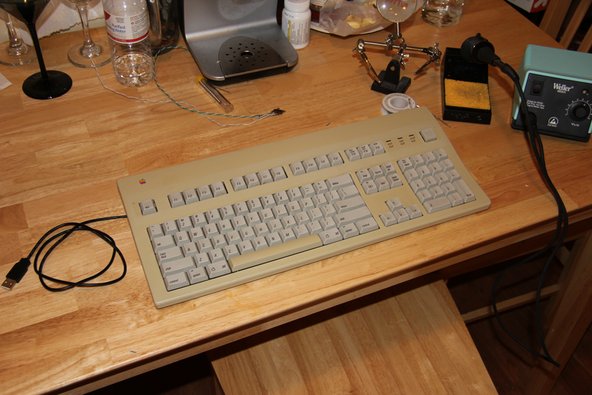
I’m lucky enough to own an Apple Extended Keyboard II, which belongs to my Macintosh SE. Unfortunately, it wasn’t doing much good connected to my rarely-used SE. So, I figured it would find a better home on my desk at work, where I spend the day pounding away on a crummy keyboard anyway.
The Apple Extended Keyboard II is a dream to type on because it uses mechanical switches. And I lucked out: Apple made a lot of revisions of this keyboard with cheap switches, but it turns out that I got one of the good ones. Mine is a USA model with authentic Alps Cream key switches.
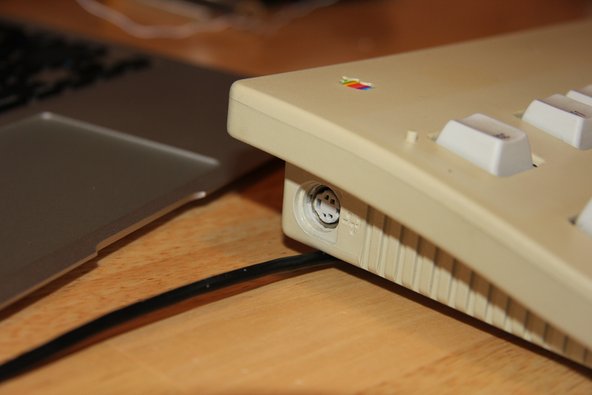
The biggest stumbling block to the project was the computer’s interface. The Apple Extended Keyboard II is from the days of ADB, or Apple Desktop Bus. The internet revealed two possible solutions: An expensive and sometimes-hard-to-find adapter by Griffin, or a $16 microcontroller and some DIY elbow grease. Naturally, I chose the latter.
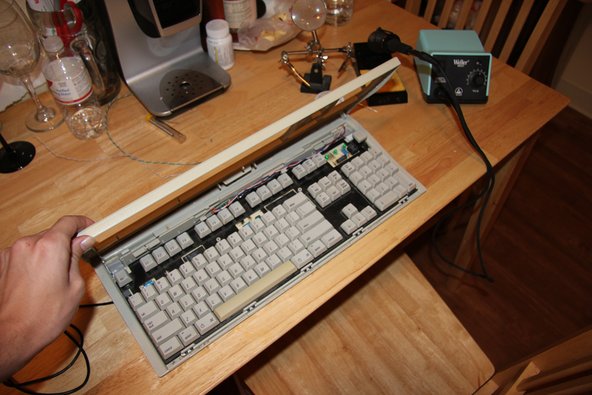
Building It
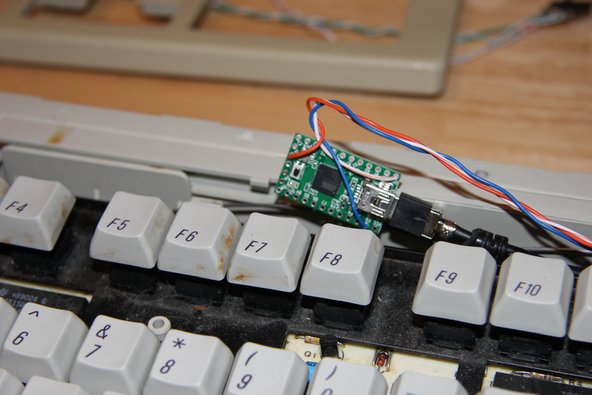
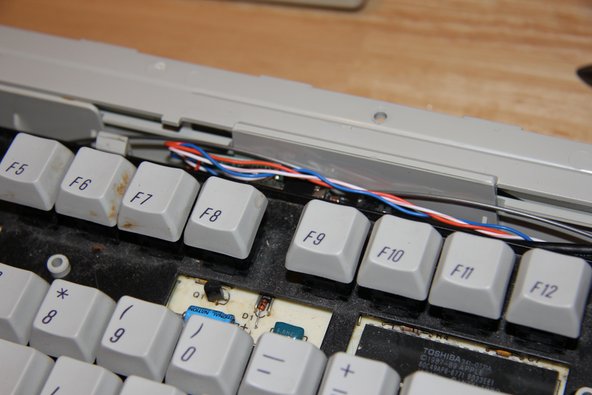
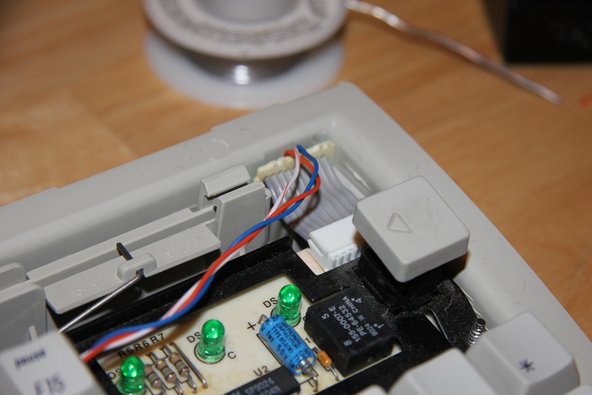
All that’s in this project is a Teensy 2.0 microcontroller and the keyboard. The process is as simple as connecting the proper 3 pins to your ADB keyboard and then programming the microcontroller. I chose to enclose the entire converter inside my keyboard, as I didn’t want a little dongle hanging out to break and I also didn’t have the proper connecters to mate with the keyboard’s.
The most technical step is to compile and install the firmware. A simple task; though on my Mac I had to install CrossPack to compile for the Teensy and TeensyLoader to flash code to it. Here I must give a shout out to the awesome folks who developed the code – they also have support for a bunch of keyboard types.
~$ git clone git://github.com/tmk/tmk_keyboard.git

~$ cd tmk_keyboard/converter/adb_usb

~$ make
Then use the TeensyLoader app to flash the .hex image onto the microcontroller.
Connect ADB pin 1 (data) to Teensy pin F0, pin 3 to Teensy vcc (5v), and pin 4 to Tesny gnd (ground). You could wire up a DIN-4 (“s-video”) connector if you wanted (female to use an authentic Apple cable, male to make your own cable), or you could completely enclose the Teensy into the keyboard like I did.
Here’s a gallery:


This article was also published on Scott’s blog, Scott the Robot.


3 comentários
I did a similar conversion, though I used the MOST EXCELLENT DrakeWare ADB2USB (customizable) converter (no affiliation, just highly recommended: https://www.drakware.com/shop/p/adb2usb).
Rather than the cord, the Drakware unit comes stock with a female USB socket. I asked Matt to send me a “custom” version.. basically without USB socket soldered on. This way, I was able to solder in a (native) USB-C connector.
Additionally, I have installed bluetooth and a stack of batteries. I’d include pics here but it seems I cannot attach files. I am using four (4) 18650 lithium cells for power and discrete battery charge controllers for each cell (avoids balance issues). The bluetooth project is WAAAAY more involved than the Drakware ADB2USB install.. even my custom version.
After painstakingly taking about the ENTIRE keyset..and cleaning and lubing (extremely lightly) them, which took a good while and gentle hand, It has worked like a frigging CHAMP!
These original AEK (I have a very early unit) boards are AWESOME!
Bobby - Responder
I did this but I used Matt’s Drakware ADB2USB converter. Highly compact, programmable and works great!
https://www.drakware.com/ (not affliated! just a very happy Customer)
Bobby - Responder
Would this work with a newer teensy board, say the 4.0?
Gavin - Responder