Introdução
This guide will instruct you how to replace the side wheels of the iRobot Roomba 960. The wheels should be replaced when worn or broken.
O que você precisa
-
-
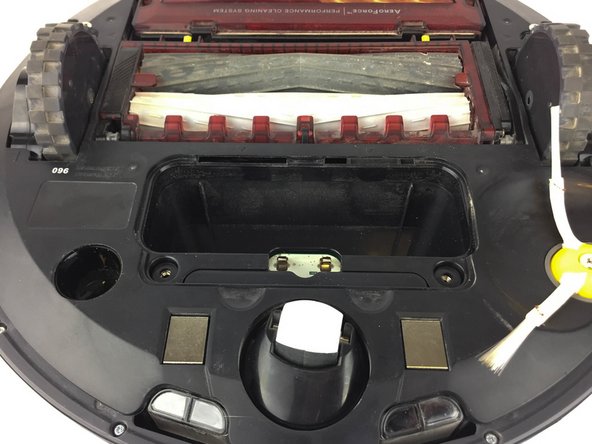
Turn the Roomba upside down and orient it so that the wheels are facing upwards and the dustbin is furthest from you.
-
-
-
-
With the Flathead 2.5mm screwdriver remove the 7.9mm screw from the side-brush.
-
-
-
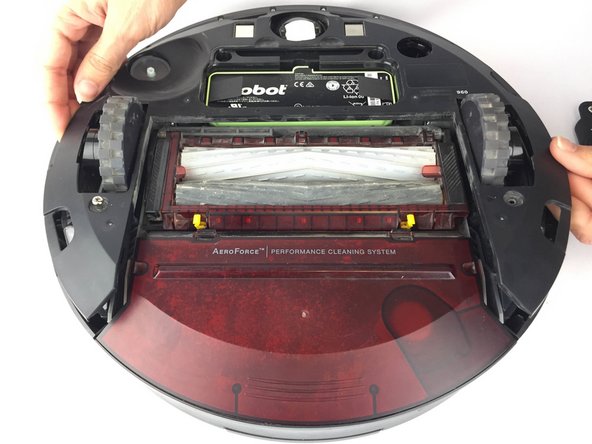
Using a Phillips #1 screwdriver, unscrew the two 11.4mm screws that hold the bottom cover.
-
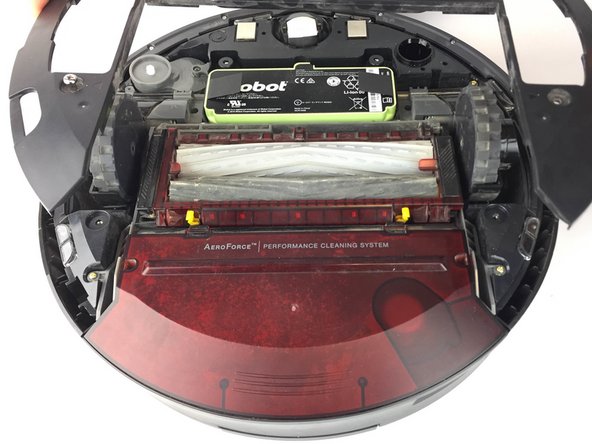
Lift to remove the plastic back panel.
-


To reassemble your device, follow these instructions in reverse order.
To reassemble your device, follow these instructions in reverse order.
Cancelar: não concluí este guia.
2 outras pessoas executaram este guia.
Equipe

USF Tampa, Team 16-3, Blackwell Spring 2017 Membro de USF Tampa, Team 16-3, Blackwell Spring 2017
USFT-BLACKWELL-S17S16G3
Membros da 4
Autoria de 6 guias
Um comentário
In steps 2, 3 and 4 you show how to remove the battery, but from steps 5-9 you show the battery installed. Is it required to remove the battery?
If this is a required safety procedure to remove the battery, I would suggest to edit the pictures in steps 5-9 showing the battery removed in those steps. If it is not required or stated in the repair instructions I would suggest to edit step 2 stating it is "Your suggestion but not necessary to remove the battery" or remove steps 2-4 & renumber the following steps.
I did something like this on another site & caught a lot of flack over it. In that one, I took pictures as I did the repair with the battery in, but forgot to mention it would be safer to remove the battery (only suggested in the instructions) to prevent damage from a short. But being a mechanic & knowing I could do the repair safely w/o removing the battery I didn't show the battery removed & someone damaged their equipment. Just a suggestion to save you from a possible big headache.