Este guia tem alterações mais recentes. Mudar para a última versão não verificada.
Introdução
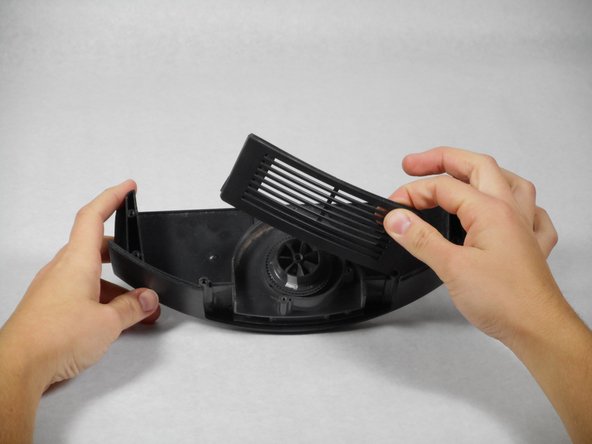
This guide outlines how to replace the entire fan unit rather than fixing the entire unit itself, because doing so would require advanced techniques such as soldering. This replacement is needed when dirt clogs the fan due to the close proximity between the fan and the vacuum bin.
O que você precisa
-
-
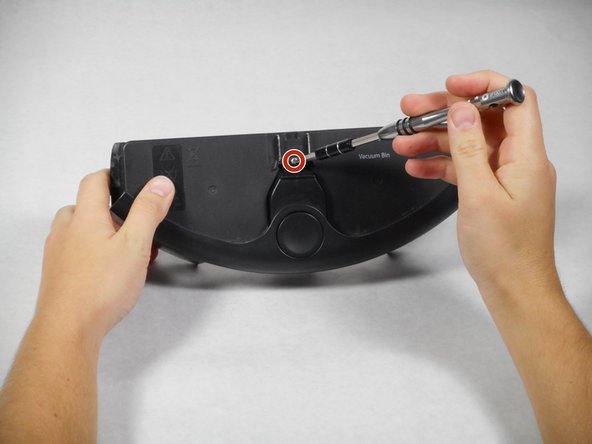
Press the black circular button on the back end of the Roomba and pull the bin out towards you to remove the vacuum bin.
-
-


To reassemble your device, follow these instructions in reverse order.
To reassemble your device, follow these instructions in reverse order.
Cancelar: não concluí este guia.
2 outras pessoas executaram este guia.
Equipe

Cal Poly, Team 1-22, Maness Fall 2015 Membro de Cal Poly, Team 1-22, Maness Fall 2015
CPSU-MANESS-F15S1G22
Membros da 4
Autoria de 14 guias