Esta versão pode conter edições incorretas. Mude para o último instantâneo verificado.
O que você precisa
-
Este passo não foi traduzido. Ajude a traduzi-lo
-
While holding the side brush in place, use a Phillips #1 screwdriver to remove the 4.5mm screw from the center of the brush.
-
-
Este passo não foi traduzido. Ajude a traduzi-lo
-
Rotate the Roomba upside-down so the bottom is facing towards you.
-
-
Este passo não foi traduzido. Ajude a traduzi-lo
-
Using a Phillips #2 screwdriver, remove the captive screws that hold the bottom plate in place.
-
-
-
Este passo não foi traduzido. Ajude a traduzi-lo
-
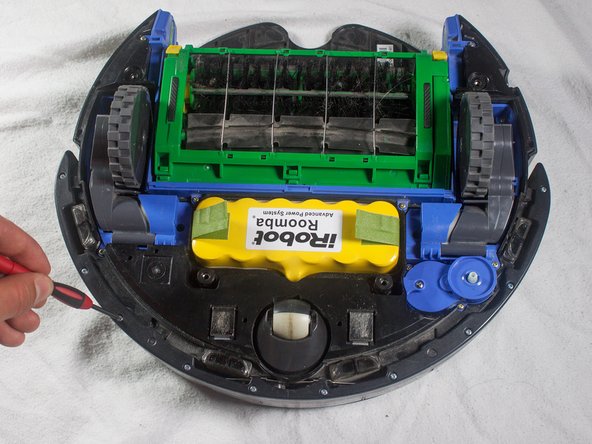
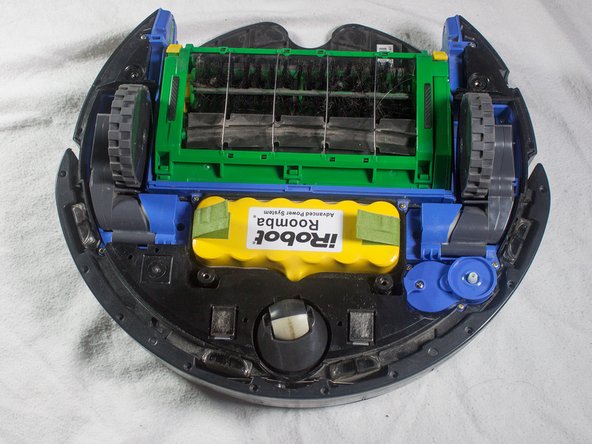
Push on the dirt bin release button, and pull gently.
-
-
Este passo não foi traduzido. Ajude a traduzi-lo
-
With a Phillips #1 screwdriver, remove the ten 12mm screws located along the bottom of the bumper.
-
-
Este passo não foi traduzido. Ajude a traduzi-lo
-
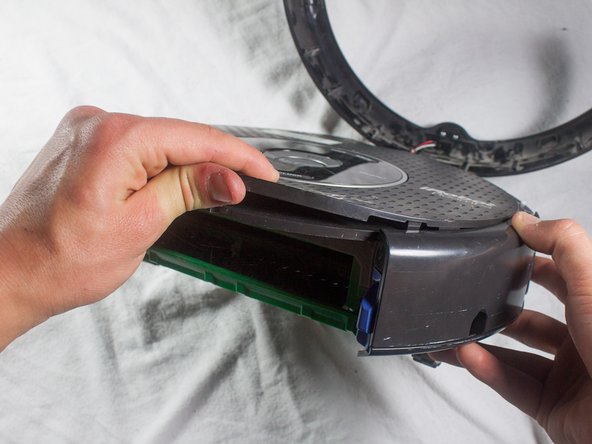
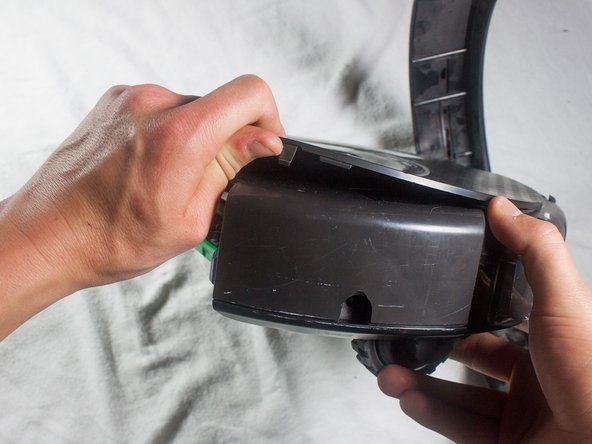
Flip the Roomba over, grasp the bumper, and gently lift to remove.
-
-
Este passo não foi traduzido. Ajude a traduzi-lo
-
Pull up on the front of the faceplate until the friction locks pop out of place.
-
-
Este passo não foi traduzido. Ajude a traduzi-lo
-
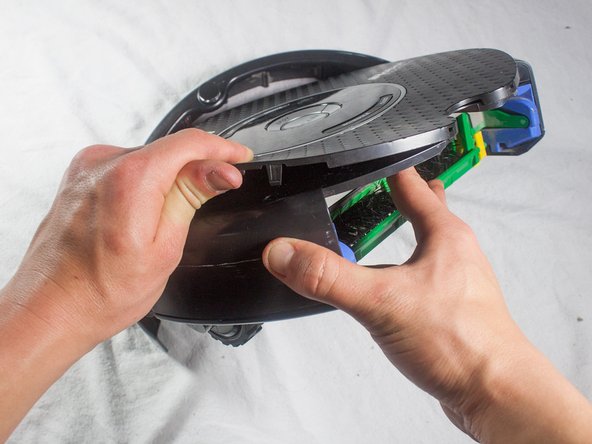
Continue around the outside of the Roomba, pulling up on the faceplate to free all of the outer friction locks.
-
-
Este passo não foi traduzido. Ajude a traduzi-lo
-
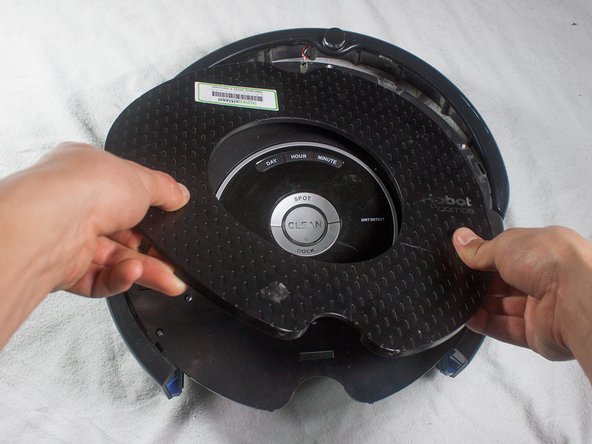
Grab the faceplate by the outer edge and pull upwards, freeing the center friction locks in the process.
-


Cancelar: não concluí este guia.
Uma outra pessoa concluiu este guia.

Equipe

Cal Poly, Team 13-14, Regan Winter 2014 Membro de Cal Poly, Team 13-14, Regan Winter 2014
CPSU-REGAN-W14S13G14
Membros da 4
Autoria de 19 guias
Um comentário
If all you need off is the faceplate, you can start at step 11 and skip the 1-10. The bottom and bumper assemblies seem completely unrelated to the faceplate. I removed the dirt bin and started lifiting at the back edge, then worked around the faceplate and it just popped off with no damage.
There are 4 long friction tabs around the circumference, and no tabs at the center. Once the outer friction tabs are free, the center circle of the faceplate comes off cleanly, leaving the display panel, control buttons and the chrome-ish ring. Under the 'IR' in the IRobot logo on the faceplate is the SCI port, more plastic and a number of screws to get to the motherboard.