iPhone 8 Speaker Replacement

Última atualização em 14 de nov de 2025
Visualizações: 4,5 mil
Visualizar Estatísticas:
- Últimas 24 horas:
- 3
- Últimos 7 dias:
- 36
- Últimos 30 dias:
- 221
- Ao todo:
- 4.500
Comentários: 0
Ninguém deixou comentários sobre este guia. Você será o primeiro?
Go to guide commentsConcluído: 3 4
3 pessoas marcaram este guia como "concluído". Será você o próximo?
4· pessoas marcaram este guia como "concluído". Incluindo você — ótimo trabalho!
Favorites: 0 1
Ninguém favoritou (e se inscreveu) neste guia como favorito. Você será o primeiro?
1 pessoa marcou como favorito (e assinou) este guia — você!
Guia colaborativo
Foi um incrível membro de nossa comunidade quem criou este guia. Não foi ninguém da equipe iFixit, não.
Introdução
Ir para o passo 1 ↓The iPhone 8 speaker will be easy to get to, at least, you might think. There is one single tri-point screw that prevents most people from getting to their broken speaker. This is the second speaker replacement guild I've done, the first one being for the Motorola One 5G UW.
O que você precisa

-
-
-
Sim card tray removal. This step is necessary as seen in Step 7.
 Pergunte ao FixBot
-
-
-
Remove the two bottom screws using the P2 bit in the Pro Tech Tool Kit.
-
-
-
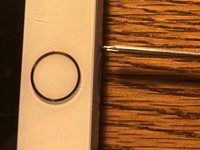
Insert the Jimmy into the right side of the phone. Putting the Jimmy in the middle could crack the glass and/or break the home button. Also, don't put the Jimmy into the left side because you could break the home button cable. Use a small box to prop up the display as shown in picture 3.
-
-
-
-
Before we disconnect the display, we need to unplug the battery connector. If you don't unplug the battery first, you could damage the back light on the screen.
-
-
-
Now to remove the display. There are 3 more screws that we need to remove, then we can disconnect the 3 cables.
-
Remove the display from the housing.
-
-
-
Now we need to remove this bracket. The screw next to the Taptic Engine is a Y000.
-
-
-
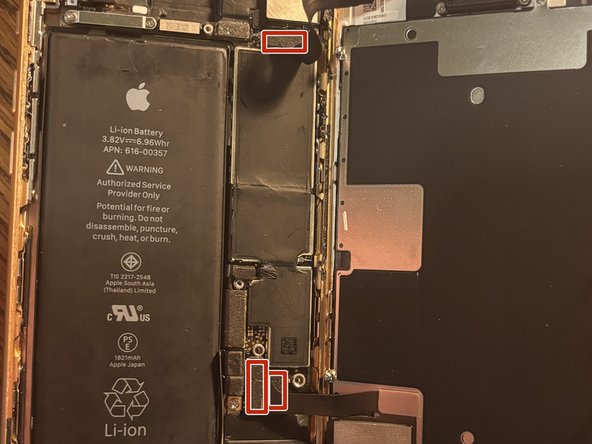
Disconnect the marked flex cables, then push the sim pin ejector into the frame. Now remove the 3 screws holding the speaker in place. Lift the speaker up and remove it as shown in picture 2.
-
-






To reassemble your device, follow these instructions in reverse order.
Cancelar: não concluí este guia.
3 outras pessoas executaram este guia.