Esta versão pode conter edições incorretas. Mude para o último instantâneo verificado.
O que você precisa
-
Este passo não foi traduzido. Ajude a traduzi-lo
-
Remove three screws securing the vibrator and vibrator bracket to the rear case:
-
One 2.3 mm Phillips screw
-
One 1.7 mm Phillips screw
-
One 1.6 mm Phillips screw securing the vibrator to the top inside of the rear case.
-
-
Este passo não foi traduzido. Ajude a traduzi-lo
-
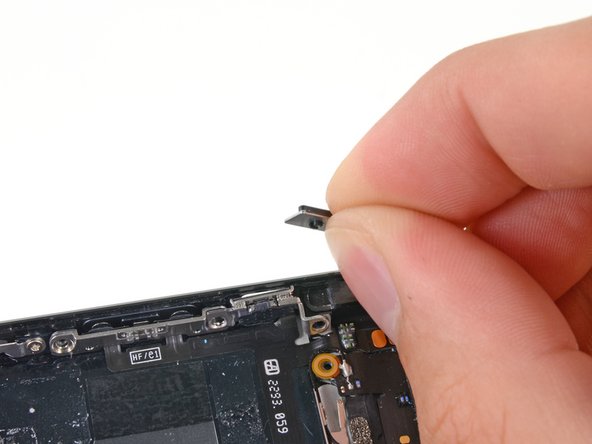
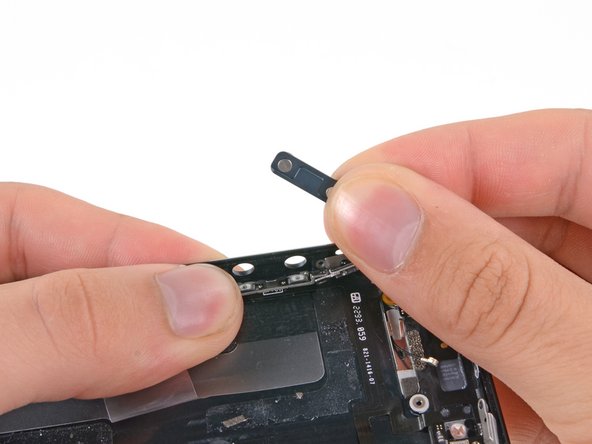
Remove the vibrator and vibrator bracket from the rear case.
-
-
-
Este passo não foi traduzido. Ajude a traduzi-lo
-
Remove the following screws securing the volume button and ringer switch brackets to the side of the rear case:
-
One 1.5 mm Phillips screw
-
Two 1.8 mm Phillips screws
-
-
Este passo não foi traduzido. Ajude a traduzi-lo
-
Use the tip of a spudger to pry the ringer switch bracket from the side of the rear case.
-
Remove the ringer switch.
-
-
Este passo não foi traduzido. Ajude a traduzi-lo
-
Use a spudger to pry the volume button bracket from the side of the rear case.
-
Remove the volume buttons.
-


Cancelar: não concluí este guia.
Uma outra pessoa concluiu este guia.
