Introdução
Use this guide to replace the adhesive on your iPad to seal the deal on a repair-job well done.
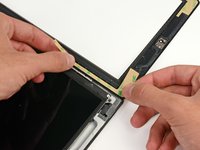
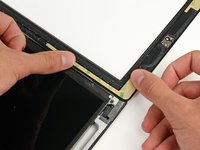
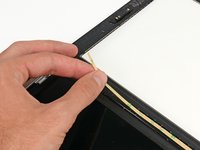
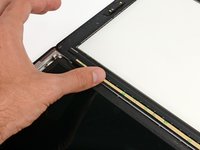
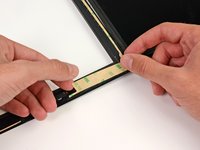
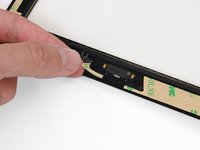
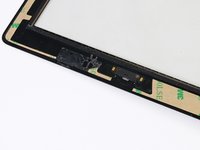
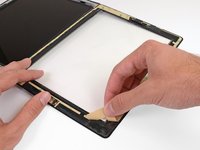
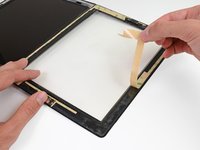
Before you begin peeling and sticking tape, it's important to have clean adhesion surfaces on both the front panel and the rear case. Use a spudger to scrape off any large excess bits of original adhesive, then clean all of the gluing surfaces with a paper towel and rubbing alcohol or Goof Off.
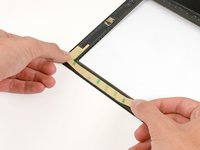
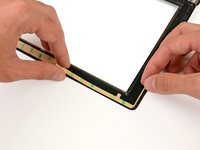
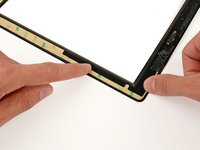
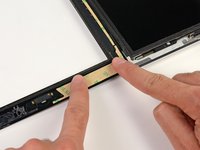
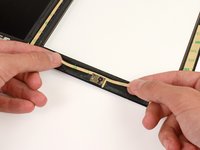
It is recommended that you peel each adhesive strip as needed, rather than lay them out all at once.
O que você precisa
-
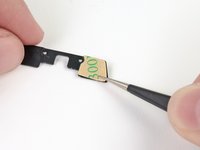
Ferramenta utilizada neste passo:Tweezers$4.99
-
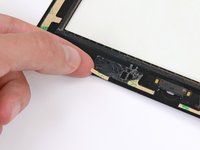
Carefully grasp the home button with a pair of tweezers.
-
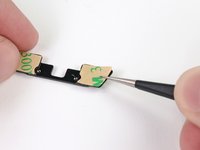
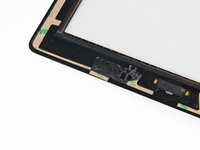
Gently lower and place the home button into the round opening located at the bottom of the front panel.
-
-


Cancelar: não concluí este guia.
24 outras pessoas executaram este guia.


1Comentário do guia
Unfortunately, as of my order shipped on 5/30/2019, this guide is obsolete. The new strips are in clear semi-rigid carrier, with transparent blue backing, The new adhesive strips:
There are now only four strips of adhesive, die cut to different shapes which are completely unlike those shown in this guide - two long, unwieldy strips that run the full length of each side and wrap partway onto the top & bottom, a third strip that wraps around the front-facing camera at the top (with no applicable instructions I put it on backward so it doesn’t fit the side strips), and a fourth little bitty strip with a half-arrowhead, about 5/8”/17mm long, that doesn’t come close to filling the 1-1/2”/4 cm gap between the home button and the right-side strip, but I stuck it on anyway,
As a result, these instructions are no longer relevant. Sorry Sam’s great effort is no longer useful.