Introdução
Prerequisite-only guide to replace a cracked front panel.
O que você precisa
-
-
Fill a pot or pan with enough water to fully submerge an iOpener.
-
Heat the water to a boil. Turn off the heat.
-
Place an iOpener into the hot water for 2-3 minutes. Make sure the iOpener is fully submerged in the water.
-
Use tongs to extract the heated iOpener from the hot water.
-
Thoroughly dry the iOpener with a towel.
-
Your iOpener is ready for use! If you need to reheat the iOpener, heat the water to a boil, turn off the heat, and place the iOpener in the water for 2-3 minutes.
-
-
-
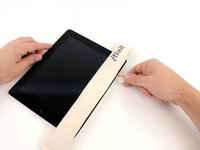
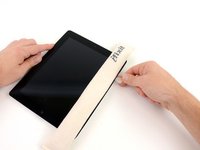
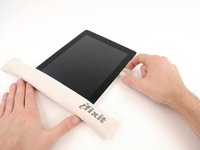
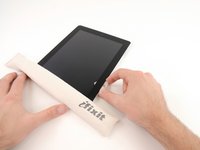
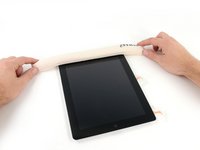
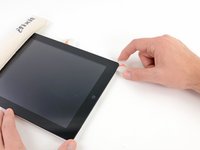
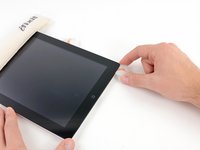
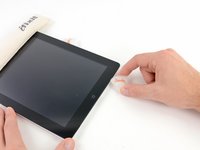
If your display glass is cracked, keep further breakage contained and prevent bodily harm during your repair by taping the glass.
-
Lay overlapping strips of clear packing tape over the iPad's display until the whole face is covered.
-
Do your best to follow the rest of the guide as described. However, once the glass is broken, it will likely continue to crack as you work, and you may need to use a metal prying tool to scoop the glass out.
-
-
Ferramenta utilizada neste passo:Safety Glasses$3.19
-
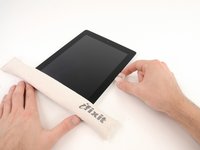
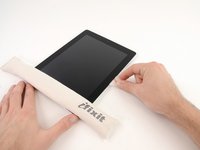
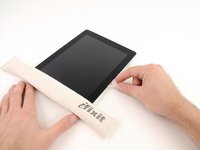
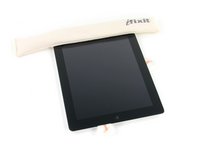
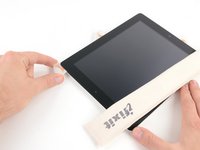
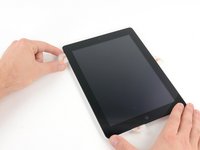
Lay the iOpener flat on the right edge of the iPad, smoothing it out so that there is good contact between the surface of the iPad and the iOpener.
-
Let the bag sit on the iPad for approximately 90 seconds before attempting to open the front panel.
-
-
-
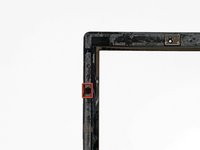
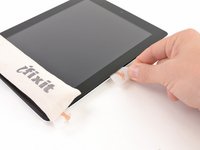
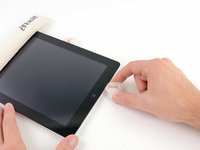
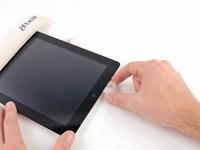
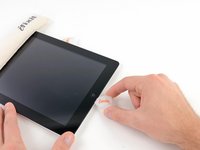
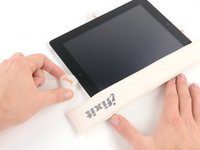
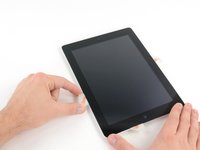
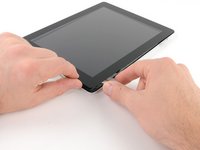
There is a small gap in the iPad's adhesive ring in the upper right corner of the iPad, approximately 2.0 inches (~5 cm) from the top of the iPad. You are going to exploit this weakness.
-
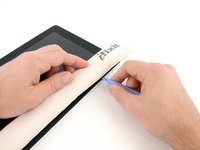
Align the tool with the mute button. Insert the tip of a plastic opening tool into the gap between the front glass and the plastic bezel. Just insert the very tip of the opening tool, just enough to widen the crack.
-
-
-
-
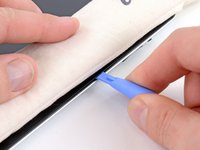
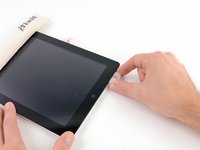
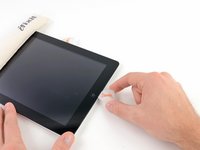
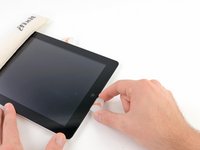
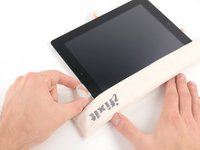
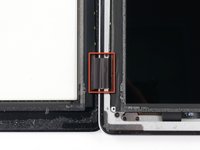
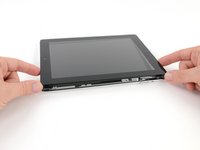
Once you have moved past the Wi-FI antenna (approximately 3" (75 mm) from the right edge, or right next to the home button) re-insert the opening pick to its full depth.
-
Slide the pick to the right, releasing the adhesive securing the Wi-Fi antenna to the front glass.
-
The antenna is attached to the bottom of the iPad via screws and a cable. This step detaches the antenna from the front panel, ensuring that when you remove the panel, the antenna will not be damaged.
-
-
-
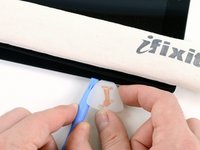
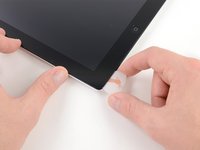
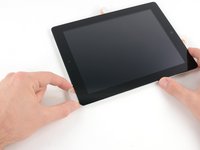
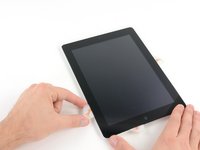
Slide the opening pick along the top edge of the iPad, pulling it out slightly to go around the front-facing camera bracket.
-
The adhesive along this section is very thick, and a fair amount of force may be required. Work carefully and slowly, making sure to not slip and damage yourself or your iPad.
-
-
-
Use the edge of a plastic opening tool to carefully flip up the retaining flaps on the two digitizer ribbon cable ZIF sockets.
-
-
-
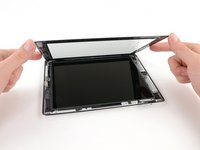
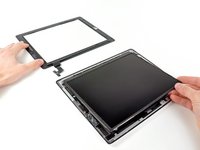
Lift the LCD from its long edge farthest from the digitizer cable and gently flip it toward the rear case—like closing a book.
-
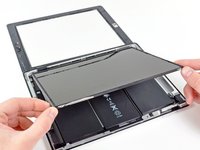
While holding the LCD up, gently slide the front panel away from the iPad. Be careful not to snag the digitizer cable on the rear case or LCD.
-
Set the LCD back into the body for safekeeping.
-


To reassemble your device, follow these directions in reverse and use our iPad 2 Wi-Fi Front Panel Adhesive strips guide to reattach the front panel.
To reassemble your device, follow these directions in reverse and use our iPad 2 Wi-Fi Front Panel Adhesive strips guide to reattach the front panel.
Cancelar: não concluí este guia.
209 outras pessoas executaram este guia.

6 comentários
There is one very important step not documented here. There is a wireless antenna attached to the screen just to the right of the home button. This also can be easily ripped if you aren't looking for it.
Additionally, take great care near the volume control button area since there is wiring under there for power. Consider viewing other youtube videos of the process to get different perspectives.
Last, be very patient---take deep breaths as you slowly pull the screen up.
One other step that would be nice to see is how to properly bend the flex cable of the new digitizer ( which out of the box is straight and stiff). The hardest part of the repair for me was negotiating the flex cable of the new glass so that the new glass would fit flush on the lower left corner. It has to bend in a certain way.This drove me nuts.
since you custom screen your guitar picks, have you thought of putting 'depth' lines on them (don't insert past this line for the edges and this line for the wifi area)?
I successfully performed this repair a couple of days ago. I would agree that it is very difficult. I spent a full hour just going over the instructions and putting tape marks on the ipad - it was very helpful to have a clear mental picture of where all the danger spots are.
In my case, the screen was severely cracked, so the repair did not proceed as pictured. It was basically impossible to get anything but small shards of glass to come up at any given time, so after some releasing, I ended up simply lifting the center part of the screen up off the ipad, leaving cracked glass around the bezel. Knowing where all the internal parts were was essential in this case, since I could have easily damaged some parts otherwise. I could see that the way the screen was lifting away, the antenna, for example, would not be affected. Some luck may have been involved, but the repair did work.