Introdução
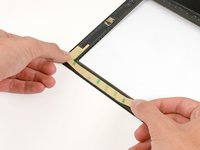
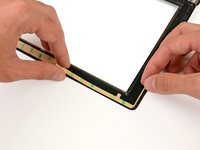
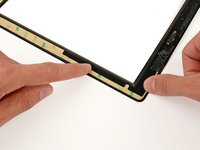
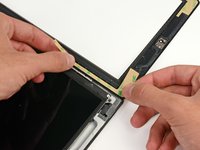
Replace the adhesive securing the front panel to the rear case of your iPad 2 CDMA.
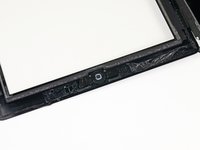
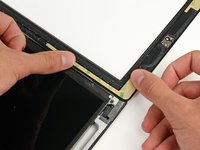
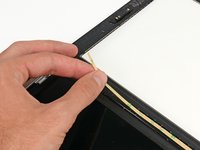
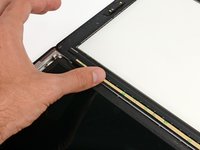
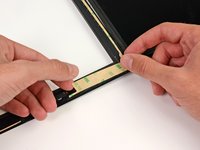
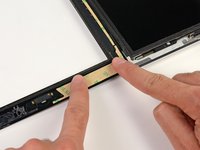
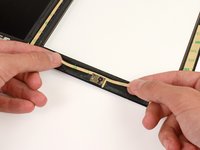
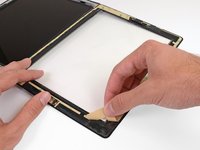
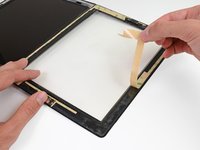
Before you begin peeling and sticking tape, it's important to have clean adhesion surfaces on both the front panel and the rear case. Use a spudger to scrape off any large excess bits of original adhesive, then clean all of the gluing surfaces with a paper towel and rubbing alcohol or Goof Off.
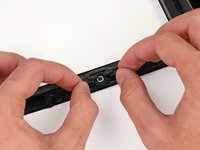
Throughout this procedure, it is recommended to peel up each adhesive strip as needed.
O que você precisa
-
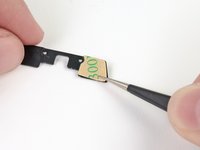
Ferramenta utilizada neste passo:Tweezers$4.99
-
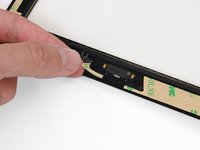
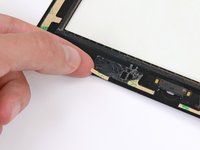
Carefully grasp the home button with a pair of tweezers.
-
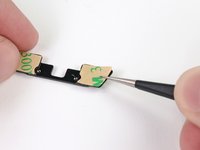
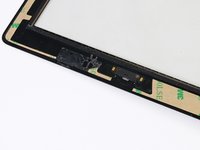
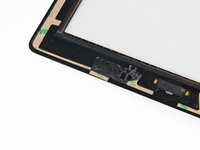
Gently lower and place the home button into the round opening located at the bottom of the front panel.
-
-


To reassemble your device, follow these instructions in reverse order.
Cancelar: não concluí este guia.
25 outras pessoas executaram este guia.

1Comentário do guia
grazie senza di voi non avrei saputo neanche da dove iniziare invece con voi o cambiato il pannello frontale crepato del ipad 2 model 1395 ancora grazie le vostre guide sono perfette