Esta versão pode conter edições incorretas. Mude para o último instantâneo verificado.
O que você precisa
-
Este passo não foi traduzido. Ajude a traduzi-lo
-
If you are re-using your existing display, you must also remove the old adhesive from the back of the display.
-
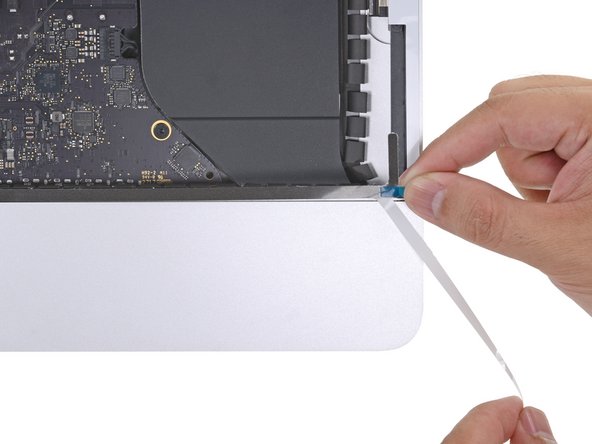
Peel off the adhesive strips using tweezers or your fingers. Start at the bottom and peel upward towards the top of the device.
-
After all the old adhesive is removed, carefully clean the surface with 90% (or greater) isopropyl alcohol and a lint-free cloth. Wipe in one direction, not back and forth.
-
-
Este passo não foi traduzido. Ajude a traduzi-lo
-
Lay out the adhesives strips beforehand so you won't accidentally install a strip in the wrong place:
-
Strip 22 on the top left
-
Strip 23 on the top right
-
Strip 21 on the right vertical
-
Strip 25 on the bottom right, dark side facing up.
-
Strip 26 on the bottom left, dark side facing up
-
Strip 16 on the left vertical
-
-
Este passo não foi traduzido. Ajude a traduzi-lo
-
Start with strip 21, which goes on the right vertical edge of the iMac frame.
-
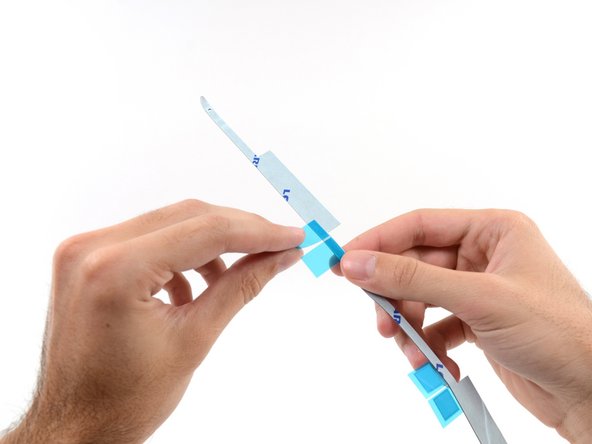
Peel the short piece of backing off the back of the strip.
-
-
Este passo não foi traduzido. Ajude a traduzi-lo
-
Insert the tip of a spudger into the hole at the end of the strip where you just removed one layer of backing. Insert the spudger from the side that still has a layer of white backing on it.
-
-
Este passo não foi traduzido. Ajude a traduzi-lo
-
With the spudger still poking through the hole in the adhesive strip, push the spudger tip into the corresponding hole in the frame of the iMac.
-
Using the hole and spudger to anchor the position of the adhesive strip, line the strip up against the right edge, gently pull down against the spudger to ensure the strip is taut, and stick it onto the frame.
-
-
Este passo não foi traduzido. Ajude a traduzi-lo
-
Once you're satisfied that the top half of the adhesive strip is neatly aligned, peel longer blue piece of backing out from behind the strip.
-
-
Este passo não foi traduzido. Ajude a traduzi-lo
-
Align the lower portion of the strip with the right edge of the frame, and stick it down.
-
-
Este passo não foi traduzido. Ajude a traduzi-lo
-
Use your finger to smooth out the strip. Make sure it is neatly aligned with the right side of the frame and that it sits flat.
-
-
-
Este passo não foi traduzido. Ajude a traduzi-lo
-
Work your way counter-clockwise around the perimeter of the iMac, adding three more adhesive strips in the same manner:
-
Strip 23 on the top right
-
Strip 22 on the top left
-
Strip 16 on the vertical left
-
On the iMac Intel 27" Retina 5K Display, the top-right strip's blue tabs will not line up with the top antenna in the same way as the non-5K model. This is perfectly acceptable and won't impact the performance of the strips or antenna.
-
-
Este passo não foi traduzido. Ajude a traduzi-lo
-
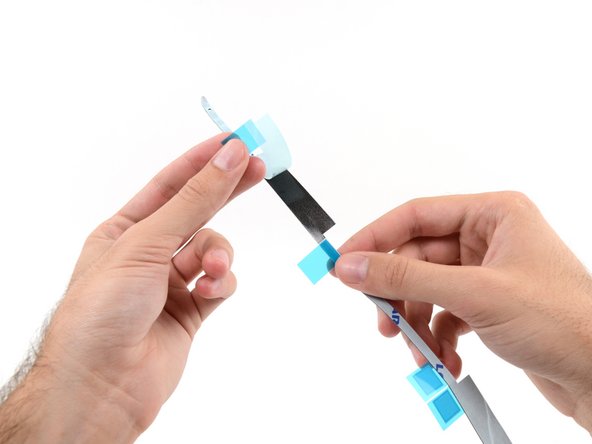
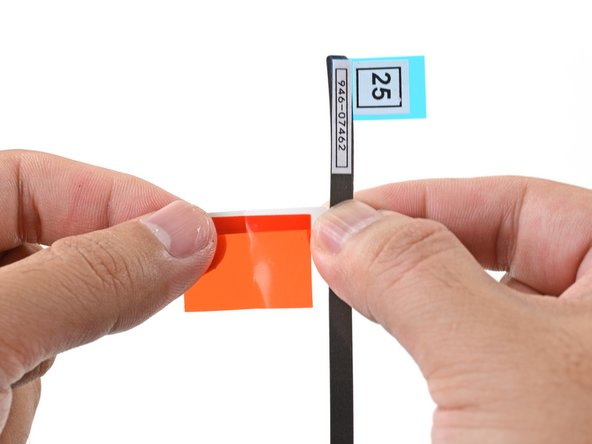
Grasp the red pull tab on strip 25 and pull to separate about 2 inches (5 cm) of white backing from the strip.
-
-
Este passo não foi traduzido. Ajude a traduzi-lo
-
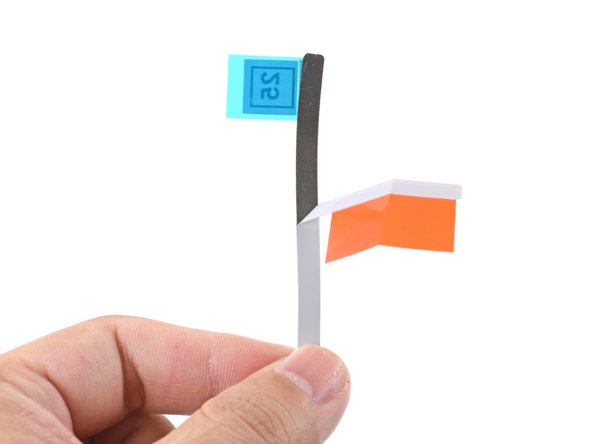
Fold the loose white backing to a right angle and pinch the crease with your fingers.
-
-
Este passo não foi traduzido. Ajude a traduzi-lo
-
Align the adhesive strip to the bottom edge by positioning the microphone notch over the microphone hole.
-
If your iMac does not have a microphone hole, align the right end of the strip such that the L-bend sits next to the right vertical adhesive. The L-bend should not overlap the right vertical adhesive.
-
Once you have aligned the strip, carefully set the left exposed edge onto the iMac to secure the alignment.
-
-
Este passo não foi traduzido. Ajude a traduzi-lo
-
Peel away the white backing behind the strip to expose the remaining adhesive.
-
-
Este passo não foi traduzido. Ajude a traduzi-lo
-
Run your finger from left to right along the length of the adhesive strip to ensure it is straight and unwrinkled, pressing down as you go to adhere the strip to the iMac.
-
-
Este passo não foi traduzido. Ajude a traduzi-lo
-
Repeat the previous steps for the bottom left adhesive strip (strip 26), aligning and placing it along the bottom left edge of the iMac.
-
-
Este passo não foi traduzido. Ajude a traduzi-lo
-
Gently set the display in place over the iMac and align it carefully.
-
-
Este passo não foi traduzido. Ajude a traduzi-lo
-
Use painter's tape or masking tape to temporarily secure the bottom edge of the display to the iMac's enclosure.
-
-
Este passo não foi traduzido. Ajude a traduzi-lo
-
If you've already verified that your iMac is working correctly and are ready to seal it up, skip to step 22.
-
Gently insert the display data connector into its socket on the logic board. Be sure to press it straight into the socket, and insert it completely.
-
Flip the display data connector lock down onto the socket.
-
Insert the display power connector into its socket on the logic board.
-
-
Este passo não foi traduzido. Ajude a traduzi-lo
-
After confirming that your iMac functions properly, disconnect the display cables and carefully lean the display forward.
-
Remove the film from the two bottom strips by reaching in from above with a pair of tweezers and pulling the blue tabs straight up from the bottom edge of the display.
-
-
Este passo não foi traduzido. Ajude a traduzi-lo
-
Reconnect the display power and data cables for the final time.
-
-
Este passo não foi traduzido. Ajude a traduzi-lo
-
Steady the display with one hand as you remove the protective film in the following steps, or rest it lightly against the iMac's enclosure.
-
-
Este passo não foi traduzido. Ajude a traduzi-lo
-
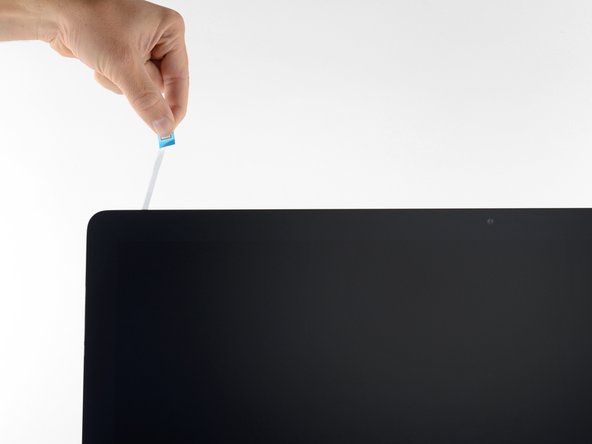
Remove one side of the protective film from the top left strip by pulling its tab straight up.
-
-
Este passo não foi traduzido. Ajude a traduzi-lo
-
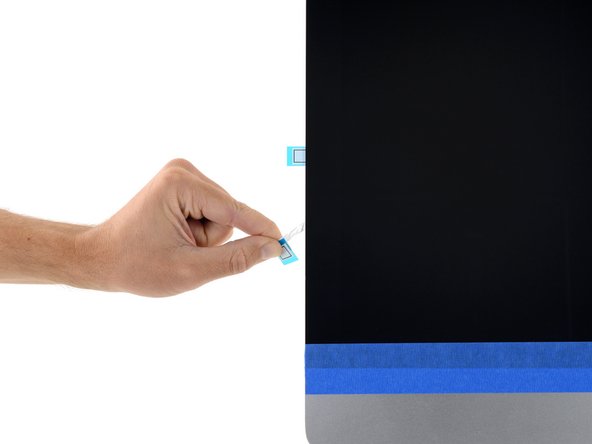
Remove the other side of the protective film from the top left strip.
-
-
Este passo não foi traduzido. Ajude a traduzi-lo
-
Repeat the previous steps to remove the protective films from all the remaining adhesive strips.
-
-
Este passo não foi traduzido. Ajude a traduzi-lo
-
To ensure a strong bond, carefully tip the iMac flat on its back (with the screen facing straight up) and press carefully but firmly around all four edges of the display.
-
Remove the tape securing the display to the rear enclosure.
-


Cancelar: não concluí este guia.
90 outras pessoas executaram este guia.


8 comentários
what if i dont put on new adhesives?
You cannot reuse the iMac’s foam-core adhesive. However, you hold the display in place with tape and the iMac will work fine.
Bonjour,
Merci pour ce tutoriel. Les outils fournis dans le kit sont parfaits. Pour moi, le plus difficile a été de réaligner parfaitement l’écran sur le châssis aluminium. l’adhésif temporaire m’a aidé, mais je pense qu’il est possible de coller les adhésifs inférieurs légèrement plus haut, pour dégager 2mm afin de permettre à l’écran à l’horizontale de glisser latéralement pour faciliter l’alignement lors du remontage.
I had the screen off to check the drive and went very carefully through the reinstall screen process. Yes, I used the adhesive strip kit. Installed by the number. I thought it was secure and good for the duration. I was out of the office when the screen fell off and hit the floor. This is a late 2015 Imac Retina 27". I still have extended warranty coverage, but three hour round trip to take it to an Apple store. Since it appears the screen only costs $20 I'm thinking of repairing it myself. Any comments? I would also recommend putting the iMac flat and putting some weights on the edges of the screen for a day.