Esta versão pode conter edições incorretas. Mude para o último instantâneo verificado.
O que você precisa
-
Este passo não foi traduzido. Ajude a traduzi-lo
-
Loosen the single Phillips screw in the center of the access door.
-
Remove the access door from your iMac.
-
-
Este passo não foi traduzido. Ajude a traduzi-lo
-
Stick two suction cups to opposing corners of the glass panel.
-
-
-
Este passo não foi traduzido. Ajude a traduzi-lo
-
Gently pull the glass panel straight up off the iMac.
-
-
Este passo não foi traduzido. Ajude a traduzi-lo
-
Remove the following 12 screws securing the front bezel to the rear case:
-
Eight 13 mm T8 Torx screws
-
Four 25 mm T8 Torx screws
-
Six 13 mm T8 Torx screws
-
Four 25 mm T8 Torx screws
-
Two 35 mm T8 Torx screws
-
-
Este passo não foi traduzido. Ajude a traduzi-lo
-
Gently lift the front bezel from its top edge off the rear case. It helps to use your thumbs to push down very gently on the corners of the display.
-
Once the top edge of the front bezel has cleared the rear case, rotate the front bezel toward the stand and lift it off the rear case.
-
-
Este passo não foi traduzido. Ajude a traduzi-lo
-
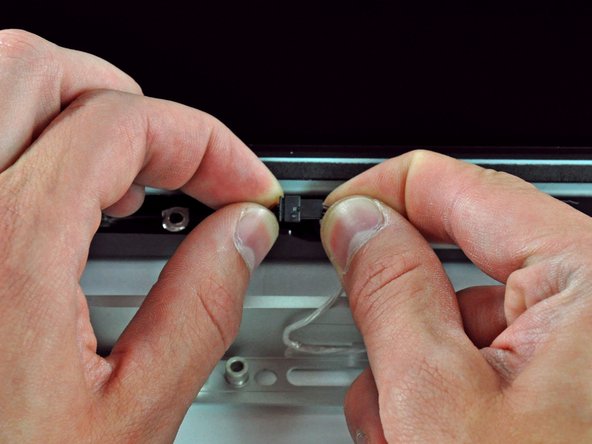
Disconnect the microphone cable connector, removing tape as necessary.
-


Cancelar: não concluí este guia.
37 outras pessoas executaram este guia.


Um comentário
Te damos las gracias por tomarte el tiempo de mostrarnos tan útiles consejos, saludos!