Introdução
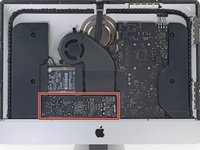
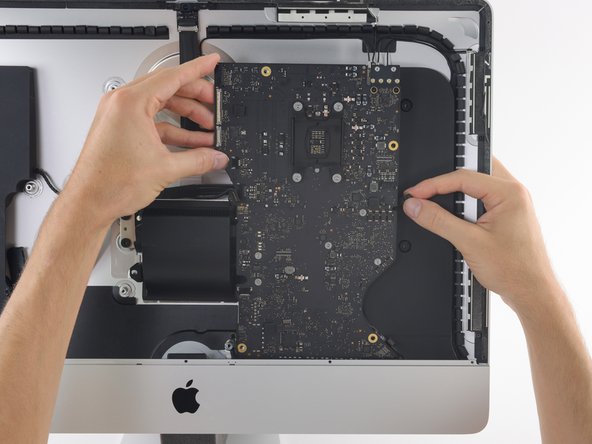
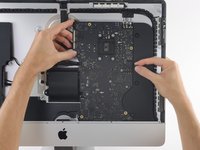
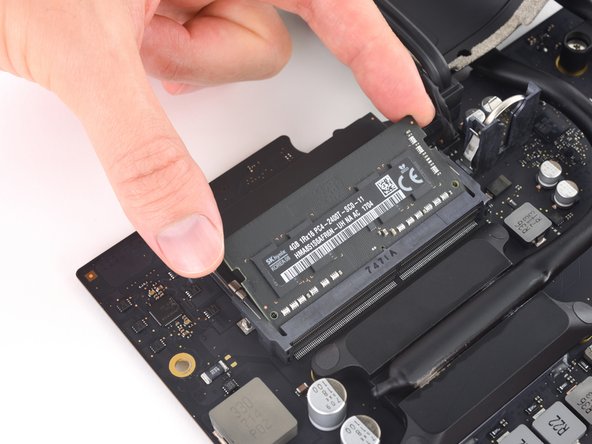
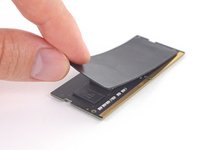
This guide details removing the logic board in a 2017 iMac 4K in order to remove or replace the RAM.
Some images in this guide use a 2015 iMac, which has minor visual differences. These differences do not affect the repair procedure.
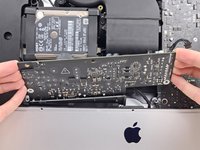
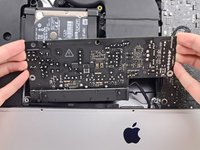
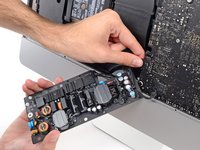
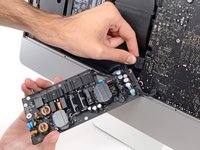
This guide is marked "potentially dangerous" because it requires you to handle a power supply that contains large capacitors. Unplug the iMac and hold the power button down for at least 10 seconds to help discharge the capacitors. Handle the board by the edges and do not touch surface components.
O que você precisa
-
Ferramenta utilizada neste passo:iMac Intel 21.5" Cardboard Service Wedge$4.99
-
Ferramenta utilizada neste passo:Plastic Cards$2.99
-
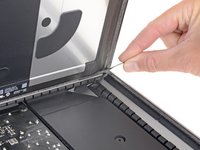
Starting from the top right corner of the iMac, wedge a plastic card between the display and frame.
-
-
-
-
Remove the following five Phillips screws holding the lower support bracket in place:
-
Four 3.2 mm screws
-
One 1.7 mm screw
-
-
-
Remove the following T10 Torx screws securing the hard drive brackets to the iMac:
-
Two 21 mm screws
-
One 9 mm screw
-
One 27 mm screw
-
-
-
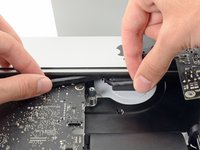
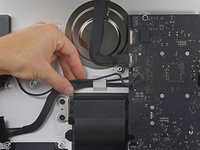
Use the tip of a spudger to push each side of the power button cable connector and gently walk it out of its socket.
-
-
-
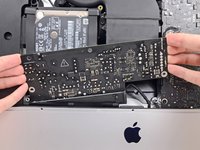
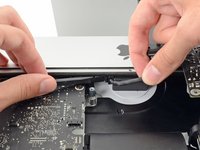
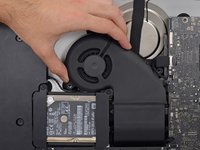
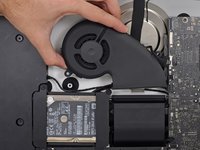
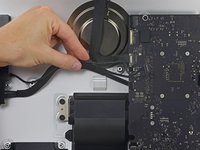
Gently pull the fan cable connector straight away from its socket on the logic board.
-
-
-
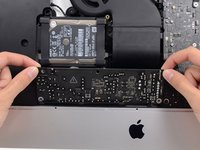
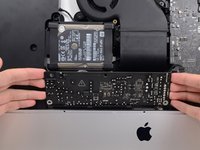
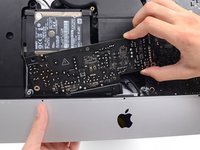
Lift the hard drive from the edge nearest the logic board and pull it slightly out of its recess.
-
-
-
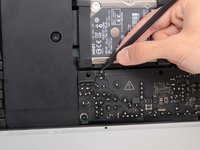
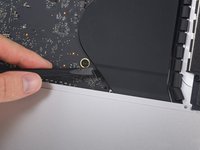
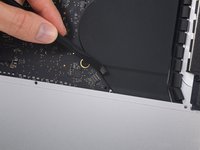
Remove the 7.3 mm T8 Torx screw securing the hard drive tray to the rear enclosure.
-
-
-
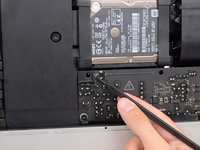
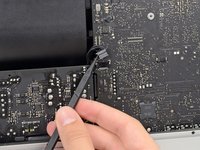
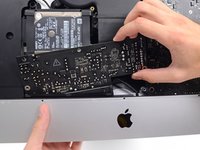
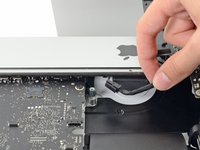
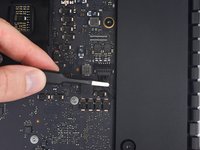
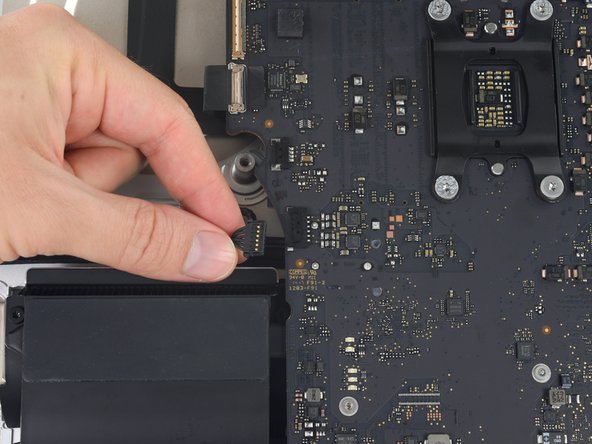
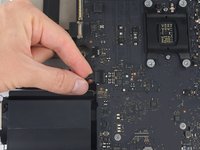
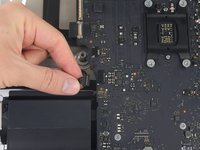
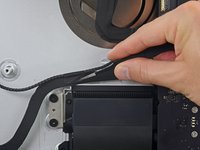
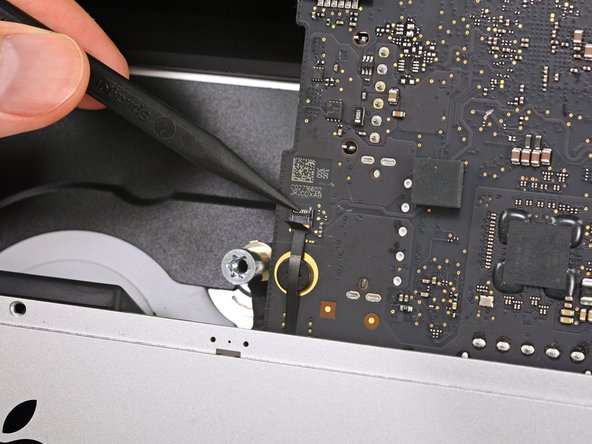
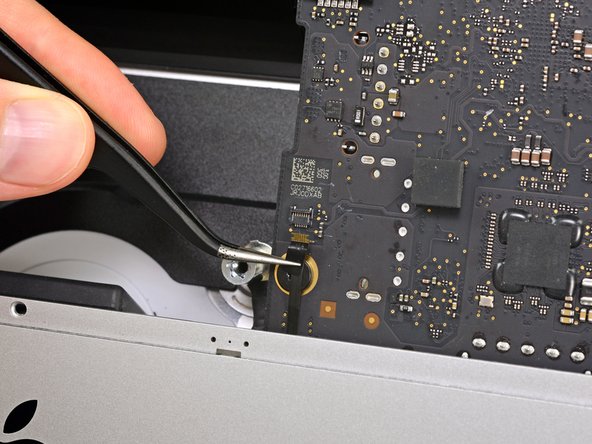
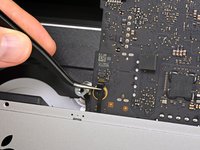
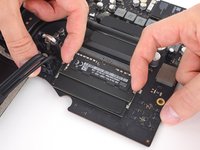
Gently pull the right speaker cable connector straight down and out of its socket on the logic board.
-
-
-
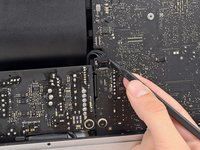
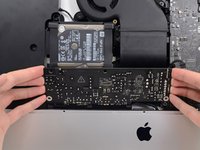
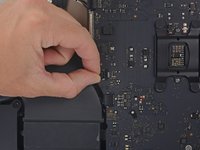
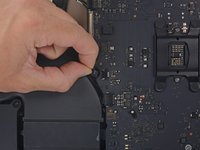
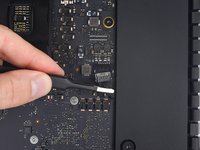
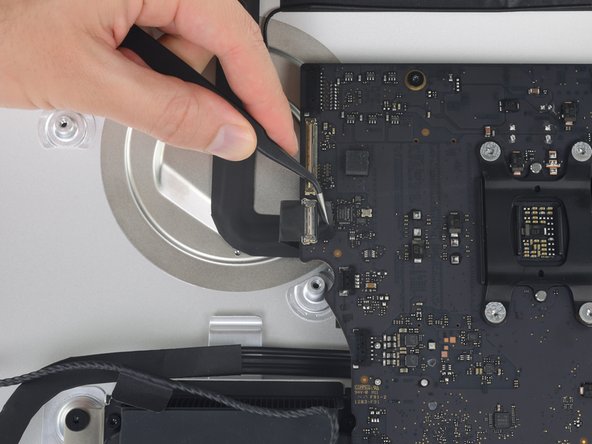
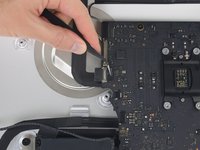
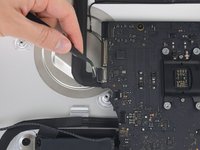
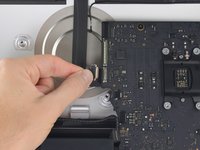
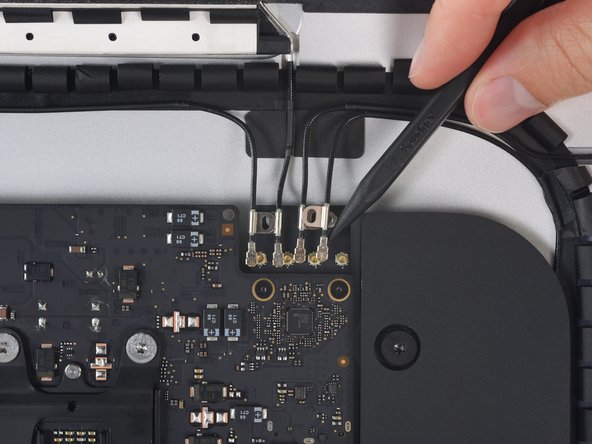
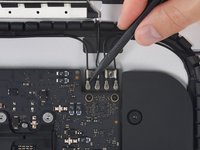
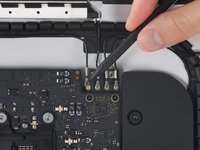
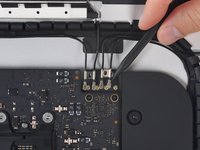
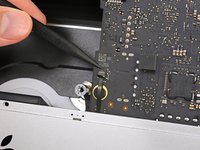
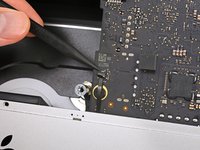
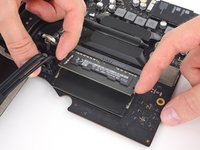
Flip the latch on the microphone ZIF connector and pull the cable out of its socket on the logic board.
-


To reassemble your iMac, follow these instructions in reverse order.
To reassemble your iMac, follow these instructions in reverse order.
Cancelar: não concluí este guia.
155 outras pessoas executaram este guia.

80 comentários
An excellent guide - many thanks. The logic board was tricksy to get out - the card reader was jamming on the casing, but it came out with care. It's easy to trap the microphone cable and the power button cables when re-assembling, so they're worth looking out for. Successfully replaced the RAM and installed an SSD at the same time - many thanks.
Can a SSD or fusion drive be put in the place where the normal hard drive was?
An ssd can yes - that's what I did at the same time as upgrading the ram. As long as it's a 2.5" ssd it should be fine. The Samsung ssd I used was a but thinner than the hard drive that came out but that doesn't affect anything really. You'll need to either have a bootable clone of your drive, or install Sierra from a USB stick you've already prepared (which is what I did).
A Fusion drive is the terminology used by Apple when the use a board soldered 120ish Gb storage and a standard 1Tb 2.5 inch drive, and bind them together, if you throw in a 1Tb SSD in place of the existing standard hard drive you end up with 2 drives when you begin installation, you can find the instructions to merge the onboard and the new SSD back together again, and boy does it transform these machines, absolute pig with a factory fusion setup.
I also upgraded my hard-drive to a 512 GB Samsung SSD successfully along with installing the 32 GB of RAM. The guide was great, but I have a two comments.
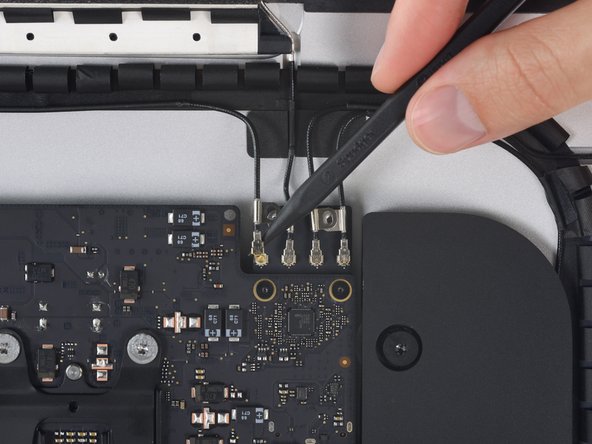
1) The screws that hold the antenna connectors (Step 52) are were very tightly screwed into the board, and it is easy to strip the head of the screw. I stripped one of the screws… Luckily, it was easy to just pull up on the bluetooth/AirPort card and slide it out from its slot on the main board. Thus, an option to removing all the antenna wires, is to just pull the bluetooth/Airport card out. It was quite easy to slip back into the correct spot when reassembling as well.
2) It was only after I completed the repair that I realized that the top of the nice screwdriver provided in the repair kit contained more hidden bits!