Introdução
Replace a burned-out optical drive fan to keep temperatures down.
O que você precisa
-
Ferramenta utilizada neste passo:Heavy-Duty Suction Cups (Pair)$14.95
-
Stick a suction cup near each of the two top corners of the glass panel.
-
If your suction cups refuse to stick, try cleaning both the glass panel and the suction cup with a mild solvent.
-
-
-
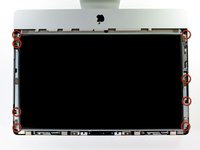
Remove the eight 8 mm T10 Torx screws securing the display to the outer case.
-
-
-
-
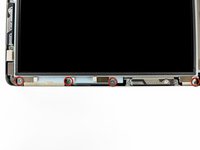
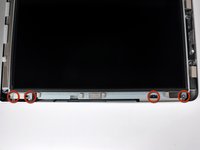
Remove the following four screws:
-
One 9.3 mm T10 Torx screw with a large head
-
Three 9.3 mm T10 Torx screws with a normal sized head
-
-
-
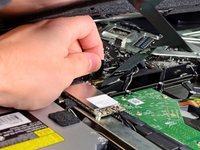
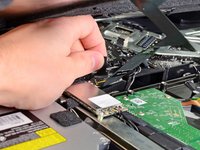
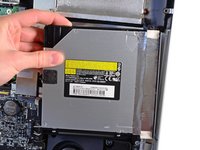
Lift the inner edge of the optical drive and maneuver its connector past the GPU frame attached to the logic board.
-
Carefully pull the optical drive off its mounting pins on the right side of the outer case to gain clearance for disconnecting the optical drive cable.
-
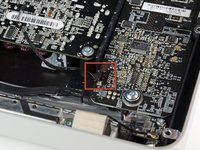
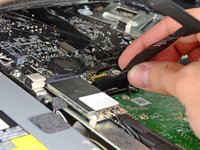
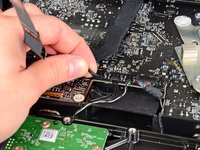
Allow the optical drive to hang down as you de-route the optical drive thermal sensor connector from behind the GPU heat sink.
-
-
-
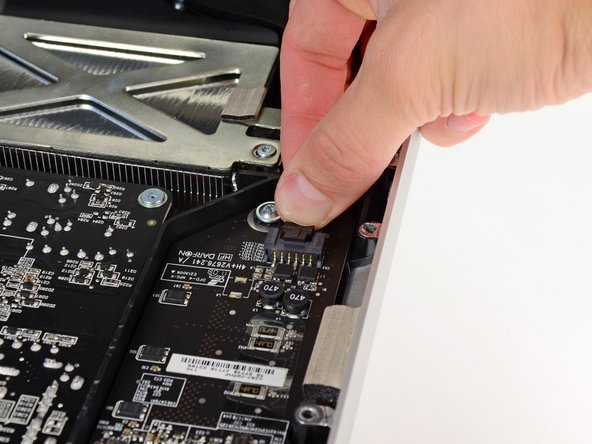
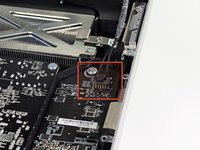
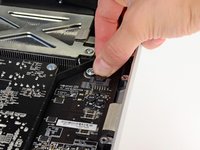
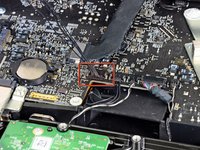
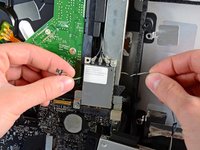
Remove the single 13 mm T10 Torx screw securing the optical drive fan to the outer case.
-
To reassemble your device, follow these instructions in reverse order.
To reassemble your device, follow these instructions in reverse order.
Cancelar: não concluí este guia.
6 outras pessoas executaram este guia.


