Ir para o conteúdo principal

Esta versão pode conter edições incorretas. Mude para o último instantâneo verificado.

O que você precisa

  1. Este passo não foi traduzido. Ajude a traduzi-lo

    : passo 1, imagem 1 %32
    • Unplug all the cables from the computer, including the power cable. Lay the computer face-down, supporting the neck and base with a soft cloth under the screen.

  2. Este passo não foi traduzido. Ajude a traduzi-lo

    : passo 2, imagem 1 %32
    • Loosen the four Phillips #0 screws.

  3. Este passo não foi traduzido. Ajude a traduzi-lo

    : passo 3, imagem 1 %32
    • Carefully remove the base access panel.

  4. Este passo não foi traduzido. Ajude a traduzi-lo

    : passo 4, imagem 1 %32 : passo 4, imagem 2 %32
    • Remove the four 25mm T-15 screws.

  5. Este passo não foi traduzido. Ajude a traduzi-lo

    : passo 5, imagem 1 %32 : passo 5, imagem 2 %32
    • Open the housing plate.

    • Be gentle with the wires still connected to the logic board so as not to ruin the cables.

    • A fixed plug connector between the logic board and upper unit will cause some resistance. Pull gently but firmly.

  6. Este passo não foi traduzido. Ajude a traduzi-lo

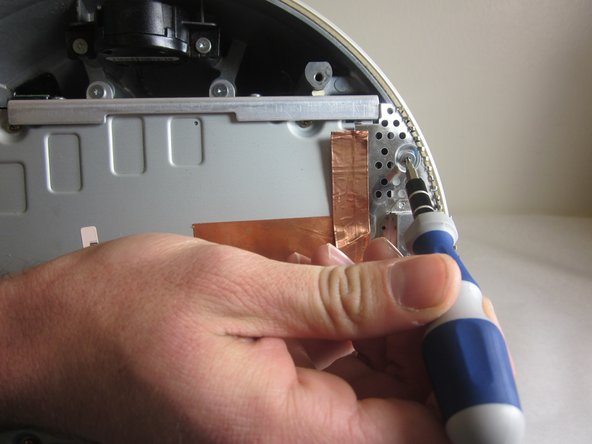
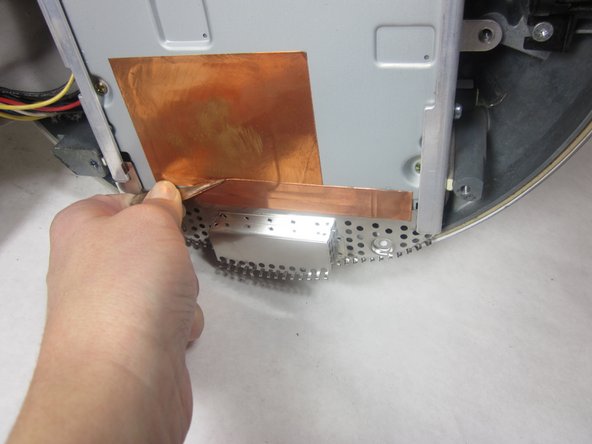
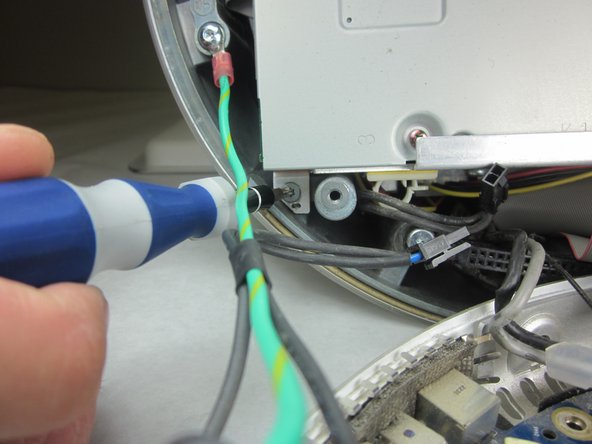
    : passo 6, imagem 1 %32 : passo 6, imagem 2 %32 : passo 6, imagem 3 %32
    • Remove the 2 torx 10mm screws on the EMI shield

    • Carefully remove shield and copper tape

  7. Este passo não foi traduzido. Ajude a traduzi-lo

    : passo 7, imagem 1 %32 : passo 7, imagem 2 %32
    • Remove the 4 10mm torx screws attatched to the drive carrier.

    • The drive carrier includes optical drive and hard drive.

  8. Este passo não foi traduzido. Ajude a traduzi-lo

    : passo 8, imagem 1 %32
    • Grasp the carrier with both hands on each side.

    • Remove the carrier by lifting up and out.

    • Pull gently but firmly. The carrier is meant to fit snugly.

  9. Este passo não foi traduzido. Ajude a traduzi-lo

    : passo 9, imagem 1 %32
    • Flip the removed carrier to the right and pull out power cables.

Linha de Chegada

3 outras pessoas executaram este guia.

Courtney

Membro desde: 10/06/11

1.076 Reputação

Autoria de 3 guias

Equipe

Cal Poly, Team 21-22, Maness Fall 2011 Membro de Cal Poly, Team 21-22, Maness Fall 2011

CPSU-MANESS-F11S21G22

Membros da 4

Autoria de 13 guias

2 comentários

What two screws in step 6

David Hunter - Responder

We need a "action" shot; we need to show an actual screwdriver unscrewing the screw.

David Hunter - Responder

Adicione um comentário

Exibir estatísticas:

Últimas 24 horas: 0

Últimos 7 dias: 4

Últimos 30 dias: 21

Duração total: 2,343