Ir para o conteúdo principal

iHome iH8BR Motherboard Replacement

O que você precisa

  1. iHome iH8BR Motherboard Replacement, Lower Case: passo 1, imagem 1 %32 iHome iH8BR Motherboard Replacement, Lower Case: passo 1, imagem 2 %32 iHome iH8BR Motherboard Replacement, Lower Case: passo 1, imagem 3 %32
    • Unplug the device from the wall outlet, and turn it over so that the buttons are on a flat surface.

    • Use your fingers to pinch the tab in the direction of the "Open" arrow until tab is loose. Pull the tab vertically to remove it.

    • Remove the battery cover and the batteries.

  2. iHome iH8BR Motherboard Replacement: passo 2, imagem 1 %32 iHome iH8BR Motherboard Replacement: passo 2, imagem 2 %32
    • Slide a spudger under the two front rubber pads to expose two hidden screws.

  3. iHome iH8BR Motherboard Replacement: passo 3, imagem 1 %32
    • Remove the following eight screws:

    • Four 15.1 mm Phillips #2 screws near the front of the device.

    • Four 12.7 mm Phillips #2 screws near the back of the device.

    • The slots for the four 12.7 mm screws are very narrow, so you will need a slender, Phillips #2 screwdriver that does not feature replaceable heads in order to reach them.

  4. iHome iH8BR Motherboard Replacement: passo 4, imagem 1 %32 iHome iH8BR Motherboard Replacement: passo 4, imagem 2 %32
    • Turn the iHome 180 degrees so the speaker grille is facing you. Carefully lift the bottom case away from the rest of the body and tilt it as shown.

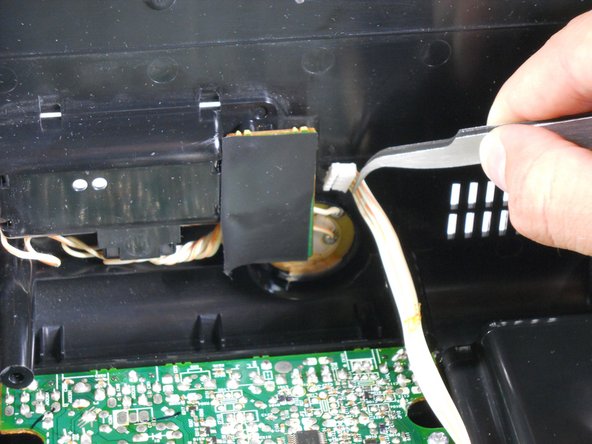
    • Be careful and do not yank the bottom case. A white ribbon wire is the only thing that connects the bottom case to the rest of the device.

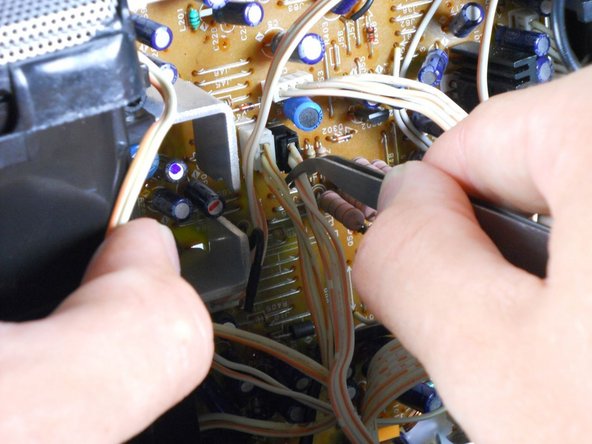
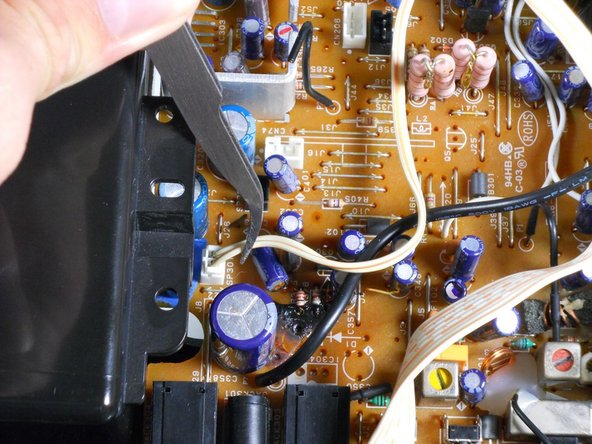
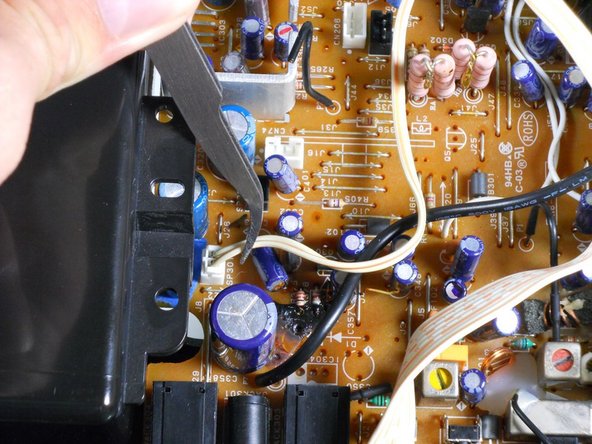
    • Using a pair of tweezers, detach the white ribbon cable. Make sure to pull on the ribbon, not on the head.

    • The lower case can now be completely removed from the device!

  5. iHome iH8BR Motherboard Replacement, Motherboard Assembly: passo 5, imagem 1 %32 iHome iH8BR Motherboard Replacement, Motherboard Assembly: passo 5, imagem 2 %32
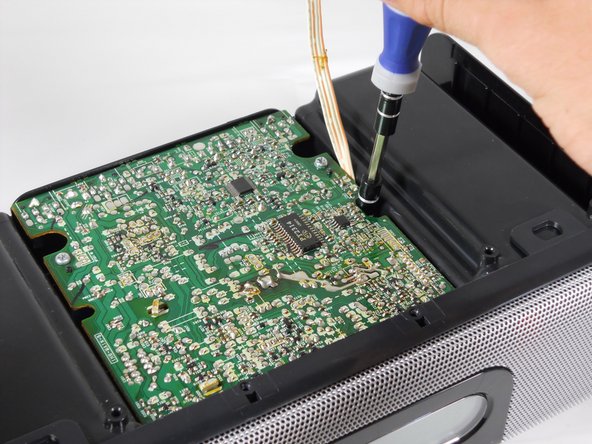
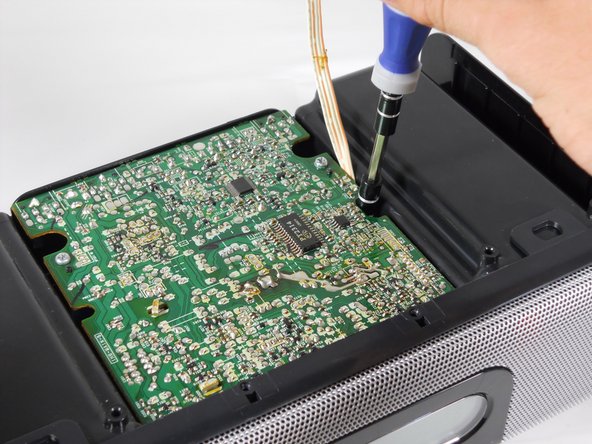
    • Remove the four screws attaching the top of the case to the motherboard:

    • Two 9.5 mm Phillips #2 screws near the speaker grille.

    • Two 14.3 mm Phillips #2 screws that sit in recesses under the motherboard.

    • It is useful to use a screwdriver with a magnetic tip so that the screws don't get lost inside the device.

  6. iHome iH8BR Motherboard Replacement: passo 6, imagem 1 %32 iHome iH8BR Motherboard Replacement: passo 6, imagem 2 %32
    • Turn the iHome 180 degrees and carefully pull up on speaker cases to pry them loose from the bottom case.

    • Prying the Motherboard Assembly from the Upper Case will require a good amount of force. Be very careful not to break the case, or yank on any of the ribbon wires attached to the underside.

    • Pulling outwards on the sides of the Upper Casing can help loosen the assembly.

    • If it seems too difficult to remove, chances are that a screw is still attached. Make sure you've removed every screw listed before proceeding to this step.

    • Pull the back adapter cover off.

  7. iHome iH8BR Motherboard Replacement: passo 7, imagem 1 %32 iHome iH8BR Motherboard Replacement: passo 7, imagem 2 %32
    • Remove the four 6.4 mm Phillips #1 screws holding the adapter to the outer case.

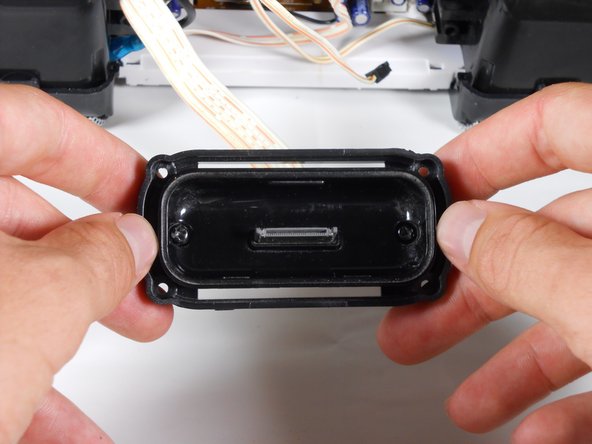
    • Only remove the following screws if you are planning on taking apart the iPod Adapter later on:

    • Two 6.4 mm Phillips #1 screws near the center of the adapter. These screws have built in washers.

    • One 4.0 mm Phillips #1 screw near the center of the adapter.

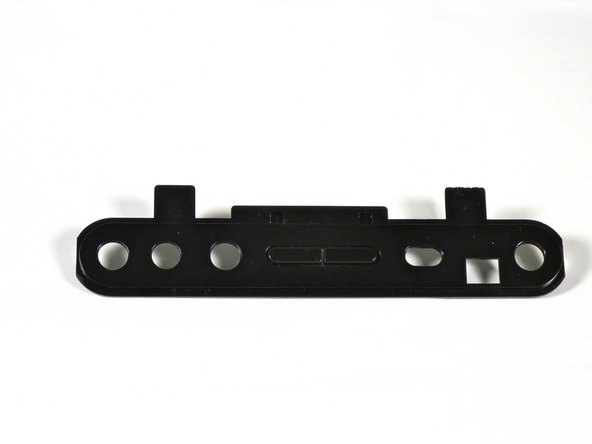
    • The iPod adapter should now be separate from the upper casing.

  8. iHome iH8BR Motherboard Replacement: passo 8, imagem 1 %32 iHome iH8BR Motherboard Replacement: passo 8, imagem 2 %32 iHome iH8BR Motherboard Replacement: passo 8, imagem 3 %32
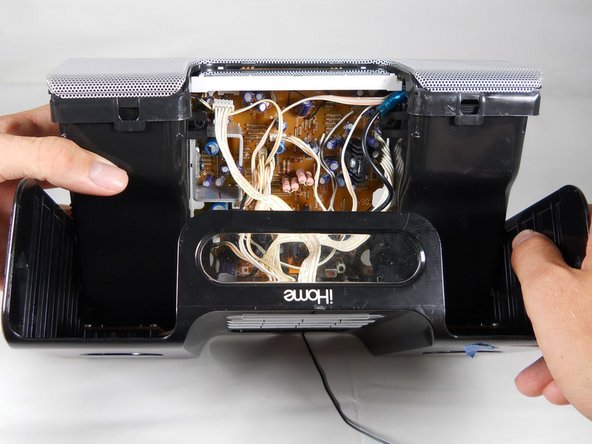
    • With the back of the iHome is facing you, tilt the Motherboard Assembly upwards as shown.

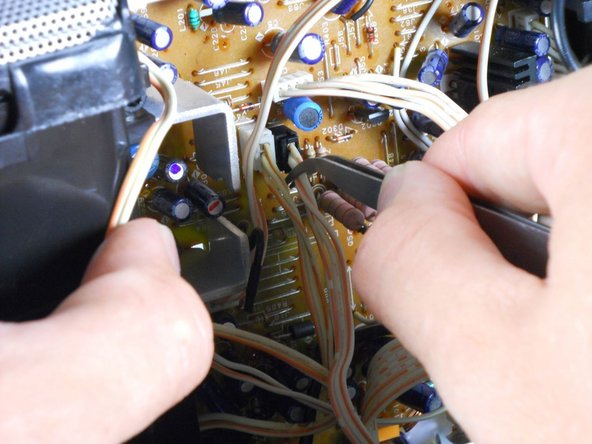
    • Do not yank or jerk these ribbon cables. Make sure not to pull on the heads, but on the ribbons themselves.

    • Use tweezers to remove the 6 ribbon cables.

  9. iHome iH8BR Motherboard Replacement: passo 9, imagem 1 %32
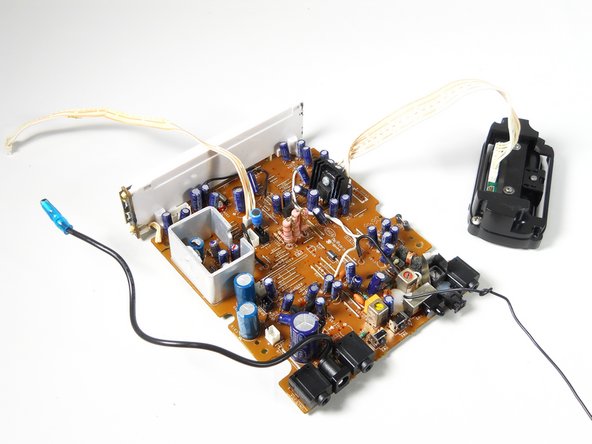
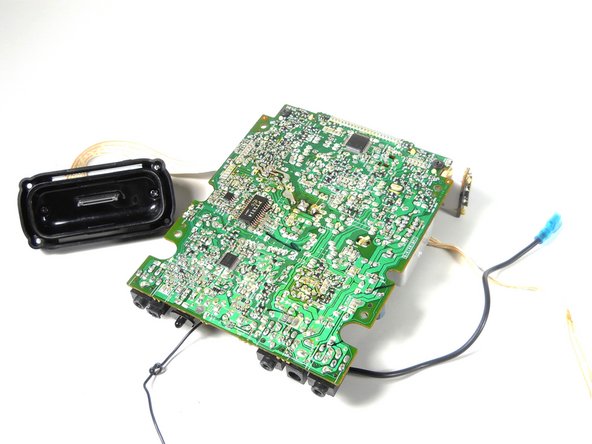
    • Pull the speakers, motherboard, and iPod adapter up and away from the lower casing.

    • You have now separated your iHome's inner workings from its protective case!

  10. iHome iH8BR Motherboard Replacement, Motherboard: passo 10, imagem 1 %32 iHome iH8BR Motherboard Replacement, Motherboard: passo 10, imagem 2 %32 iHome iH8BR Motherboard Replacement, Motherboard: passo 10, imagem 3 %32
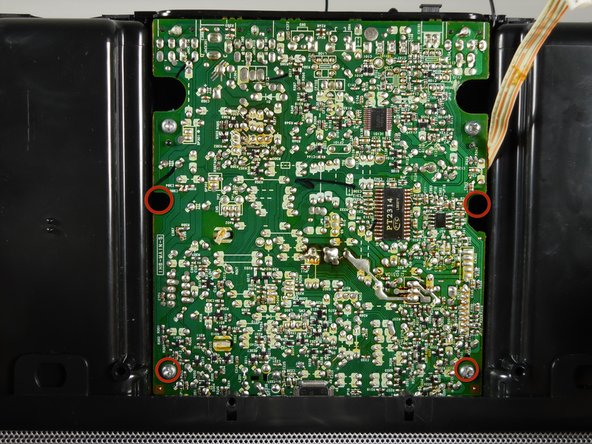
    • Remove four screws attaching top of case to motherboard.

    • Two of the screws indicated are hidden below the motherboard. These screws are marked in the pictures provided.

  11. iHome iH8BR Motherboard Replacement: passo 11, imagem 1 %32 iHome iH8BR Motherboard Replacement: passo 11, imagem 2 %32 iHome iH8BR Motherboard Replacement: passo 11, imagem 3 %32
    • Carefully pull up on speaker boxes to pry them loose from the bottom case. Wires attach the underside of the motherboard to the upper case, and they will not seperate completely at this time.

    • Pull the back adapter cover off and set aside.

    • iHome has been rotated in the final picture to display all the wires you should be aware of.

  12. iHome iH8BR Motherboard Replacement: passo 12, imagem 1 %32
    • Remove the four 6.4 mm Phillips #1 screws holding the adapter to the outer case.

  13. iHome iH8BR Motherboard Replacement: passo 13, imagem 1 %32 iHome iH8BR Motherboard Replacement: passo 13, imagem 2 %32 iHome iH8BR Motherboard Replacement: passo 13, imagem 3 %32
    • Rotate the iHome so that the front screen is facing you.

    • Do not yank or jerk the cables as they break easily. Make sure to pull on the cables, and not on the heads.

    • Not all of the cables will separate from the motherboard. Do not try to remove any ribbons other than the ones indicated.

  14. iHome iH8BR Motherboard Replacement: passo 14, imagem 1 %32
    • Pull the speakers, motherboard, and iPod adapter up and away from the lower casing.

    • You have now separated your iHome's inner workings from its protective case!

  15. iHome iH8BR Motherboard Replacement: passo 15, imagem 1 %32
    • Remove the two 9.5 mm Phillips #2 screws that connect the speakers to the motherboard.

  16. iHome iH8BR Motherboard Replacement: passo 16, imagem 1 %32
    • Disengage the clips on both sides of the speaker grille to separate the speakers from the rest of the assembly.

  17. iHome iH8BR Motherboard Replacement: passo 17, imagem 1 %32 iHome iH8BR Motherboard Replacement: passo 17, imagem 2 %32 iHome iH8BR Motherboard Replacement: passo 17, imagem 3 %32
    • Disconnect the ground from the speaker grille by gently pulling it away.

    • Congratulations, you have successfully seperated the motherboard!

Conclusão

To reassemble your device, follow these instructions in reverse order.

cfredric

Membro desde: 04/17/13

25 Reputação

Autoria de 6 guias

Equipe

Cal Poly, Team 12-33, Amido Spring 2013 Membro de Cal Poly, Team 12-33, Amido Spring 2013

CPSU-AMIDO-S13S12G33

Membros da 4

Autoria de 7 guias

Um comentário

Thank you so much. I have this speaker along with many others and it didnt seem to work. So i just left it there and now i found out how to fix it. Thanks again

daven carabbacan - Responder

Adicione um comentário

Exibir estatísticas:

Últimas 24 horas: 0

Últimos 7 dias: 0

Últimos 30 dias: 2

Duração total: 2,614