Esta versão pode conter edições incorretas. Mude para o último instantâneo verificado.
O que você precisa
-
Este passo não foi traduzido. Ajude a traduzi-lo
-
Set the IHome on a surface facing upward.
-
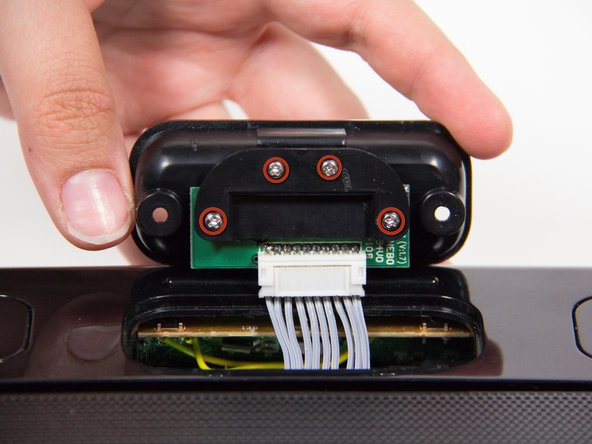
Locate the two screws on the docking station adapter.
-
Remove the following screws:
-
Two 10 mm Phillips #0
-
-
Este passo não foi traduzido. Ajude a traduzi-lo
-
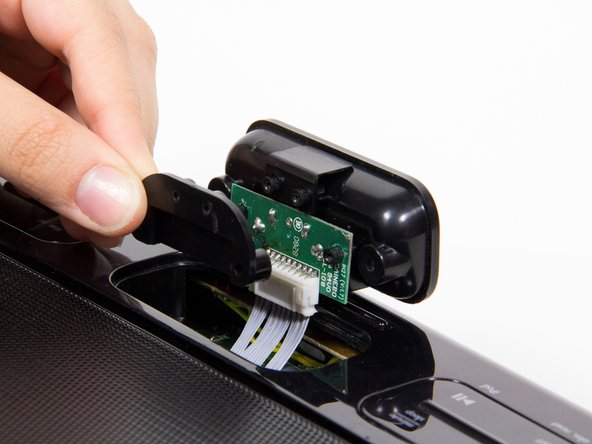
Grip the plastic adapter case and pull upwards with a medium amount of force. You will have to twist forward a little so that the connections are visible.
-
-
-
Este passo não foi traduzido. Ajude a traduzi-lo
-
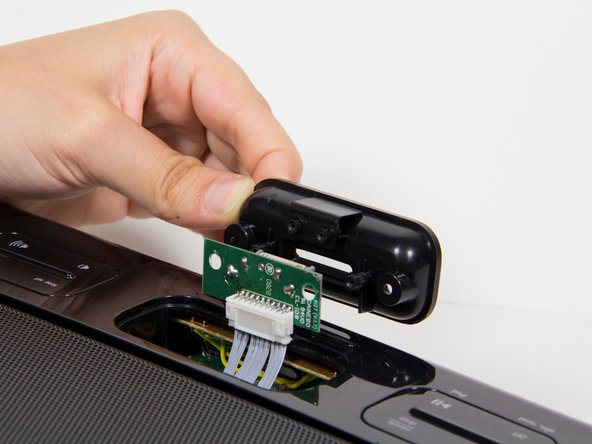
Remove the following screws:
-
Four 7 mm Phillips #0
-
Lift up the two black plastic pieces that have come loose on either side of the circuit board, and set them aside.
-
-
Este passo não foi traduzido. Ajude a traduzi-lo
-
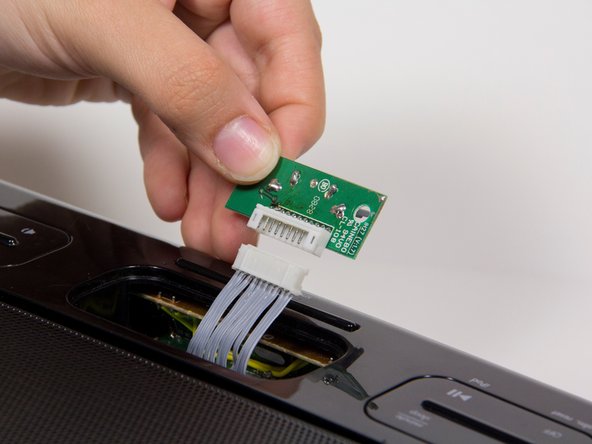
Carefully pry apart the bundle of white wires connected at the junction with the plastic opening tool.
-
Lift up the circuit board that has become loose.
-
-
Este passo não foi traduzido. Ajude a traduzi-lo
-
Pull out the adapter, and replace it with the new one.
-


Cancelar: não concluí este guia.
Uma outra pessoa concluiu este guia.
Equipe

Cal Poly, Team 3-21, Amido Fall 2012 Membro de Cal Poly, Team 3-21, Amido Fall 2012
CPSU-AMIDO-F12S3G21
Membros da 4
Autoria de 9 guias