Ir para o conteúdo principal

ZTE Avail 2 Camera Replacement

O que você precisa

  1. ZTE Avail 2 Camera Replacement, Battery: passo 1, imagem 1 %32 ZTE Avail 2 Camera Replacement, Battery: passo 1, imagem 2 %32 ZTE Avail 2 Camera Replacement, Battery: passo 1, imagem 3 %32
    • Before disassembling your ZTE Avail 2, be sure it is powered off.

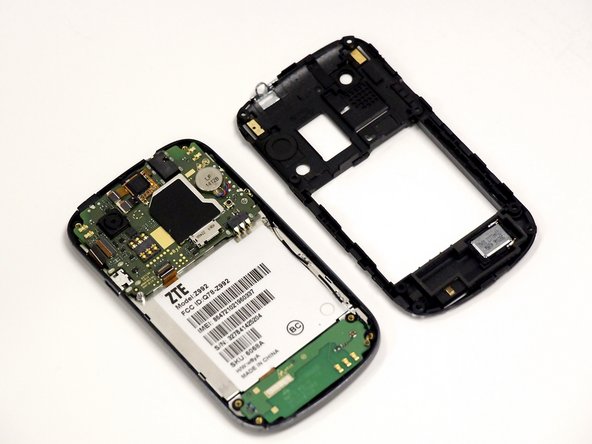
    • Remove the back cover using the notch at the bottom of the device.

    • Pull the back cover from the front panel gently to remove it.

  2. ZTE Avail 2 Camera Replacement: passo 2, imagem 1 %32 ZTE Avail 2 Camera Replacement: passo 2, imagem 2 %32
    • Remove the battery by the notch in the back plate.

  3. ZTE Avail 2 Camera Replacement, Camera: passo 3, imagem 1 %32
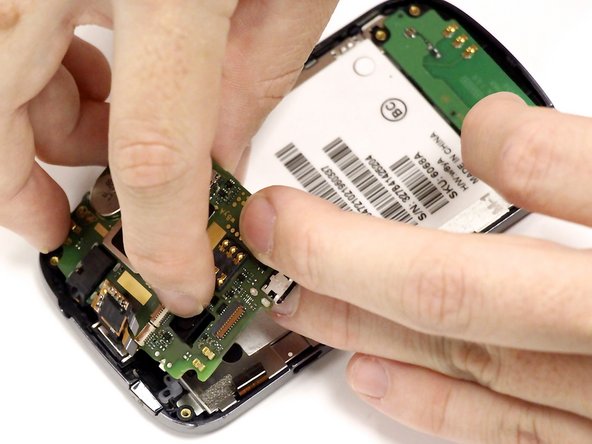
    • Using your J00 screwdriver, unscrew each of the 8 Philips head screws from the black plate of the device.

  4. ZTE Avail 2 Camera Replacement: passo 4, imagem 1 %32 ZTE Avail 2 Camera Replacement: passo 4, imagem 2 %32
    • Using the spudger tool, pull up from underneath the back plate and pop off the piece.

  5. ZTE Avail 2 Camera Replacement: passo 5, imagem 1 %32 ZTE Avail 2 Camera Replacement: passo 5, imagem 2 %32
    • Using the tweezers remove the 4 orange ribbon cables. Do this by lifting their corresponding black connectors and pulling the ribbon out.

  6. ZTE Avail 2 Camera Replacement: passo 6, imagem 1 %32
    • On the left side you will see a cellular antenna cable wire. Remove this wire by gently pulling it off.

  7. ZTE Avail 2 Camera Replacement: passo 7, imagem 1 %32 ZTE Avail 2 Camera Replacement: passo 7, imagem 2 %32
    • Lift up the motherboard, this may require some force because it is held on by adhesive.

    • This will allow you to access the camera and the camera mount.

  8. ZTE Avail 2 Camera Replacement: passo 8, imagem 1 %32 ZTE Avail 2 Camera Replacement: passo 8, imagem 2 %32 ZTE Avail 2 Camera Replacement: passo 8, imagem 3 %32
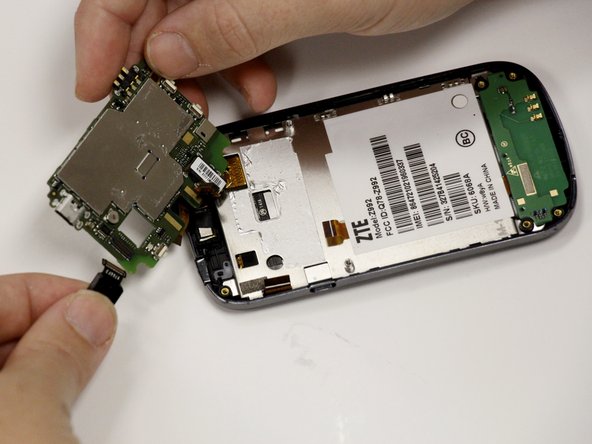
    • Where you can see the front of the camera lightly push on the camera to remove the camera from its holding. The camera will come through the back.

    • Once out of the holding remove the clip holding it to the underside of the motherboard. Now the camera is removed.

    • Once the old camera is removed replace it with the new camera to complete the repair.

Conclusão

To reassemble your device, follow these instructions in reverse order.

5 outras pessoas executaram este guia.

0 comentários

Adicione um comentário

Exibir estatísticas:

Últimas 24 horas: 0

Últimos 7 dias: 0

Últimos 30 dias: 0

Duração total: 455