Ir para o conteúdo principal
Participe da comunidade de reparos - Criar conta

Wilwood 195BH Winterization

    1. Wilwood 195BH Winterization, Exterior 1 - Patch the holes: passo 1, imagem 1 %32 Wilwood 195BH Winterization, Exterior 1 - Patch the holes: passo 1, imagem 2 %32 Wilwood 195BH Winterization, Exterior 1 - Patch the holes: passo 1, imagem 3 %32
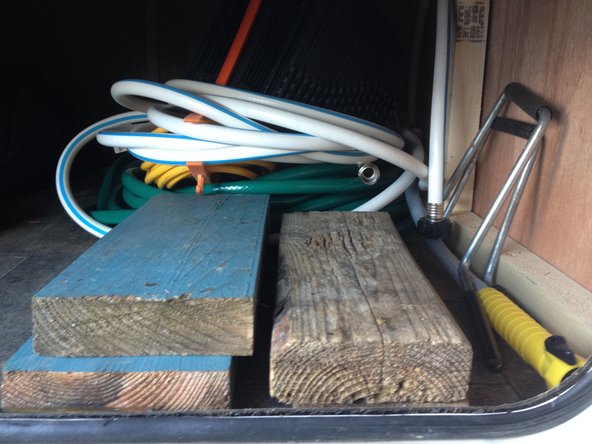
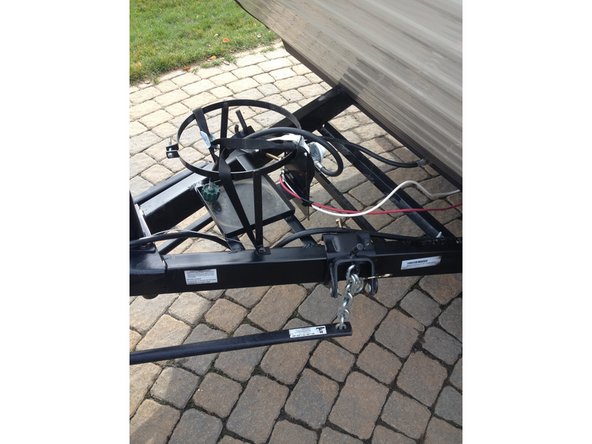
      • The undersides of the trailers are only protected by a tarpaulin.

      • Items passing through this tarp leave openings for rodents or other insects

      • Patch those holes with duck tape

      Pergunte ao FixBot

      Comentar

    2. Wilwood 195BH Winterization, Exterior 2 - Exterior cleaning: passo 2, imagem 1 %32
      • With a soft brush and a soap brush clean the exterior of the trailer

      • Make sure it's completely dry before bringing it indoors if that's what you're doing.

      Pergunte ao FixBot

      Comentar

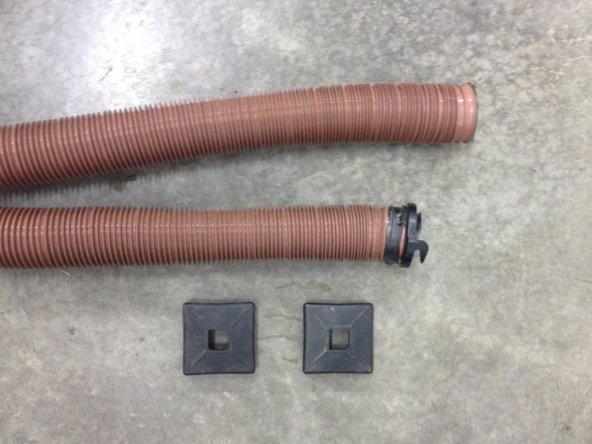
    3. Wilwood 195BH Winterization, Exterior 3 - Bumper cleaning: passo 3, imagem 1 %32 Wilwood 195BH Winterization, Exterior 3 - Bumper cleaning: passo 3, imagem 2 %32
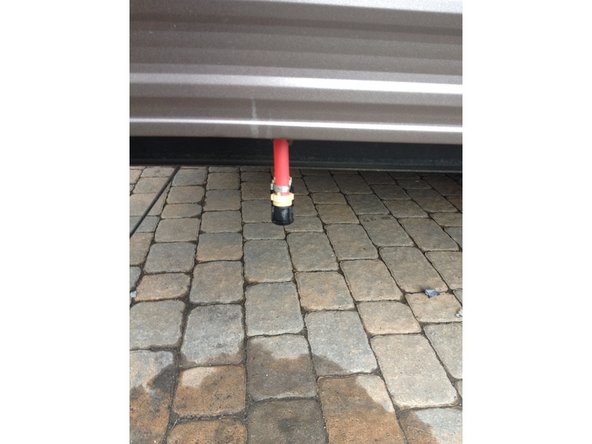
      • After the exterior cleaning, it is an ideal moment to rinse with plenty of water the bumper which also serves as a storage for the sewer pipe.

      • Thoroughly rinse the inner bumper

      • Thoroughly rinse the pipe

      • Leave everything to air dry for a day.

      • A good idea to suspend the pipe so that it drips completely

      • Put it all back in the bumper

      Pergunte ao FixBot

      Comentar

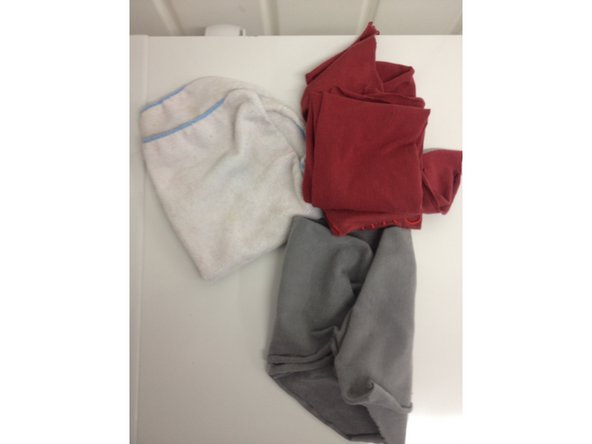
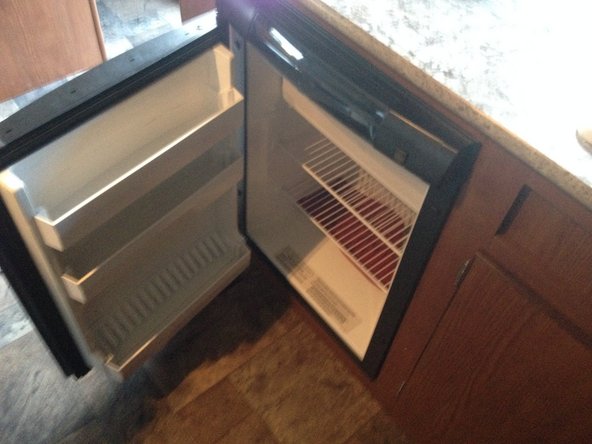
    4. Wilwood 195BH Winterization, Inside 1 - Refrigerated Defrost: passo 4, imagem 1 %32 Wilwood 195BH Winterization, Inside 1 - Refrigerated Defrost: passo 4, imagem 2 %32 Wilwood 195BH Winterization, Inside 1 - Refrigerated Defrost: passo 4, imagem 3 %32
      • Close the refrigerator by pressing OFF

      • Taking tea towels, place it at the bottom of the refrigerator and leave the door open

      Pergunte ao FixBot

      Comentar

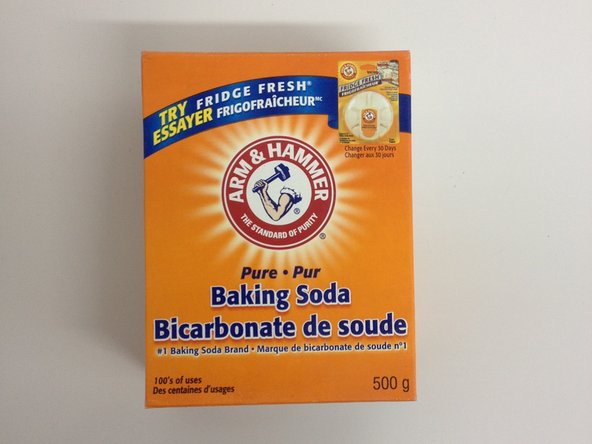
    5. Wilwood 195BH Winterization, Interior 2 - Fridge - cool: passo 5, imagem 1 %32 Wilwood 195BH Winterization, Interior 2 - Fridge - cool: passo 5, imagem 2 %32 Wilwood 195BH Winterization, Interior 2 - Fridge - cool: passo 5, imagem 3 %32
      • The next day, clean dry the inside

      • Place baking soda during hibernation

      • Place scraps of wood so that the freezer compartment can breathe and have air

      • If possible open the door ajar during hibernation

      Pergunte ao FixBot

      Comentar

    6. Wilwood 195BH Winterization, Interior 3 - Clean the tank: passo 6, imagem 1 %32 Wilwood 195BH Winterization, Interior 3 - Clean the tank: passo 6, imagem 2 %32 Wilwood 195BH Winterization, Interior 3 - Clean the tank: passo 6, imagem 3 %32
      • With a jet nozzle clean the toilet until no more deposits remain and your outlet water is clear

      • If you are not connected to a drain, you can use a bucket and gloves

      • This is the last step where you have running water in the trailer

      Pergunte ao FixBot

      Comentar

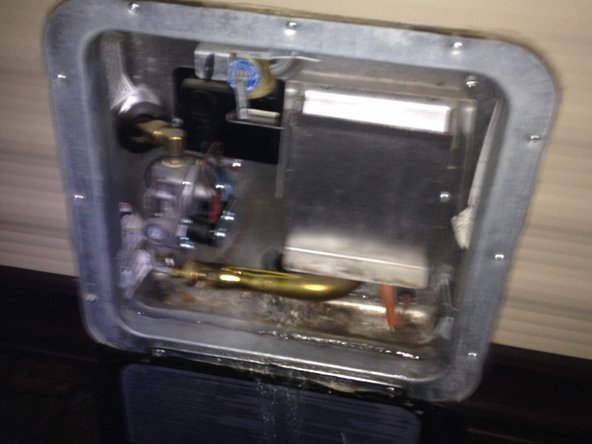
    7. Wilwood 195BH Winterization, Water heater 1 - Closing the valve: passo 7, imagem 1 %32 Wilwood 195BH Winterization, Water heater 1 - Closing the valve: passo 7, imagem 2 %32 Wilwood 195BH Winterization, Water heater 1 - Closing the valve: passo 7, imagem 3 %32
      • Make sure the heater has been completely shut down for a long time. RISK OF INJURY

      • Make sure the water is turned off before starting the conduit winterization steps

      • The valves are placed in such a way as to allocate cold water into the water heater and out. The cold-hot junction valve is closed

      • Open valves to prevent cold water from entering and hot water from exiting. Open the cold-hot junction valve

      Pergunte ao FixBot

      Comentar

    8. Wilwood 195BH Winterization, Water heater 2 - Water drain: passo 8, imagem 1 %32 Wilwood 195BH Winterization, Water heater 2 - Water drain: passo 8, imagem 2 %32 Wilwood 195BH Winterization, Water heater 2 - Water drain: passo 8, imagem 3 %32
      • To drain the water heater, the anode must be unscrewed with a 1 and 1/16 inch socket.

      • Note that I needed a 3/8 to 1/2 adapter to use the socket with my "ratchets"

      • Release pressure by pressing the valve repeatedly

      • Unscrew the anode completely and let the water flow completely out of the water heater

      • The teflon tape will be to replace that of the anode next spring

      • Once empty replace the anode

      Pergunte ao FixBot

      Comentar

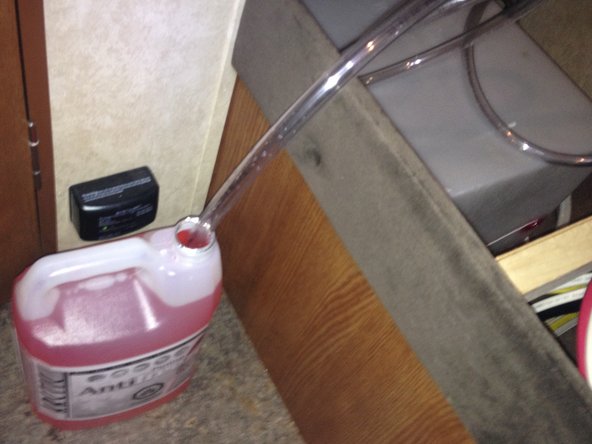
    9. Wilwood 195BH Winterization, Antifreeze 1: passo 9, imagem 1 %32 Wilwood 195BH Winterization, Antifreeze 1: passo 9, imagem 2 %32 Wilwood 195BH Winterization, Antifreeze 1: passo 9, imagem 3 %32
      • The installation of a Tee was necessary so as not to have to dismantle the connector from the tank

      • Turn the valve down (for my system) and the pump will draw liquid from the food grade antifreeze container

      • Start the pump

      Pergunte ao FixBot

      Comentar

    10. Wilwood 195BH Winterization, Antifreeze 2: passo 10, imagem 1 %32 Wilwood 195BH Winterization, Antifreeze 2: passo 10, imagem 2 %32 Wilwood 195BH Winterization, Antifreeze 2: passo 10, imagem 3 %32
      • Make sure you've done step 7! Antifreeze MUST NOT enter the water heater!

      • Always one faucet at a time, start with the sink cold water stop when the antifreeze comes out fully pink

      • Continue with the hot water tap

      • Go use the toilet

      • Do NOT leave antifreeze in the bottom of the toilet all winter. Antifreeze stains plastic

      Pergunte ao FixBot

      Comentar

    11. Wilwood 195BH Winterization, Antifreeze 3: passo 11, imagem 1 %32 Wilwood 195BH Winterization, Antifreeze 3: passo 11, imagem 2 %32
      • Open bath cold water faucet, stop when antifreeze comes out

      • Do not forget to shower, water accumulates there.

      • Open hot water tap, stop when antifreeze comes out

      • Some models of shower nozzles need to be disassembled poorly resistant to cold. Plastic clips seem very fragile. For me, it's metal nets.

      Pergunte ao FixBot

      Comentar

    12. Wilwood 195BH Winterization, Finish 1: passo 12, imagem 1 %32 Wilwood 195BH Winterization, Finish 1: passo 12, imagem 2 %32 Wilwood 195BH Winterization, Finish 1: passo 12, imagem 3 %32
      • Take the fire extinguisher, shake it to stir the powder inside

      • You can knock it lightly on a padded surface

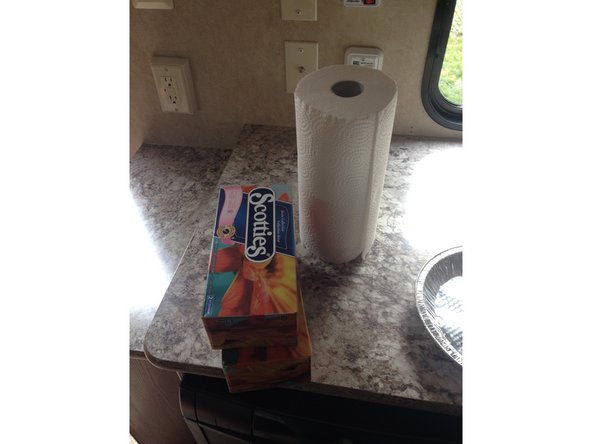
      • Remove any type of fabric likely to be undone by mice or rodents: tissues, paper towels, etc.

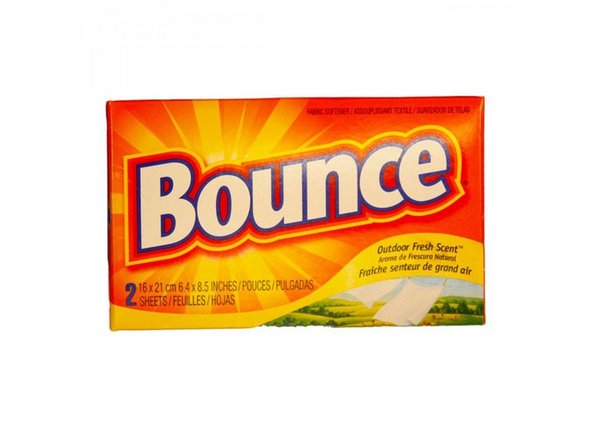
      • Finally, place Bounce sheets under mattresses and other pillows.

      • Placed in places near an exterior mouth keep mice and other rodents away with their scent

      Pergunte ao FixBot

      Comentar

    13. Wilwood 195BH Winterization, Finish 2: passo 13, imagem 1 %32 Wilwood 195BH Winterization, Finish 2: passo 13, imagem 2 %32
      • Disassemble the tank, tie the wires securely so they don't hang or catch anything along the way.

      • Burn the excess gas via the rings, the fridge, the water heater. As soon as the flame starter clicks stop

      Pergunte ao FixBot

      Comentar

    14. Wilwood 195BH Winterization, Finish 3: passo 14, imagem 1 %32 Wilwood 195BH Winterization, Finish 3: passo 14, imagem 2 %32 Wilwood 195BH Winterization, Finish 3: passo 14, imagem 3 %32
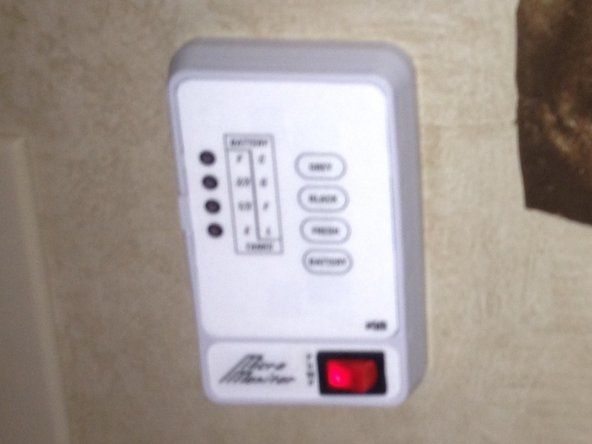
      • Close the circuit breakers so as not to draw all the energy from the battery of the towing vehicle during the trip to storage

      • Disconnect the battery and store it out of the gel on a wooden or plastic surface. Anything but concrete. Recharge the battery once or twice during the winter and before leaving with the trailer

      • Tie the battery wires securely

      • Open drain plugs to remove excess water

      Pergunte ao FixBot

      Comentar

    15. Wilwood 195BH Winterization, Storage: passo 15, imagem 1 %32 Wilwood 195BH Winterization, Storage: passo 15, imagem 2 %32 Wilwood 195BH Winterization, Storage: passo 15, imagem 3 %32
      • Possibility of leaving things that do not fear the cold. Plastic tips, empty and dry pipes, tools, etc.

      • Lock all compartments and doors.

      • Leave interior doors open during hibernation

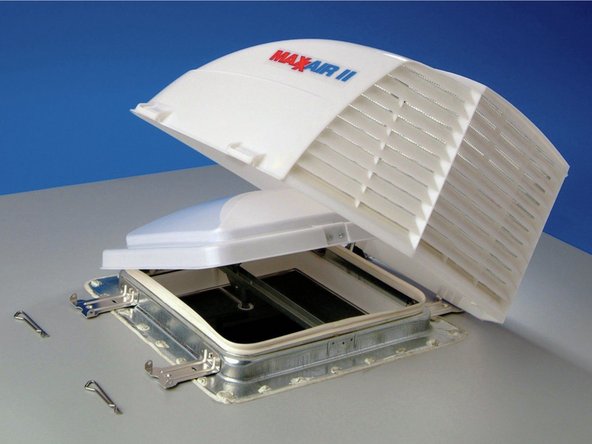
      • If a Max-Air is present leave a very small gap on the roof vent

      Pergunte ao FixBot

      Comentar

Conclusão

In spring the steps are almost the opposite

Cancelar: não concluí este guia.

2 outras pessoas executaram este guia.

Um agradecimento especial a esses tradutores:

fr en

100%

HelloMacOS está nos ajudando a consertar o mundo! Quer contribuir?
Comece a traduzir ›

0Comentários do guia

Comentar

Visualizações:

Últimas 24 horas: 1

Últimos 7 dias: 13

Últimos 30 dias: 42

Ao todo: 2,491