Esta tradução pode não refletir as atualizações mais recentes do guia de fontes. Ajude a atualizar a tradução ou veja guia de fontes.
O que você precisa
-
-
Remove the two screws holding the battery in place.
-
Slip your finger into the finger hole provided at the top of the battery and lift to remove it.
-
-
-
Remove the five Phillips screws securing the bottom to the case.
-
Slide the cover up slightly to release the catches holding it in place. This is the view on the right. The mark on the cover should now line up with the second mark on the case of the computer.
-
-
-
-
This is the view on the left before and after sliding the cover. The mark on the cover should now line up with the second mark on the case of the computer.
-
Lift the bottom cover to remove it.
-
-
-
Remove the three Phillips screws securing the fan on the right.
-
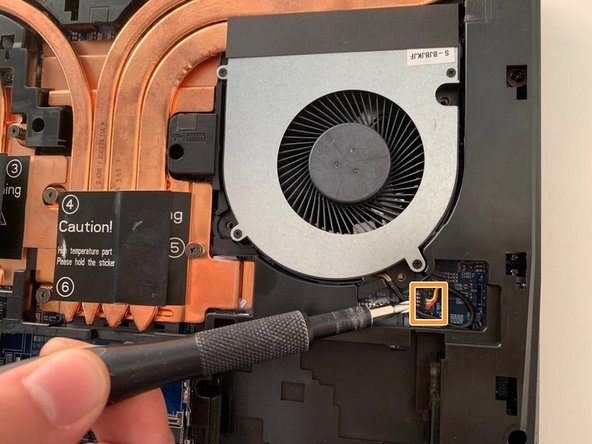
Carefully unplug the fan's power connector.
-
Remove the first fan.
-
-
-
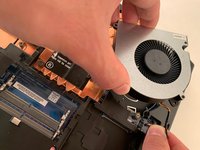
Remove the two Phillips screws securing the left hand fan.
-
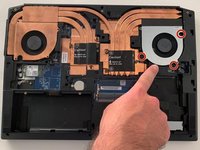
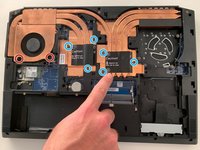
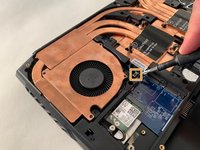
Remove the six Phillips heatsink retaining screws .
-
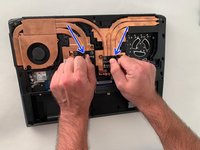
Carefully unplug the fan's power connector.
-
Using the two black tabs as handles, lift and remove the heatsink.
-
-
-
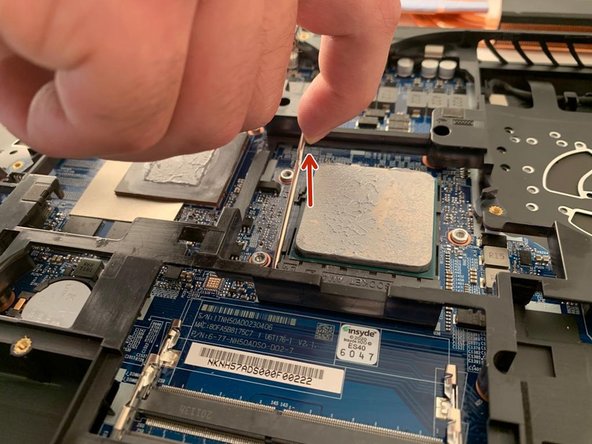
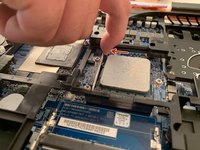
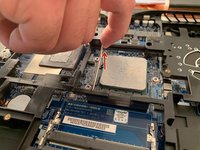
Carefully pull the metal bar away from the processor to free it from under the retaining tab, then lift it to release the processor pins.
-
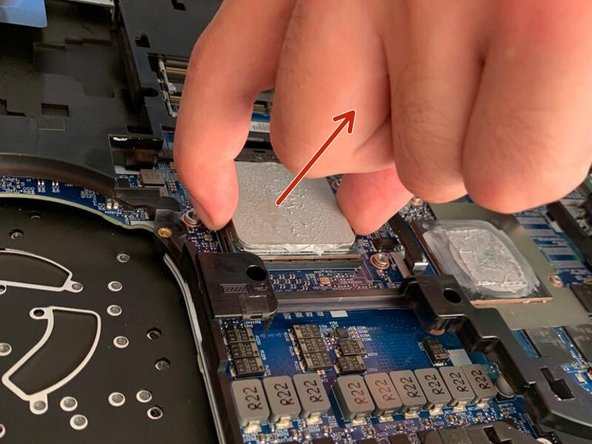
Gently remove the processor by lifting it straight up.
-


To reassemble your device, follow the instructions in reverse order.
Um agradecimento especial a esses tradutores:
75%


Estes tradutores estão nos ajudando a consertar o mundo! Quer contribuir?
Comece a traduzir ›