Ir para o conteúdo principal

Wacker Pump PG1 2014 Seal Kit Replacement

O que você precisa

  1. Wacker Pump PG1 2014 Seal Kit Replacement, Safety precautions: passo 1, imagem 1 %32 Wacker Pump PG1 2014 Seal Kit Replacement, Safety precautions: passo 1, imagem 2 %32
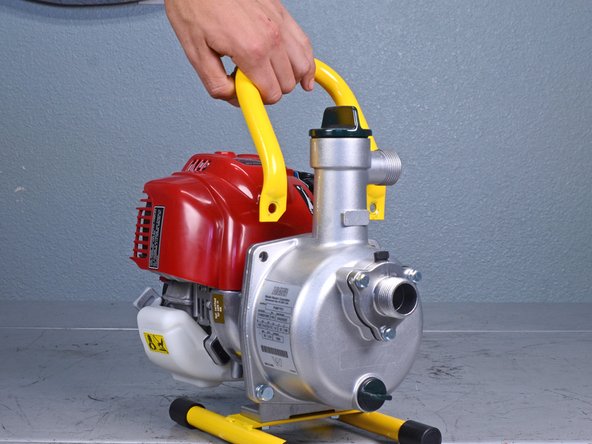
    • Before beginning repairs, disconnect and remove all hoses.

    • Flip the motor ignition switch into the OFF position.

  2. Wacker Pump PG1 2014 Seal Kit Replacement, Float Chamber Housing: passo 2, imagem 1 %32
    • Use a 13 mm socket to remove the two bolts securing the handle.

  3. Wacker Pump PG1 2014 Seal Kit Replacement: passo 3, imagem 1 %32 Wacker Pump PG1 2014 Seal Kit Replacement: passo 3, imagem 2 %32
    • Remove the handle.

  4. Wacker Pump PG1 2014 Seal Kit Replacement: passo 4, imagem 1 %32
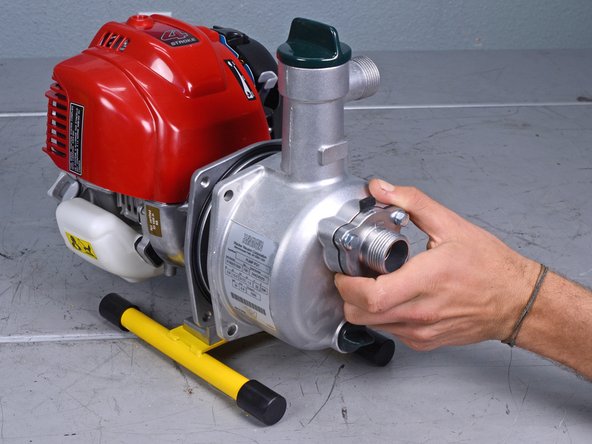
    • Use a 13 mm socket to remove the two bolts securing the float chamber housing.

  5. Wacker Pump PG1 2014 Seal Kit Replacement: passo 5, imagem 1 %32 Wacker Pump PG1 2014 Seal Kit Replacement: passo 5, imagem 2 %32 Wacker Pump PG1 2014 Seal Kit Replacement: passo 5, imagem 3 %32
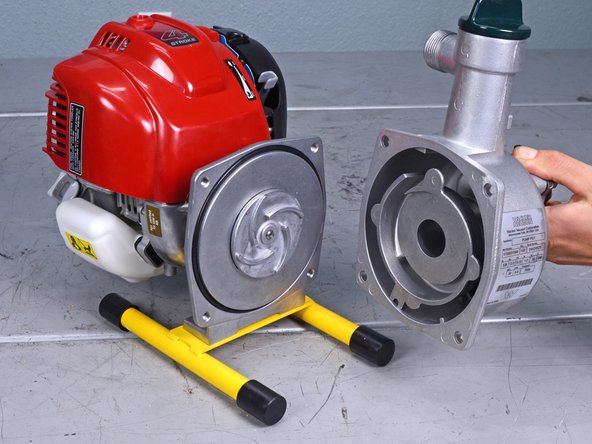
    • Remove the float chamber housing.

  6. Wacker Pump PG1 2014 Seal Kit Replacement, Remove the engine cover: passo 6, imagem 1 %32
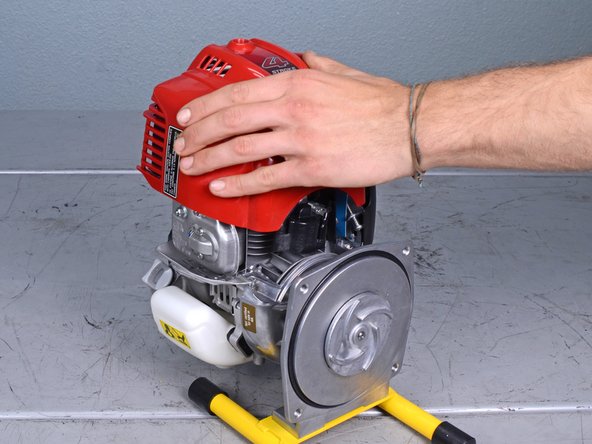
    • Use a 4 mm hex key to remove the bolt securing the engine cover.

  7. Wacker Pump PG1 2014 Seal Kit Replacement: passo 7, imagem 1 %32 Wacker Pump PG1 2014 Seal Kit Replacement: passo 7, imagem 2 %32
    • Lift up to remove the engine cover.

  8. Wacker Pump PG1 2014 Seal Kit Replacement, Block the fan blades: passo 8, imagem 1 %32 Wacker Pump PG1 2014 Seal Kit Replacement, Block the fan blades: passo 8, imagem 2 %32
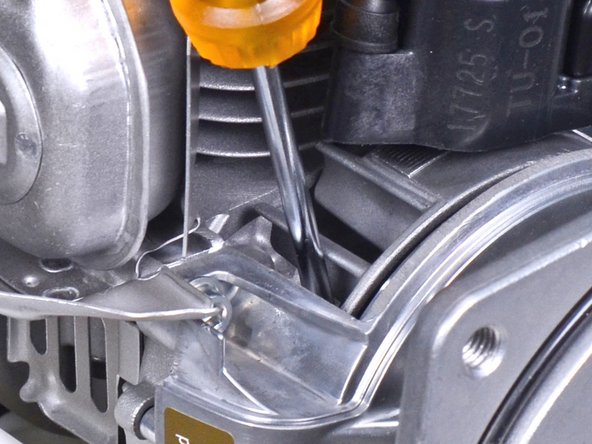
    • The impeller is threaded onto the motor's output shaft and will need to be loosened. In order to stop the shaft from rotating, the motor fan assembly will need to be blocked.

    • Insert a flathead screwdriver between two fan blades on the motor fan assembly.

  9. Wacker Pump PG1 2014 Seal Kit Replacement, Loosen the impeller: passo 9, imagem 1 %32
    • Tap the impeller on one of its blades with a rubber mallet and a punch to break it loose from the threads on the output shaft.

  10. Wacker Pump PG1 2014 Seal Kit Replacement, Remove the impeller: passo 10, imagem 1 %32 Wacker Pump PG1 2014 Seal Kit Replacement, Remove the impeller: passo 10, imagem 2 %32 Wacker Pump PG1 2014 Seal Kit Replacement, Remove the impeller: passo 10, imagem 3 %32
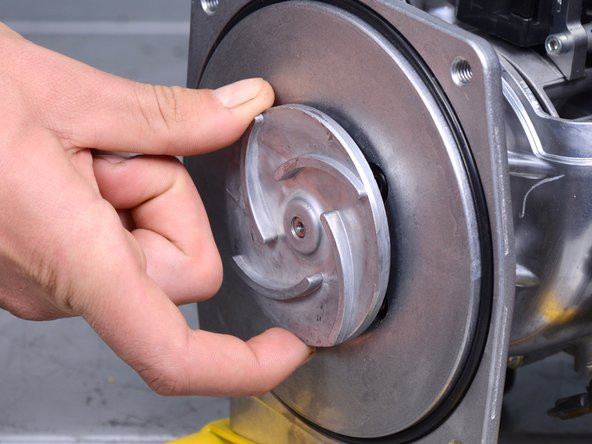
    • Use your fingers to unthread and remove the impeller.

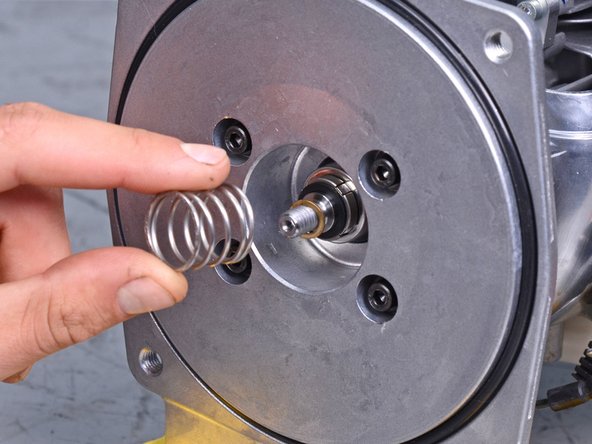
    • With the impeller removed, the seal kit spring will become loose and may fall out.

  11. Wacker Pump PG1 2014 Seal Kit Replacement, Remove the seal spring: passo 11, imagem 1 %32 Wacker Pump PG1 2014 Seal Kit Replacement, Remove the seal spring: passo 11, imagem 2 %32
    • Remove the seal kit spring.

  12. Wacker Pump PG1 2014 Seal Kit Replacement, Remove the seal kit components: passo 12, imagem 1 %32 Wacker Pump PG1 2014 Seal Kit Replacement, Remove the seal kit components: passo 12, imagem 2 %32 Wacker Pump PG1 2014 Seal Kit Replacement, Remove the seal kit components: passo 12, imagem 3 %32
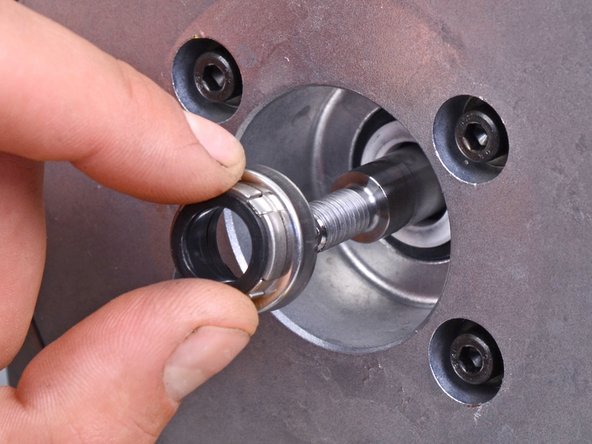
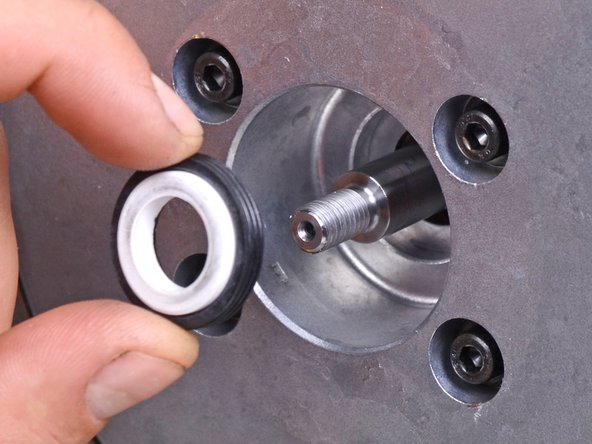
    • Remove the seal kit washer.

    • Remove the seal kit flange.

    • Remove the seal kit bushing.

Conclusão

To reassemble your device, follow these instructions in reverse order.

Carsten Frauenheim

Membro desde: 03/10/20

118.986 Reputação

Autoria de 341 guias

Equipe

iFixit Membro de iFixit

Staff

Membros da 140

Autoria de 18.077 guias

0 comentários

Adicione um comentário

Exibir estatísticas:

Últimas 24 horas: 0

Últimos 7 dias: 2

Últimos 30 dias: 5

Duração total: 164