Ir para o conteúdo principal
WRS315SDHW Inlet Valve Assembly Replacement

WRS315SDHW Inlet Valve Assembly Replacement

nicO

nicO e 2 outros colaboradores

Última atualização em June 1, 2023

30 - 45 minutos
Moderado

Introdução

Ir para o passo 1

Use this guide to replace the inlet valve assembly in your Whirlpool WRS315SDHW Refrigerator.

The inlet valve assembly is an electrically-controlled mechanical valve that opens to supply water to the dispenser and icemaker. If your refrigerator isn't making ice or dispensing water properly, your inlet valve assembly might be broken.

Note: Some photos show the doors removed for clarity purposes. Removing them is not required and will not change the procedure.

  1. WRS315SDHW Inlet Valve Assembly Replacement, Safety precautions: passo 1, imagem 1 %32
    • Before you begin your repair, perform the following:

    • Turn off your main water supply

    • Unplug your device

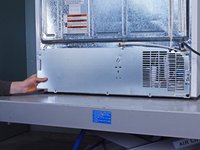
  2. WRS315SDHW Inlet Valve Assembly Replacement, Unfasten the rear panel: passo 2, imagem 1 %32 WRS315SDHW Inlet Valve Assembly Replacement, Unfasten the rear panel: passo 2, imagem 2 %32 WRS315SDHW Inlet Valve Assembly Replacement, Unfasten the rear panel: passo 2, imagem 3 %32
    • Use a 1/4 inch socket wrench, or a flathead screwdriver, to remove the seven 16.2 mm-long screws securing the rear panel.

    • Use a 1/4 inch socket wrench to loosen the screw securing the water hose enough for the rear panel to freely move.

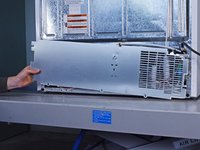
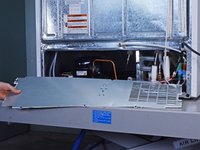
  3. WRS315SDHW Inlet Valve Assembly Replacement, Remove the rear panel: passo 3, imagem 1 %32 WRS315SDHW Inlet Valve Assembly Replacement, Remove the rear panel: passo 3, imagem 2 %32 WRS315SDHW Inlet Valve Assembly Replacement, Remove the rear panel: passo 3, imagem 3 %32
    • Pull the rear panel off the chassis to remove it.

  4. WRS315SDHW Inlet Valve Assembly Replacement, Remove the clip: passo 4, imagem 1 %32 WRS315SDHW Inlet Valve Assembly Replacement, Remove the clip: passo 4, imagem 2 %32
    • Use needle nose pliers, or your fingers, to remove the plastic clip on the inlet valve assembly.

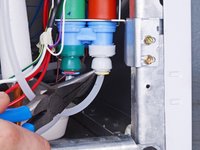
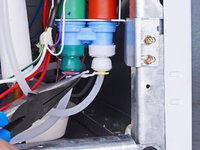
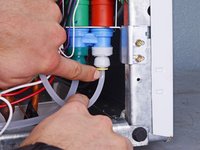
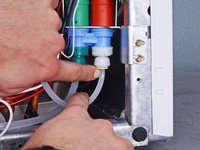
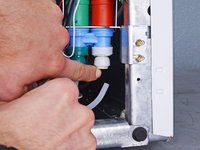
  5. WRS315SDHW Inlet Valve Assembly Replacement, Disconnect the front water hose: passo 5, imagem 1 %32 WRS315SDHW Inlet Valve Assembly Replacement, Disconnect the front water hose: passo 5, imagem 2 %32 WRS315SDHW Inlet Valve Assembly Replacement, Disconnect the front water hose: passo 5, imagem 3 %32
    • Push the plastic ring above the front water hose to release its clips.

    • As you push the ring, pull the water hose downward to disconnect it.

    • Repeat the disconnection procedure for the other water hose on the inlet valve assembly.

  6. WRS315SDHW Inlet Valve Assembly Replacement, Unfasten the inlet valve assembly: passo 6, imagem 1 %32
    • Use a 1/4 inch socket wrench to remove the two 15.6 mm-long screws securing the inlet valve assembly.

  7. WRS315SDHW Inlet Valve Assembly Replacement, Reposition the inlet valve assembly: passo 7, imagem 1 %32 WRS315SDHW Inlet Valve Assembly Replacement, Reposition the inlet valve assembly: passo 7, imagem 2 %32 WRS315SDHW Inlet Valve Assembly Replacement, Reposition the inlet valve assembly: passo 7, imagem 3 %32
    • Pull the inlet valve assembly off its slot in the chassis and rest it on the floor.

  8. WRS315SDHW Inlet Valve Assembly Replacement: passo 8, imagem 1 %32 WRS315SDHW Inlet Valve Assembly Replacement: passo 8, imagem 2 %32
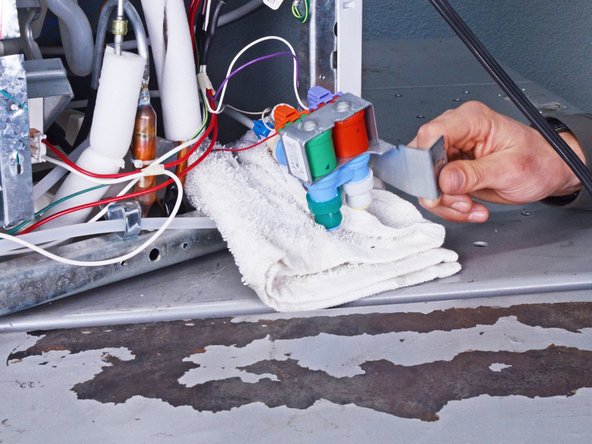
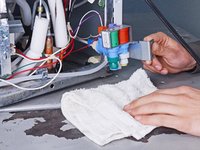
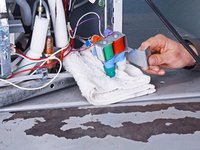
    • Place a clean and dry rag under the inlet valve assembly before continuing.

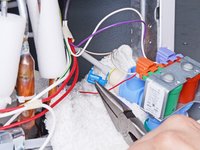
  9. WRS315SDHW Inlet Valve Assembly Replacement, Remove the clip: passo 9, imagem 1 %32 WRS315SDHW Inlet Valve Assembly Replacement, Remove the clip: passo 9, imagem 2 %32
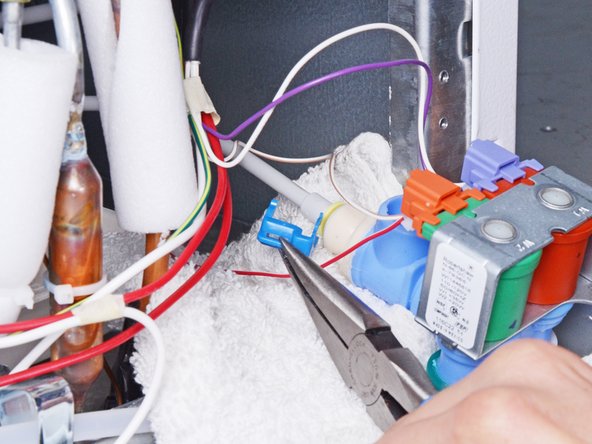
    • Use needle nose pliers, or your hands, to pull the blue clip off the rear water hose.

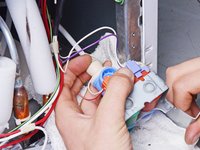
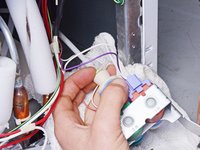
  10. WRS315SDHW Inlet Valve Assembly Replacement: passo 10, imagem 1 %32 WRS315SDHW Inlet Valve Assembly Replacement: passo 10, imagem 2 %32 WRS315SDHW Inlet Valve Assembly Replacement: passo 10, imagem 3 %32
    • Push the yellow plastic ring above the rear water hose to release its clips.

    • As you push the ring, pull the water hose away from the inlet valve assembly to disconnect it.

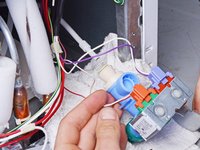
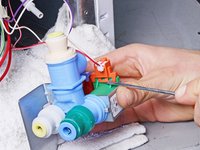
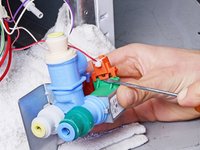
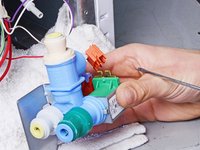
  11. WRS315SDHW Inlet Valve Assembly Replacement, Disconnect the assembly wire connector: passo 11, imagem 1 %32 WRS315SDHW Inlet Valve Assembly Replacement, Disconnect the assembly wire connector: passo 11, imagem 2 %32 WRS315SDHW Inlet Valve Assembly Replacement, Disconnect the assembly wire connector: passo 11, imagem 3 %32
    • Use a flathead screwdriver, or a similar tool, to disconnect the inlet valve assembly wire connector.

  12. WRS315SDHW Inlet Valve Assembly Replacement, Remove the inlet valve assembly: passo 12, imagem 1 %32
    • Remove the inlet valve assembly from the chassis.

Conclusão

To reassemble your device, follow these instructions in reverse order.

Take your e-waste to an R2 or e-Stewards certified recycler.

Repair didn’t go as planned? Ask our Answers community for help.

Uma outra pessoa concluiu este guia.

nicO

Membro desde: 04/14/15

15.927 Reputação

Autoria de 89 guias

Equipe

Global Fixers Membro de Global Fixers

Community

45 Membros

Autoria de 703 guias

0Comentários do guia

Comentar

Visualizações:

Últimas 24 horas: 0

Últimos 7 dias: 0

Últimos 30 dias: 2

Ao todo: 181