Ir para o conteúdo principal
Participe da comunidade de reparos - Criar conta
VuPoint DC-ST210-VP LCD Screen Replacement

VuPoint DC-ST210-VP LCD Screen Replacement

Lincoln Thompson

Lincoln Thompson e 3 outros colaboradores

Última atualização em 7 de mai de 2024

25 - 30 minutos
Moderado

O que você precisa

Ferramentas

Exibir mais…

  1. VuPoint DC-ST210-VP LCD Screen Replacement, Turn Off/Remove Batteries: passo 1, imagem 1 %32
    • Hold the on/off button for 3 seconds until the screen is black.

    • Remove batteries by placing thumb on battery plate cover sliding it down to expose batteries.

    • Turn camera upside down to allow the batteries to fall out.

  2. VuPoint DC-ST210-VP LCD Screen Replacement, Remove Screws: passo 2, imagem 1 %32 VuPoint DC-ST210-VP LCD Screen Replacement, Remove Screws: passo 2, imagem 2 %32 VuPoint DC-ST210-VP LCD Screen Replacement, Remove Screws: passo 2, imagem 3 %32
    • There are 5 (4.5mm in length) screws on the sides of the camera that need to be removed. Use a Phillips #000 screwdriver to remove all screws.

    • Remove 2 screws on the right side of the camera, and store them on a magnetic mat.

    • Remove 2 screws on the bottom of the camera, and store them on a magnetic mat.

    • Remove 1 screw on the left side of the camera, and store it on a magnetic mat.

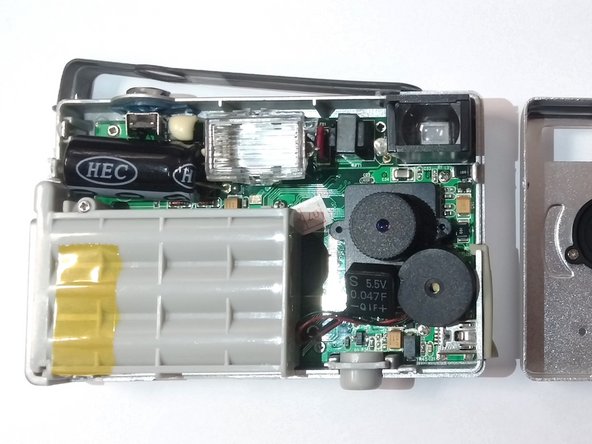
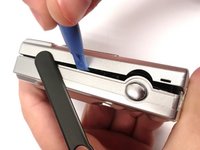
  3. VuPoint DC-ST210-VP LCD Screen Replacement, Pry Backplate Off: passo 3, imagem 1 %32 VuPoint DC-ST210-VP LCD Screen Replacement, Pry Backplate Off: passo 3, imagem 2 %32
    • Using a prying tool or fingernail, gently separate the back plate from the front plate, exposing the inside of the camera.

  4. VuPoint DC-ST210-VP LCD Screen Replacement, Remove Circuit Board Screws: passo 4, imagem 1 %32
    Ferramenta utilizada neste passo:
    Magnetic Project Mat
    $19.95
    • Using a Phillips #00 screwdriver, remove the 5 (3.5mm in length) screws shown to the left.

    • Remember to place small screws on magnetic mat or in a container.

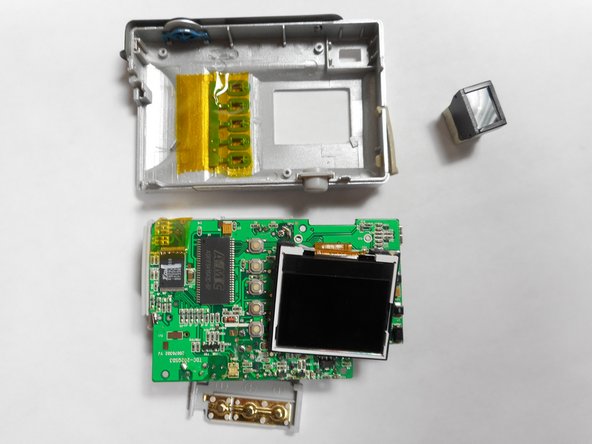
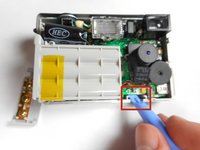
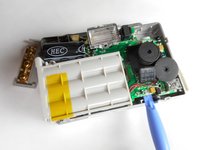
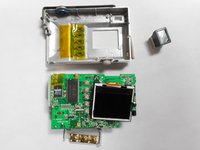
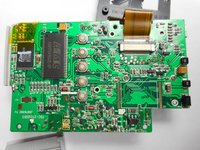
  5. VuPoint DC-ST210-VP LCD Screen Replacement, Seperate Circuit Board: passo 5, imagem 1 %32 VuPoint DC-ST210-VP LCD Screen Replacement, Seperate Circuit Board: passo 5, imagem 2 %32 VuPoint DC-ST210-VP LCD Screen Replacement, Seperate Circuit Board: passo 5, imagem 3 %32
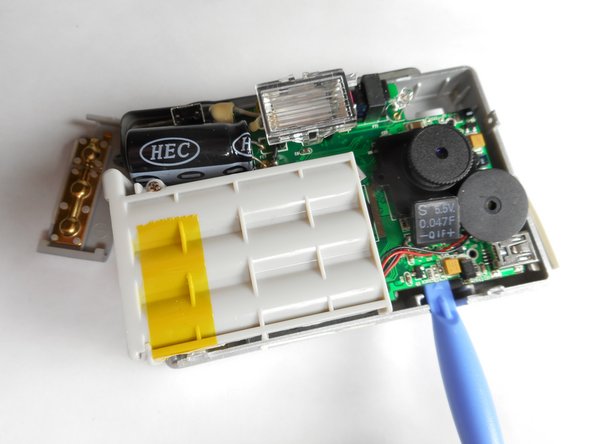
    • Using a pry tool or fingernail, gently pry the circuit board from the base.

    • Gently lift the lower right hand corner of the circuit board, separating it from the base.

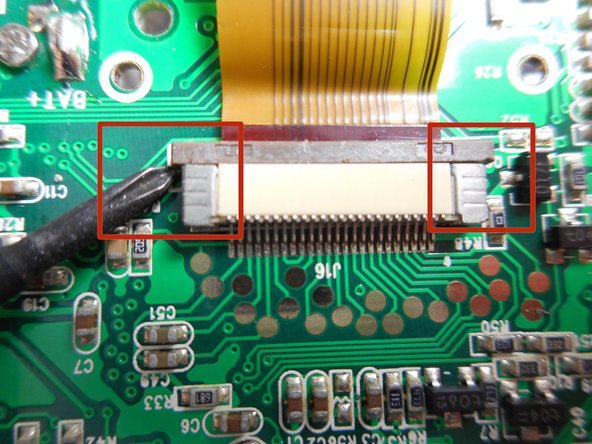
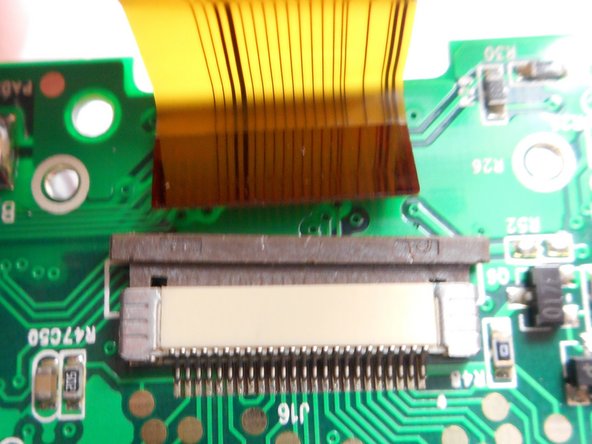
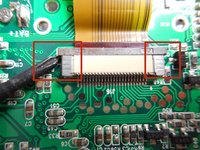
  6. VuPoint DC-ST210-VP LCD Screen Replacement, Remove LCD from Connector: passo 6, imagem 1 %32 VuPoint DC-ST210-VP LCD Screen Replacement, Remove LCD from Connector: passo 6, imagem 2 %32 VuPoint DC-ST210-VP LCD Screen Replacement, Remove LCD from Connector: passo 6, imagem 3 %32
    Ferramenta utilizada neste passo:
    Tweezers
    $4.99
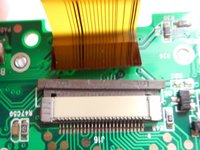
    • Locate LCD and gently bend it back to reveal ribbon cable connector.

    • Using small screw driver or tweezers gently slide the edges of the ribbon lock towards the direction of the cable.

    • Once the lock is opened, use tweezers to slide the ribbon cable from the connector.

    • Replace LCD as needed and repeat steps in reverse to reassemble.

Conclusão

To reassemble your device, follow these instructions in reverse order.

Uma outra pessoa concluiu este guia.

Gear Up For Future Repairs

Shop all

Equipe

Baylor, Team 8-15, Williams Fall 2014 Membro de Baylor, Team 8-15, Williams Fall 2014

BU-WILLIAMS-F14S8G15

3 Membros

Autoria de 5 guias

0Comentários do guia

Comentar

Visualizações:

Últimas 24 horas: 0

Últimos 7 dias: 2

Últimos 30 dias: 5

Ao todo: 454