Esta versão pode conter edições incorretas. Mude para o último instantâneo verificado.
O que você precisa
-
Este passo não foi traduzido. Ajude a traduzi-lo
-
Turn the laptop off and remove all power cables.
-
Remove the six Phillips #0 screws.
-
Pull the back cover off.
-
-
Este passo não foi traduzido. Ajude a traduzi-lo
-
Use the plastic opening tool or your fingers to pry the battery up and pull it from the laptop.
-
-
Este passo não foi traduzido. Ajude a traduzi-lo
-
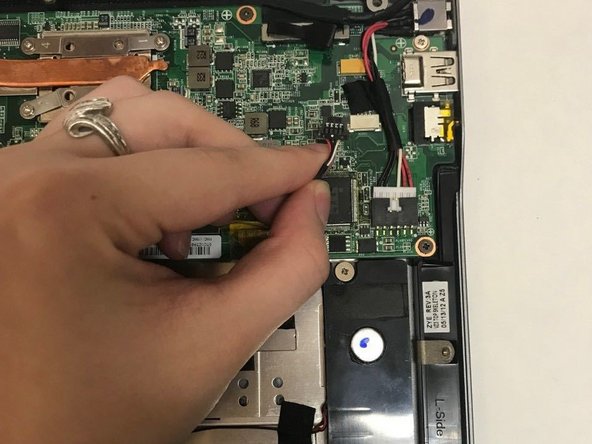
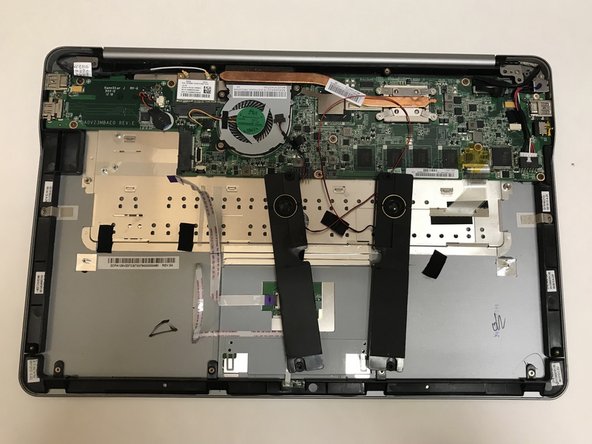
Unplug the wire connecting the speakers to the motherboard.
-
-
Este passo não foi traduzido. Ajude a traduzi-lo
-
Remove the four Phillips #0 screws.
-
Pull the speakers out to remove.
-
-
-
Este passo não foi traduzido. Ajude a traduzi-lo
-
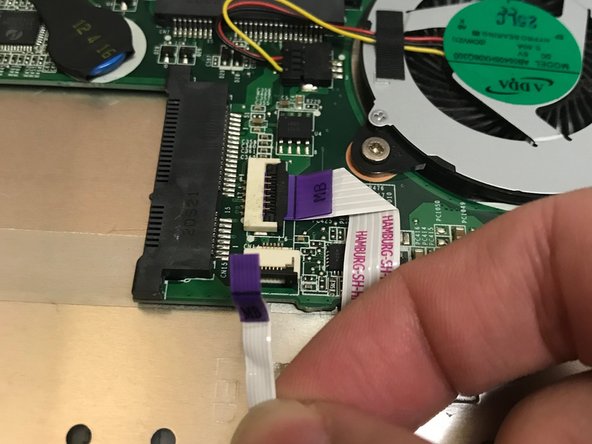
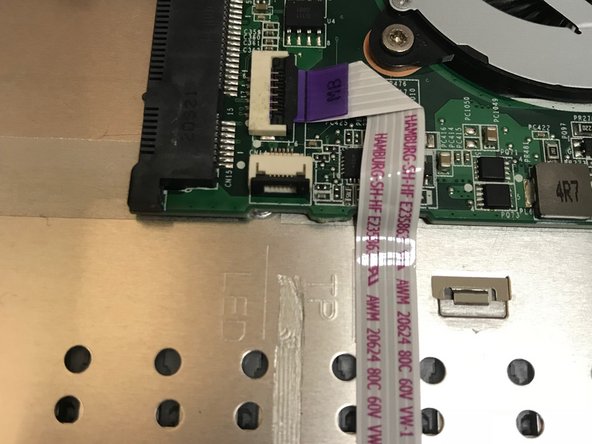
Use the flat end of a spudger to lift up the black tab on the ZIF connector.
-
Pull the ribbon cables out of the ZIF connector.
-
-
Este passo não foi traduzido. Ajude a traduzi-lo
-
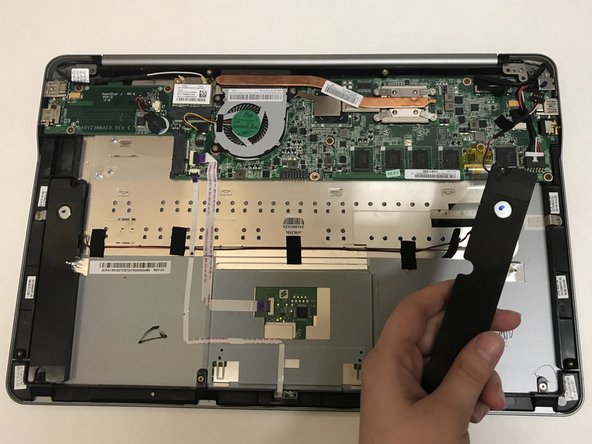
Pull off the black strips of tape from the speaker wires and remove the speakers from the laptop.
-
-
Este passo não foi traduzido. Ajude a traduzi-lo
-
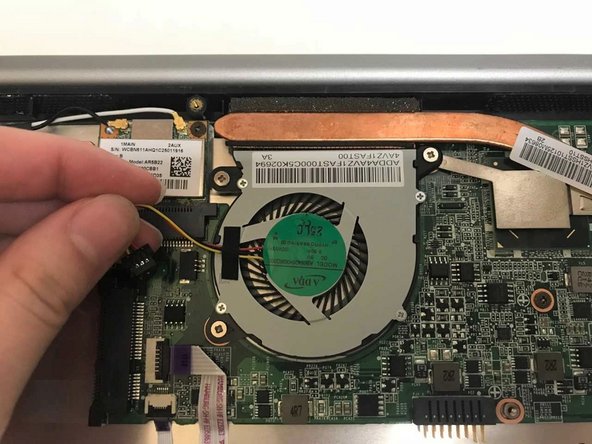
Remove the three Phillips #0 screws.
-
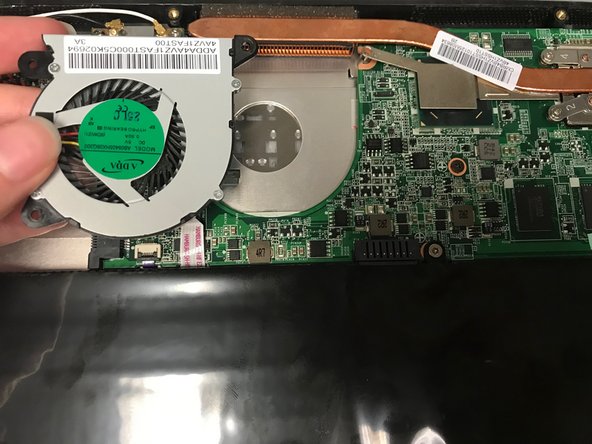
Pull the fan out to remove.
-
-
Este passo não foi traduzido. Ajude a traduzi-lo
-
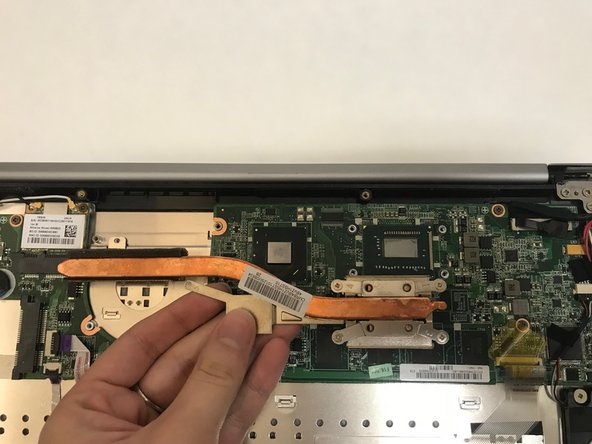
Remove the four Philips #0 screws from the heatsink.
-
Pull up and out to remove the heatsink from the laptop.
-
-
Este passo não foi traduzido. Ajude a traduzi-lo
-
Remove the eight Phillips #0 screws from the motherboard.
-
Lift the motherboard up and out to remove it from the laptop.
-
-
Este passo não foi traduzido. Ajude a traduzi-lo
-
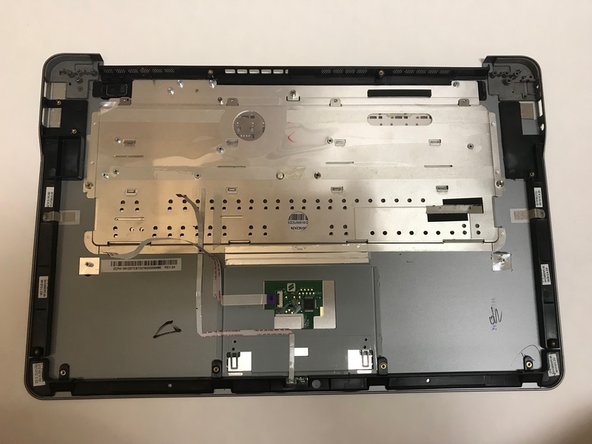
Remove the four Phillips #00 screws that hold the keyboard to the laptop case.
-
-
Este passo não foi traduzido. Ajude a traduzi-lo
-
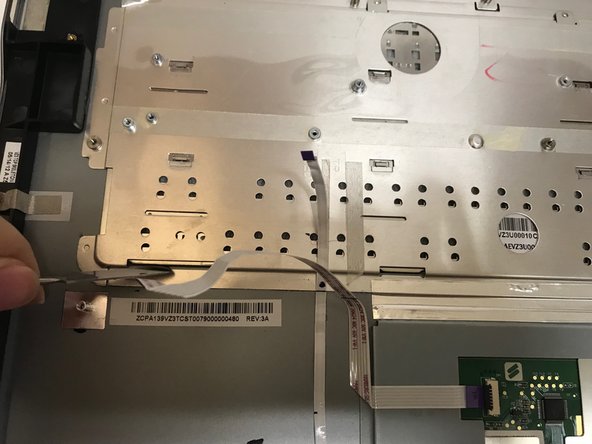
Use a metal spudger to carefully push the keyboard out of place.
-
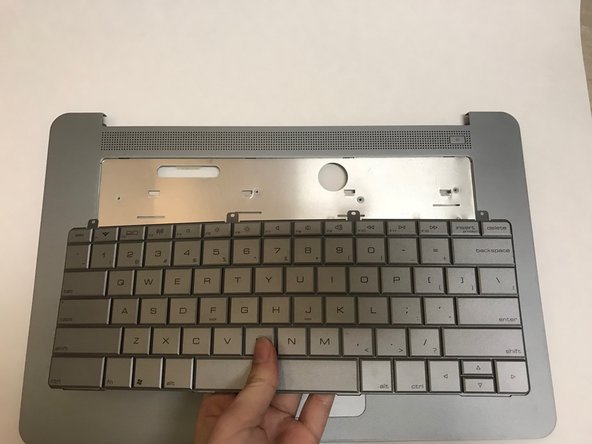
Carefully flip the laptop over and pull the keyboard out.
-
Cancelar: não concluí este guia.
3 outras pessoas executaram este guia.


