Esta versão pode conter edições incorretas. Mude para o último instantâneo verificado.
O que você precisa
-
Este passo não foi traduzido. Ajude a traduzi-lo
-
Remove the 3 mm screws on the sides of the camera, using a Phillips #00 screwdriver.
-
-
Este passo não foi traduzido. Ajude a traduzi-lo
-
Remove the sticker on the top of the camera. This sticker covers a screw.
-
Remove five screws on the sides of the camera, including the screw under the sticker.
-
-
Este passo não foi traduzido. Ajude a traduzi-lo
-
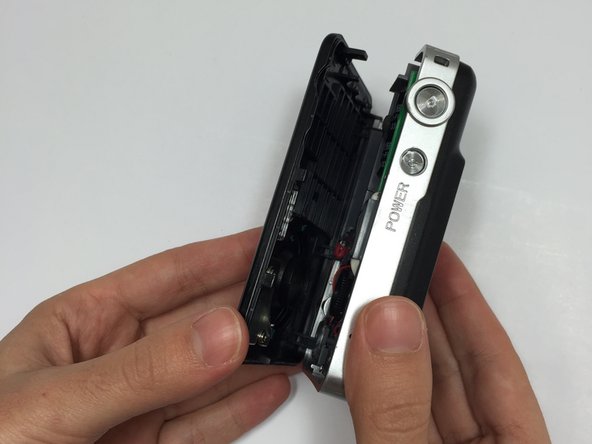
Separate the front piece of the camera from the back to reveal the motherboard.
-
-
-
Este passo não foi traduzido. Ajude a traduzi-lo
-
Remove the plastic silver strip from the front case of the camera.
-
-
Este passo não foi traduzido. Ajude a traduzi-lo
-
Remove the three 2 mm screws holding in the gray plastic cover, using a Phillips #00 screwdriver.
-
-
Este passo não foi traduzido. Ajude a traduzi-lo
-
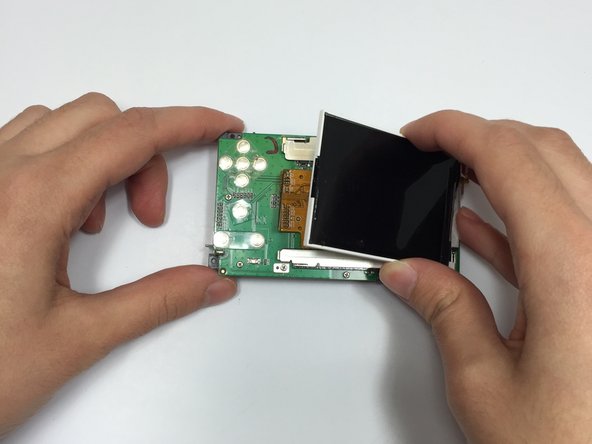
Remove the black plastic cover to reveal the newly exposed screen.
-
-
Este passo não foi traduzido. Ajude a traduzi-lo
-
Carefully remove the gold film from the screen with a plastic opening tool.
-
Gently pull the screen off the camera.
-


Cancelar: não concluí este guia.
Uma outra pessoa concluiu este guia.
Equipe

Marist, Team 15-13, Laflen Spring 2015 Membro de Marist, Team 15-13, Laflen Spring 2015
MARS-LAFLEN-S15S15G13
Membros da 4
Autoria de 3 guias
2 comentários
Any heat required for this? How would I tap into the a/v feed from a digital camera to extend the screen? Data output to the sd card or usb?
How much would a screen replacement for a Vivitar Vivicam s124