Esta versão pode conter edições incorretas. Mude para o último instantâneo verificado.
O que você precisa
-
Este passo não foi traduzido. Ajude a traduzi-lo
-
Begin with the camcorder lens up on a clear working surface.
-
Remove the two 4mm Phillips #1 screws holding the switch plate in place. Rotate the device 180 degrees and repeat for the screws on the opposite side.
-
-
-
Este passo não foi traduzido. Ajude a traduzi-lo
-
Slide the plastic opening tool into the seam between the front and back sections of the case and apply a small amount of force to pop the case open.
-
-
Este passo não foi traduzido. Ajude a traduzi-lo
-
Move the plastic opening tool around the seam and apply force at each step to separate the front plate from the back plate and motherboard.
-
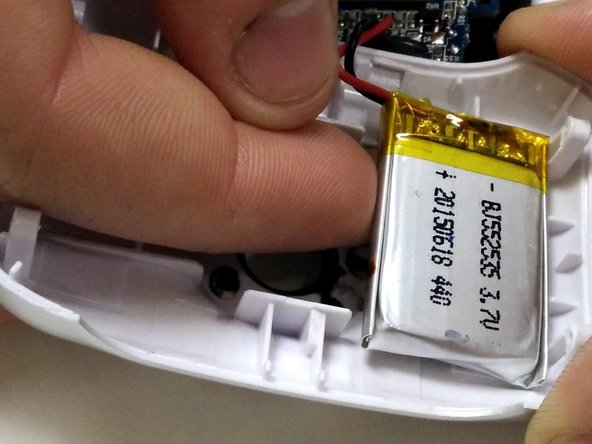
The battery is held to the front half of the case with double-sided tape. Peel it up with a finger, being careful not to damage the battery.
-


Equipe

IUPUI, Team 54-6, Wilson Spring 2016 Membro de IUPUI, Team 54-6, Wilson Spring 2016
IUPUI-WILSON-S16S54G6
Membros da 3
Autoria de 10 guias