Ir para o conteúdo principal

Verizon Ellipsis 8 Antenna Replacement

O que você precisa

  1. Verizon Ellipsis 8 Antenna Replacement, Battery: passo 1, imagem 1 %32
    • Using a plastic opening tool, slowly pry along the seam running along the edge of the device until the back case snaps free.

    • Remove the back case.

  2. Verizon Ellipsis 8 Antenna Replacement: passo 2, imagem 1 %32
    • Using a Phillips #00 screwdriver, remove the two 0.1 mm screws on the green bracket.

  3. Verizon Ellipsis 8 Antenna Replacement: passo 3, imagem 1 %32
    • Once you remove the backing of the Verizon Ellipsis 8, gently use the spudger to lift one side of the tape. Once you have lifted the tape, slowly remove it until it is completely off the battery.

  4. Verizon Ellipsis 8 Antenna Replacement: passo 4, imagem 1 %32
    • Lift and remove the battery from the device.

  5. Verizon Ellipsis 8 Antenna Replacement, Antenna: passo 5, imagem 1 %32
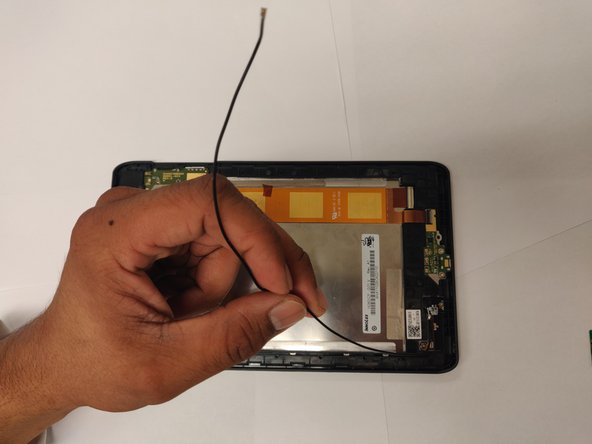
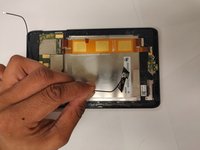
    • Using a plastic opening tool, lift the motherboard along the top right edge of the device.

  6. Verizon Ellipsis 8 Antenna Replacement: passo 6, imagem 1 %32 Verizon Ellipsis 8 Antenna Replacement: passo 6, imagem 2 %32 Verizon Ellipsis 8 Antenna Replacement: passo 6, imagem 3 %32
    • Once you have access to the antenna, remove it and replace it.

Conclusão

To reassemble your device, follow these instructions in reverse order.

Jack

Membro desde: 02/06/19

589 Reputação

Autoria de 3 guias

Equipe

UC Davis, Team S18-G6, Lore Winter 2019 Membro de UC Davis, Team S18-G6, Lore Winter 2019

UCD-LORE-W19S18G6

Membros da 3

Autoria de 3 guias

0 comentários

Adicione um comentário

Exibir estatísticas:

Últimas 24 horas: 1

Últimos 7 dias: 2

Últimos 30 dias: 8

Duração total: 249