Introdução
This guide will show how to remove and replace the lithium-ion battery for the Crossfade wireless headphones. While the headphones boast durable hardware design, the electrical aspects are poorly lacking, and the undersized battery wears out quickly. You can use V-Moda’s “immortal program” to get a discount on a new set of headphones, but they are still very pricy.
If you are replacing the battery because the headphones do not work in Bluetooth mode, check to make sure if the battery’s actually the culprit. If you can charge the battery (power button lights up), chances are, something else is broken—possibly the toggle switch.
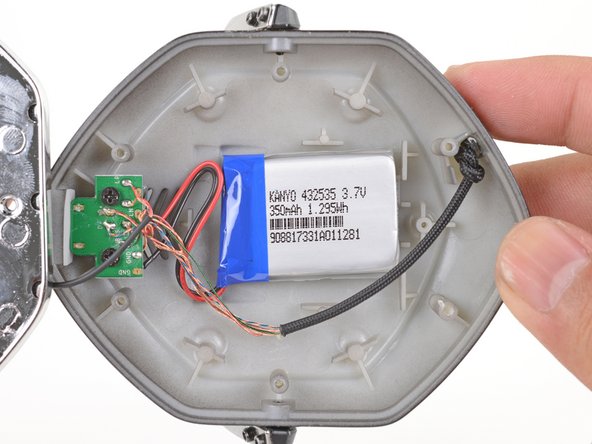
While getting access is easy, the battery is soldered onto a small board. You have to de-solder and re-solder two wires to replace the battery.
You can replace the battery with any standard two-wire lithium-polymer pack, as long as it fits in the headphones.
O que você precisa
-
-
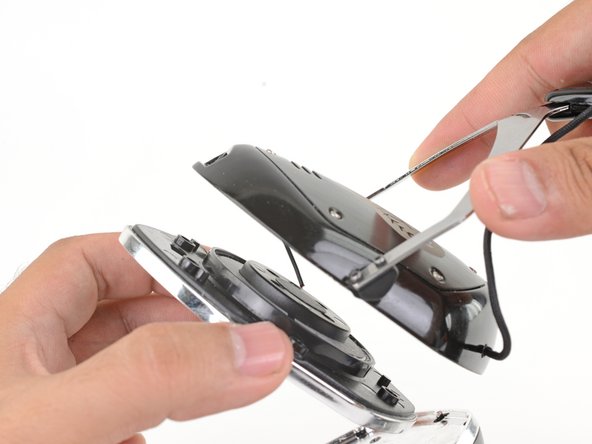
Grasp the left ear cup cushion with your fingers and gently pull towards the center of the earcup. This will release the cushion from the tabs that are holding it in place.
-
Gently pull the ear cup from the rest of the tabs that hold it in place.
-
Remove the ear cup cushion.
-
-
-
-
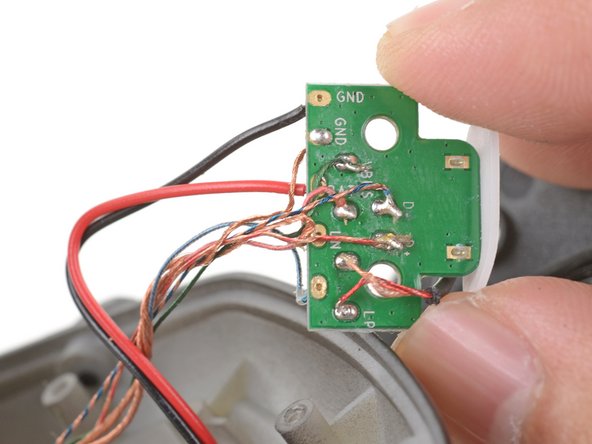
Carefully flip the board over and note the two solder joints connected to the battery cables.
-
De-solder the two solder joints and replace the battery. You will have to re-solder the battery to these contact points.
-
The back of the board is shown for reference.
Rather than loosening the USB plate to de-solder the two wires, just cut the wires near to the battery and then strip and connect the new battery wires to the old wires. It just needs connecting up! No need to mess about with a soldering iron!
I would at least solder the new wires together to ensure a secure connection, much better than twisting wires together and its really easy to do this. I wish they had a nice strong battery replacement to directly recommend
-


To reassemble your device, follow these instructions in reverse order.
To reassemble your device, follow these instructions in reverse order.
Cancelar: não concluí este guia.
9 outras pessoas executaram este guia.


14 comentários
any link to get the right battery Mr. Arthur?
I have not tried it, but a li-po pack like this should work, while even giving you a battery capacity boost. Again, you would need to solder the battery contacts on.
Hey just finished completing my battery replacement with flying colors thx for the guide and link to the replacement battery my man.
I’m glad to hear it worked out for you!
I need to clean the underside of the grill that’s over the speaker… Is there any way to remove the grill without damaging it??
Hi Gabriel,
The grille is unfortunately heavily glued in. There is no easy way to remove it for cleaning.
Great write up! I dodged the tiny soldering portion by carefully cutting the wires (negative first, don’t let it touch positive) on both the existing pack and the new pack. Then braided the wires together and used heat shrink tubing to hold it all together. I replaced the original battery adhesive with a small square of 3M automotive double sided tape. It was a little tricky getting the wires to sit in the right place for closing things back up but everything is working great. Used the same Adafruit part the author suggested as well.
Would it make sense to solder on wires w/ JST connectors or cut the existing ones and splice JST connectors on so future battery replacement would be simpler? Is there room inside the earpiece for something like that?
There is definitely room for that in the headphones! The wires are of pretty thin gauge, so they’ll be a little delicate.
worked the first time, the second battery now it doent charge :(
I changed the battery still not working. Could there be a board problem?
The headphone light glows while set to charge, but as soon as I switch on the knob, it won't work (light won't glow)
The left side of the speaker wont work when wired. The right side works tho. The headphones wont charge, the indicator light wont come on. I noticed on the left ear cup that the wire coming out that goes around the headband into the next ear cup is actually pulled out a bit. What do you think is the problem? Maybe the wires came off the board?