Ir para o conteúdo principal

Upgrading the SSD

Guia arquivado
Este guia é mantido exclusivamente para fins históricos. Use a versão atualizada do guia para executar o reparo.

O que você precisa

  1. Upgrading the SSD, Battery: passo 1, imagem 1 %32 Upgrading the SSD, Battery: passo 1, imagem 2 %32 Upgrading the SSD, Battery: passo 1, imagem 3 %32
    • Open the latch on the right side that secures the battery in place.

    • Open the latch on the left side that secures the battery in place.

    • Now remove the battery.

  2. Upgrading the SSD, Main access cover: passo 2, imagem 1 %32 Upgrading the SSD, Main access cover: passo 2, imagem 2 %32 Upgrading the SSD, Main access cover: passo 2, imagem 3 %32
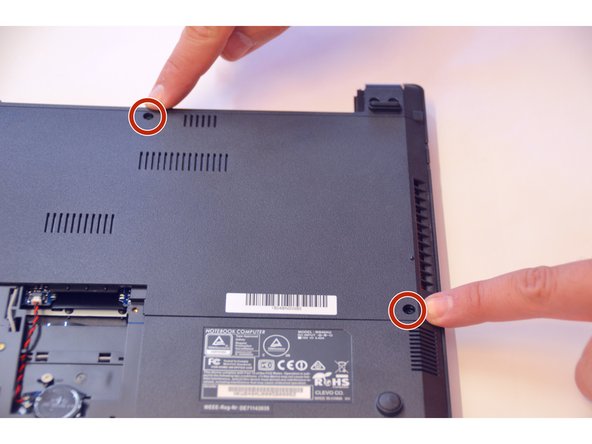
    • Using a Philips-head screwdriver remove highlighted screws.

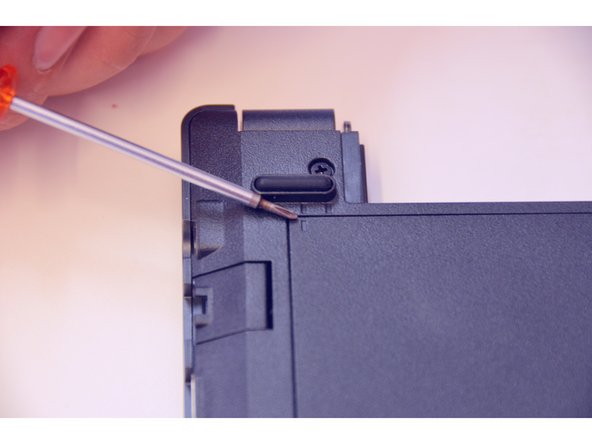
    • Look at the marking to see how to remove the access cover.

    • Remove the access cover as shown by the marker.

  3. Upgrading the SSD: passo 3, imagem 1 %32
    • You now have access to all components of this laptop.

  4. Upgrading the SSD, PCIe SSD: passo 4, imagem 1 %32 Upgrading the SSD, PCIe SSD: passo 4, imagem 2 %32 Upgrading the SSD, PCIe SSD: passo 4, imagem 3 %32
    • This is where you'll find the PCIe SSD.

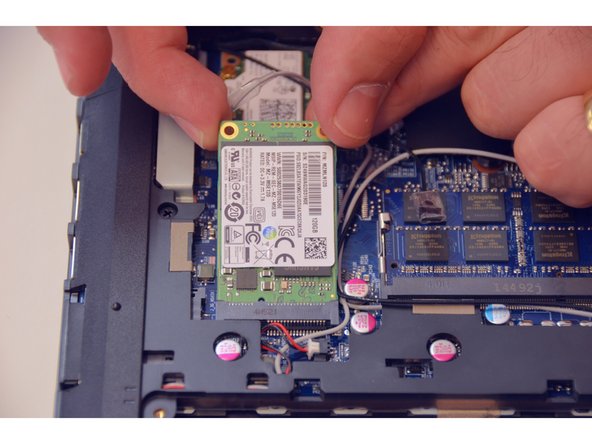
    • Remove the fastening screw with the Philips-head screwdriver.

    • Remove the PCIe SSD.

  5. Upgrading the SSD: passo 5, imagem 1 %32
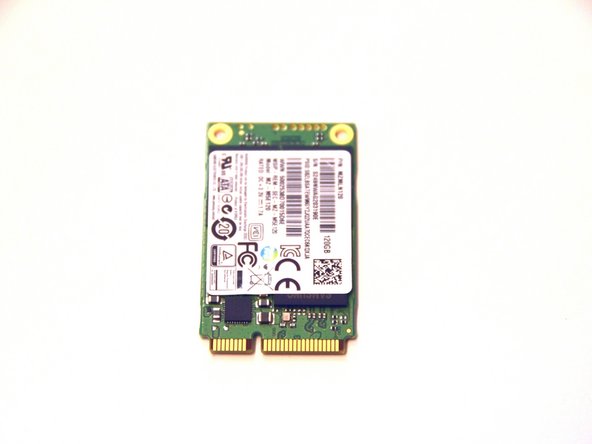
    • This is what the PCIe SSD looks like.

Conclusão

To put the device back together, follow the steps in reverse order.

Um agradecimento especial a esses tradutores:

de en

100%

Alex Niculescu está nos ajudando a consertar o mundo! Quer contribuir?
Comece a traduzir ›

Felice Suglia

Membro desde: 06/15/13

30.908 Reputação

Autoria de 264 guias

0 comentários

Adicione um comentário

Exibir estatísticas:

Últimas 24 horas: 2

Últimos 7 dias: 4

Últimos 30 dias: 6

Duração total: 208