Introdução
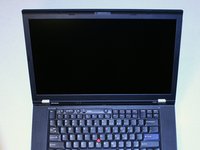
Upgrade the LCD in your Thinkpad T520 to a quality 1080p panel.
The T520 is available from Lenovo with a 1080p high color gamut display as a $250 upgrade to the standard low quality display. The exact same 1080p LCD panel Lenovo uses is available online for under $100 and is easy to install yourself!
O que você precisa
-
-
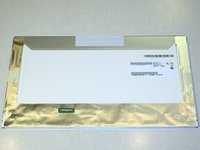
The exact original model used by Lenovo is the AUO B156HW01 V.4. This is a 15.6", matte, 1080p panel with wider than average viewing angles.
-
This display has been measured by notebookcheck.net and anandtech.com and shown to be one of the best laptop displays shipping.
-
A contrast ratio over 500 is available and this display is able to show over 95% of the colors in the AdobeRGB spectrum. 1080p is a much higher resolution than the basic 1366x768 display, allowing for more work space.
-
Viewing angle image courtesy of notebookcheck.net
 Pergunte ao FixBot
-
-
-
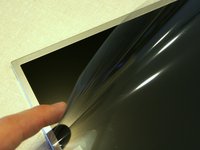
The V.4 is slightly more reflective than the basic T520 display. The B156HW01 V.4 on the left makes a more focused reflection of the overhead light while the stock display (LG LP156WH4) creates a larger diffused reflection.
-
The manufacturer of this panel is AU Optronics, a multibillion dollar Taiwanese company that specializes in TFT LCD technology. Lenovo uses AUO displays but LCD resellers are also able to get boxes of panels that are sold for DIY upgrades and repairs.
-
-
-
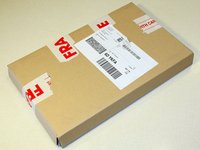
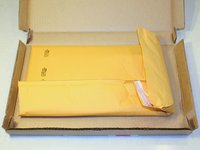
This is how my upgrade display arrived from laptopscreen.com
-
It was shipped from Burnaby, British Columbia on the other side of Canada and arrived in three days.
-
-
-
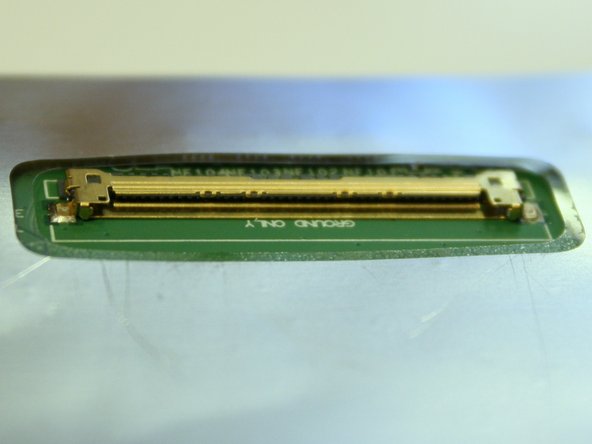
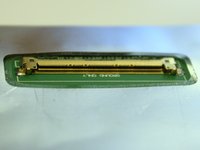
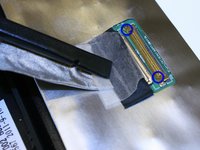
The display uses the same 40 pin connector as the T520 and many other laptops. It provides power for the LED backlighting and the 1080p video signal.
-
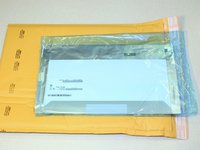
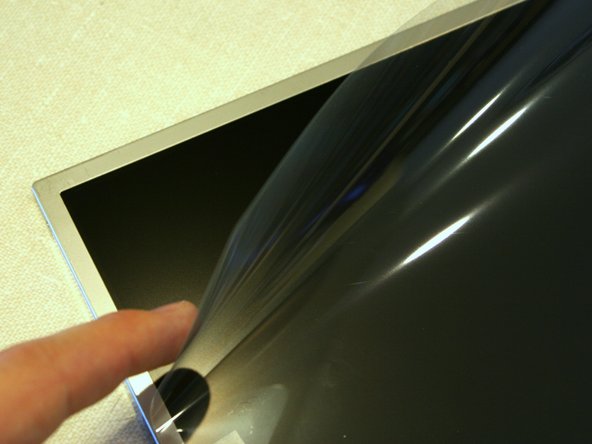
A protective sheet is taped to the front of the display. Leave it on until we are almost done installing the display in the laptop.
-
-
-
-
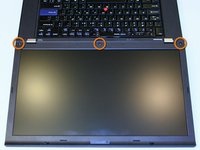
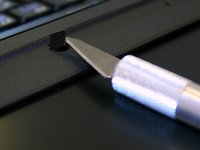
The first step is to remove the three covers along the bottom of the bezel and the screws underneath. The point of an exacto knife works well for this.
-
Three adhesive covers.
-
Three 6mm Phillips screws.
-
-
-
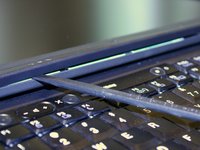
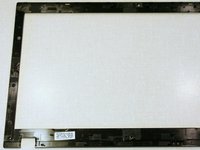
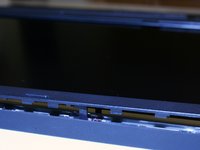
Starting from the bottom of the screen, release the plastic clips holding the bezel by pushing horizontally inward and prying upward with a spudger.
-
-
-
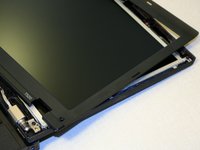
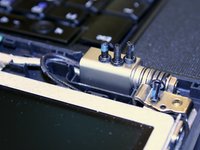
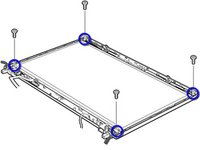
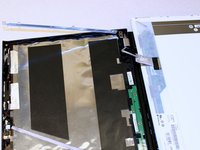
The back of the display assembly is held to the metal frame with four screws that must be removed.
-
Carefully rotate the hinges upward just enough to allow the removal of the four screws on the sides of the display frame.
-
Four 6mm Phillips screws.
-
Four 3mm Phillips screws.
-
-
-
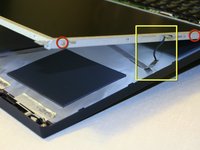
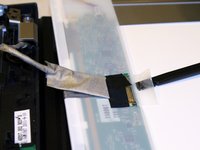
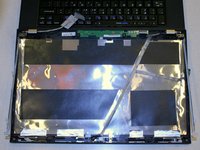
The old LCD is now held on only by the cable. Carefully rotate the display so that it rests on the laptop keyboard.
-
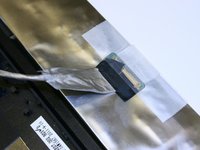
Peel up the tape holding the connector but be careful not to damage the cable.
-
Remove the old display and put it somewhere safe. Someone else might find it useful for repairing a cracked display on a budget. You can use the upgrade screen's shipping package if you sell the display online.
-
-
-
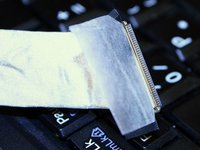
Lay the new 1080p LCD on the keyboard and insert the display connector. I found a spuger useful to push on the corners of the connector without damaging the cable.
-
Make sure both round clips are properly secured before taping the connector down. Feel free to add extra tape.
-
Tiny round clips.
-
-
-
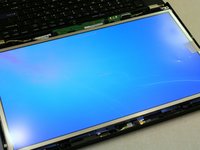
Rotate the LCD back onto the metal frame, put the battery back in and test it out.
-
If everything looks ok then remove the battery and put the screws in. Remove the protective sheet from the display and put the bezel back on.
-
-
-
Be prepared for a warmer default color temperature than is common on consumer displays. This screen is intended for professional graphics use so it is designed to match colors to how they would look when printed out and viewed under incandescent lighting.
-
Professionals working with graphics use a digital colorimeter to adjust the color accuracy of a display. This process creates what is called an ICC profile that tells programs how to display colors accurately.
-
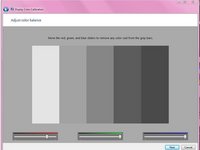
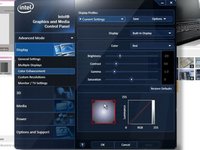
To simply make the screen look good for viewing images and office use, Windows has a built in Display Color Calibration utility that allows adjustment of the color balance of the display. The Intel IGP software can also be used to make adjustments instead. Right click on the desktop and select Graphics Properties...
-
It is also easy to experiment with color profiles others have created for this display. Every panel will be slightly different but it is possible to find a profile that looks good on your screen. I found that the first ICC profile provided by Sager works for me.
-


To reassemble your device, follow these instructions in reverse order.
Cancelar: não concluí este guia.
24 outras pessoas executaram este guia.
11Comentários do guia
Successfully changed screens on a Lenovo T530 from an original 1600x900 to the 1920x1080 make and model mentioned in this guide. I was able to check the difference in quality of the two displays directly running side by side my W520 which has the 1080 and the T530 with the the original screen that I ordered for my father in law. The 1080 is a better screen altogether. And as this guide shows, replacing the screen is really easy - a no-brainer.
Are there fitting differences in the B156HW01 V.4 and the V.5 or V.7? Most places I look the V.4 is out of stock or discontinued.
Successfully installed on a Lenovo T520 with an original screen resolution of 1600x900. The new, higher resolution screen was easy to fit, and worked straight away - no need for a new cable or anything like that.
Thanks a bunch. Used this guide to replace a full display and hinge from a rather aggressive "drop". Trickiest part is the cable reinsertion - with the sticky tape underneath the original cable install it is a little finicky to get a snug and flat fit.
Best,
-Andrew
Very nice guide. One question to be save: wil a upgrade from a standard 1366x768 screen also be possible? I read elsewhere the motherboard or cable wil not support an full HD screen.