Ir para o conteúdo principal

Umbrella Tail Beads Replacement

O que você precisa

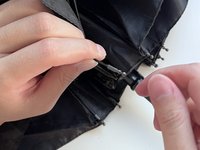
  1. Umbrella Tail Beads Replacement, Tail Beads: passo 1, imagem 1 %32 Umbrella Tail Beads Replacement, Tail Beads: passo 1, imagem 2 %32
    • Measure the length of an intact tail bead.

    • Measure the diameter of the metal ribs.

    • Measuring tape is extremely sharp. Press the lock button on the measuring tape to prevent the tape from rolling back and causing injury.

  2. Umbrella Tail Beads Replacement: passo 2, imagem 1 %32
    • Get a tail bead with a similar length to the original beads with a diameter a little bit bigger than the metal ribs.

    • The diameter of the new tail beads should not be so big that they are too loose.

  3. Umbrella Tail Beads Replacement: passo 3, imagem 1 %32 Umbrella Tail Beads Replacement: passo 3, imagem 2 %32 Umbrella Tail Beads Replacement: passo 3, imagem 3 %32
    • Insert a tail bead into a metal rib.

    • It is okay if the tail bead is a little bit loose.

    • Ensure the position of the holes is left-to-right rather than top-to-bottom. (The wrong direction of hole will lead to sewing difficulty.)

  4. Umbrella Tail Beads Replacement: passo 4, imagem 1 %32 Umbrella Tail Beads Replacement: passo 4, imagem 2 %32 Umbrella Tail Beads Replacement: passo 4, imagem 3 %32
    • Loop the thread through a needle and tie it together. (Ensure the knot is tied.)

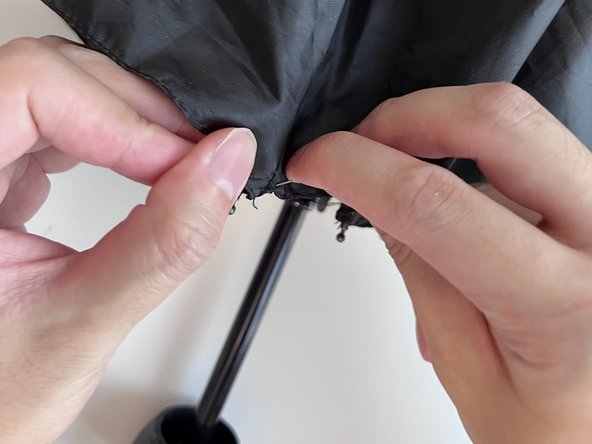
    • Push the needle to go through the holes, and then go through the fabric of the umbrella (Pic. 2). At the same time, hold the other side of the thread to avoid fraying.

    • Open the tied knot side of thread (Pic. 3), allowing the needle to go through the center.

  5. Umbrella Tail Beads Replacement: passo 5, imagem 1 %32 Umbrella Tail Beads Replacement: passo 5, imagem 2 %32 Umbrella Tail Beads Replacement: passo 5, imagem 3 %32
    • When the needle goes through the center, pull the thread, and allow the tied knot to close and stick in the tail bead.

    • Ensure the fabric and tail beads are fixed together, so try to pull thread as tight as you can.

    • Make a right-to-left stitch, allowing the needle to go through the fabric and holes again. You can make the same stitch in the same way 4 to 5 times.

    • If you want the tail beads to be very secure, make as many stitches as you can.

  6. Umbrella Tail Beads Replacement: passo 6, imagem 1 %32 Umbrella Tail Beads Replacement: passo 6, imagem 2 %32 Umbrella Tail Beads Replacement: passo 6, imagem 3 %32
    • After sewing, let the thread wrap around the tail bead a few times.

    • Tie the two sides of thread, making 2-3 knots.

    • Use scissors to cut off the thread on the needle side.

  7. Umbrella Tail Beads Replacement: passo 7, imagem 1 %32 Umbrella Tail Beads Replacement: passo 7, imagem 2 %32
    • Cut off the excess thread on the knot side.

    • Avoid cutting off the knot.

    • Check if the fabric and tail beads are secure.

Linha de Chegada

Uma outra pessoa concluiu este guia.

Hao Zheng

Membro desde: 07/25/23

169 Reputação

Autoria de 1 guia

Equipe

York University, Team M-10, Allen Summer 2023 Membro de York University, Team M-10, Allen Summer 2023

YORK-ALLEN-SU23SMG10

Membros da 2

1 Guia de autoria

0 comentários

Adicione um comentário

Exibir estatísticas:

Últimas 24 horas: 9

Últimos 7 dias: 31

Últimos 30 dias: 147

Duração total: 1,126