Esta versão pode conter edições incorretas. Mude para o último instantâneo verificado.
O que você precisa
-
Este passo não foi traduzido. Ajude a traduzi-lo
-
Press the on/off button on the top to power the phone off.
-
-
Este passo não foi traduzido. Ajude a traduzi-lo
-
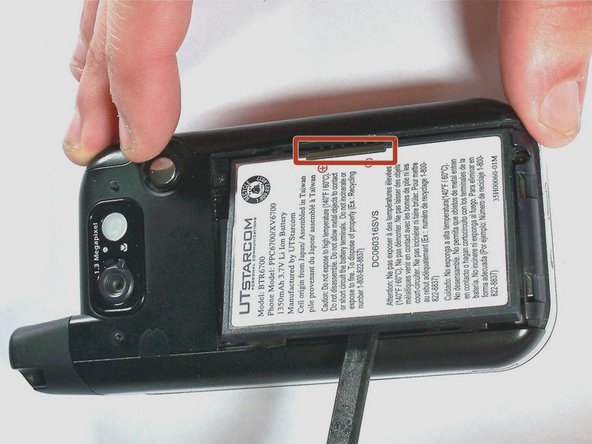
Remove the battery cover by pressing and sliding the cover down and off of the phone.
-
-
Este passo não foi traduzido. Ajude a traduzi-lo
-
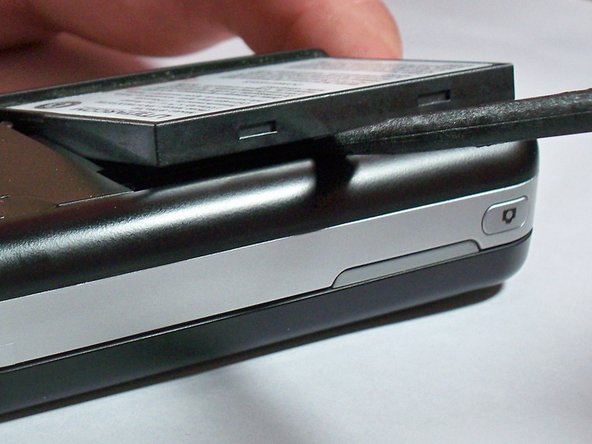
Pull the battery removal tab and lift the battery out of the phone.
-
-
Este passo não foi traduzido. Ajude a traduzi-lo
-
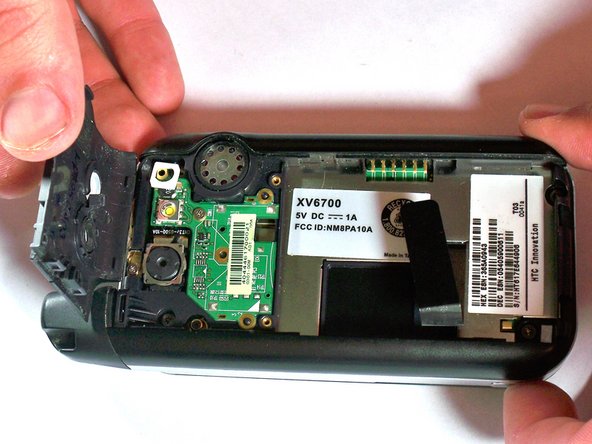
Remove the two 4.0-mm #000 Phillips screws at the top of the battery compartment. Tweezers may be useful to remove the screws.
-
-
Este passo não foi traduzido. Ajude a traduzi-lo
-
Use firm pressure to carefully pry off the cover with your fingers.
-
-
-
Este passo não foi traduzido. Ajude a traduzi-lo
-
Remove the 4.0-mm #00 Phillips screw securing the camera flash circuit board. The board is still connected by a connector on the bottom of the board.
-
-
Este passo não foi traduzido. Ajude a traduzi-lo
-
Gently pry off the camera flash circuit board with the spudger.
-
-
Este passo não foi traduzido. Ajude a traduzi-lo
-
Remove the four 5.0-mm Torx T6 screws from the corners of the black cover.
-
-
Este passo não foi traduzido. Ajude a traduzi-lo
-
Remove the 4.0-mm #00 Phillips screw that holds the wireless antenna in place. The antenna does not need to be removed.
-
-
Este passo não foi traduzido. Ajude a traduzi-lo
-
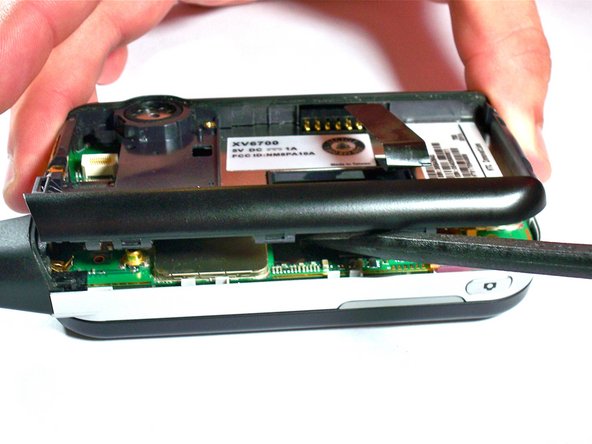
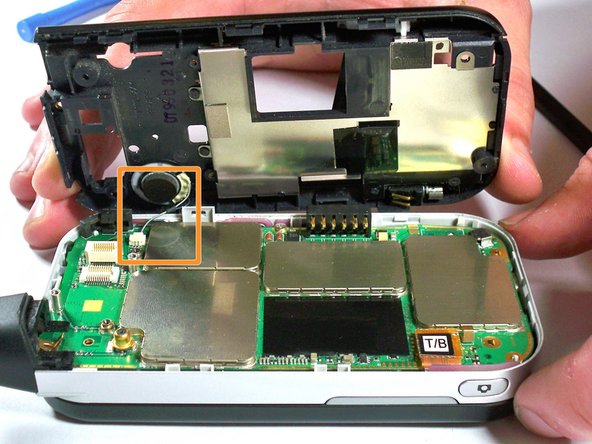
Use the spudger and plastic opening tools to apply firm but gentle pressure equally around the outside of the case.
-
Carefully pry the black portion of the case away from the silver portion.
-
-
Este passo não foi traduzido. Ajude a traduzi-lo
-
Using tweezers, pull on the connector or wire in the direction of the wire with gentle pressure to unplug the wire connector from the motherboard.
-
-
Este passo não foi traduzido. Ajude a traduzi-lo
-
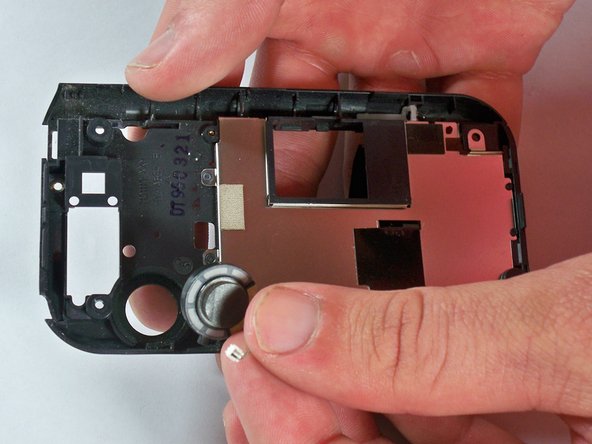
Press your finger on the speaker from the outside of the housing, and the speaker will come out.
-


Equipe

University of Kentucky Louisville, Team 1-4, Chamberlain Spring 2013 Membro de University of Kentucky Louisville, Team 1-4, Chamberlain Spring 2013
LOUISVILLE-CHAMBERLAIN-S13S1G4
Membros da 3
Autoria de 8 guias