Ir para o conteúdo principal

UTStarcom CDM8945vw Logic Board Replacement

O que você precisa

  1. UTStarcom CDM8945vw Logic Board Replacement, Battery: passo 1, imagem 1 %32
    • Push the highlighted button in the direction in which the antenna is pointing. The battery will release and pop up.

  2. UTStarcom CDM8945vw Logic Board Replacement: passo 2, imagem 1 %32
    • Remove the battery.

  3. UTStarcom CDM8945vw Logic Board Replacement, Antenna: passo 3, imagem 1 %32
    • Identify the antenna. It is the extendable plastic component pictured here.

  4. UTStarcom CDM8945vw Logic Board Replacement: passo 4, imagem 1 %32
    • Twist the base in a counter-clockwise motion to unscrew the antenna.

  5. UTStarcom CDM8945vw Logic Board Replacement: passo 5, imagem 1 %32 UTStarcom CDM8945vw Logic Board Replacement: passo 5, imagem 2 %32
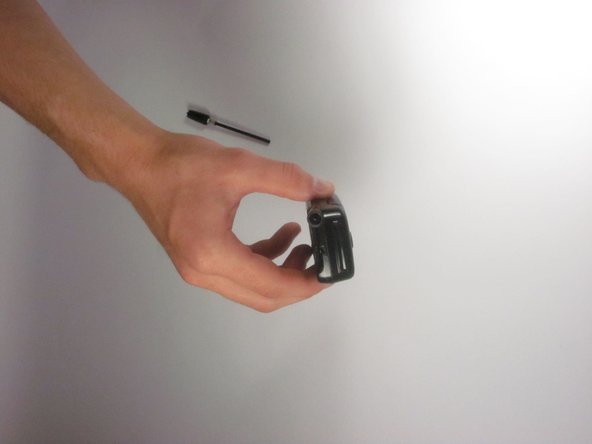
    • The antenna should slide right out of the phone when finished.

  6. UTStarcom CDM8945vw Logic Board Replacement, Speaker: passo 6, imagem 1 %32
    • Remove the small rubber grommet using the plastic opening tool.

  7. UTStarcom CDM8945vw Logic Board Replacement: passo 7, imagem 1 %32
    • Remove five screws using a Phillips #00 screwdriver.

  8. UTStarcom CDM8945vw Logic Board Replacement: passo 8, imagem 1 %32
    • Use the plastic opening tool to separate the two pieces that form the outer case of the phone.

    • Prying the two pieces apart may be difficult. Carefully apply a moderate amount of pressure when attempting to separate the two pieces or else you will risk breaking them.

  9. UTStarcom CDM8945vw Logic Board Replacement: passo 9, imagem 1 %32
    • Remove the back piece of the outer case.

  10. UTStarcom CDM8945vw Logic Board Replacement: passo 10, imagem 1 %32
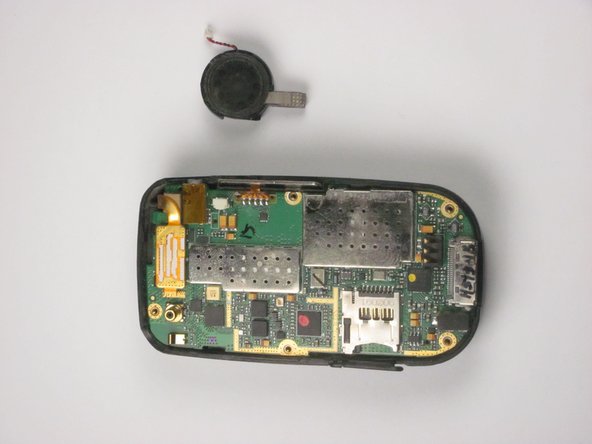
    • Remove the speaker using a plastic opening tool.

    • Apply a small amount of force when removing the broken speaker from the motherboard. If you apply a large amount of force, you may rip out the wires and damage the motherboard.

  11. UTStarcom CDM8945vw Logic Board Replacement: passo 11, imagem 1 %32 UTStarcom CDM8945vw Logic Board Replacement: passo 11, imagem 2 %32
    • Remove the wire attached to the speaker from the motherboard using tweezers.

    • Apply a small amount of force when removing the wire from the motherboard. If you apply a large amount of force, you may rip out the wires and damage the motherboard.

  12. UTStarcom CDM8945vw Logic Board Replacement, Logic Board: passo 12, imagem 1 %32
    • Detach the highlighted piece from the logic board using a plastic opening tool.

  13. UTStarcom CDM8945vw Logic Board Replacement: passo 13, imagem 1 %32 UTStarcom CDM8945vw Logic Board Replacement: passo 13, imagem 2 %32
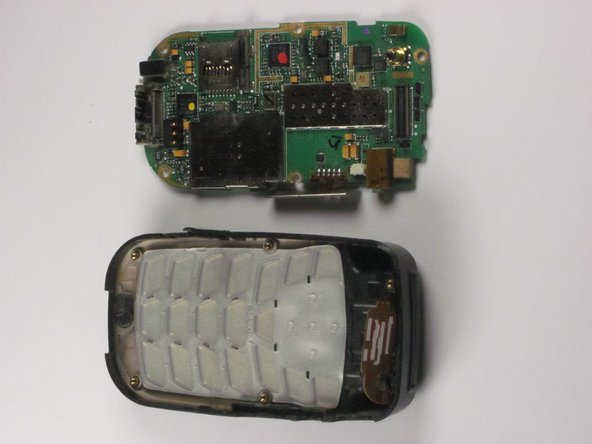
    • Remove the logic board from the anterior piece of the outer case using the plastic opening tool.

Conclusão

To reassemble your device, follow these instructions in reverse order.

Bilal

Membro desde: 10/04/12

1 Reputação

Autoria de 1 guia

Equipe

Cal Poly, Team 24-26, Regan Fall 2012 Membro de Cal Poly, Team 24-26, Regan Fall 2012

CPSU-REGAN-F12S24G26

Membros da 4

Autoria de 10 guias

0 comentários

Adicione um comentário

Exibir estatísticas:

Últimas 24 horas: 0

Últimos 7 dias: 1

Últimos 30 dias: 1

Duração total: 301