Introdução
This is a step-by-step guide on how to replace the electromagnetic switch or relay on a Trane air conditioner model TT060C100A4. A faulty electromagnetic switch can hinder your air conditioner's performance, preventing it from cooling efficiently or functioning altogether. Common symptoms of a damaged or failing AC switch or relay include weak or intermittent cooling, a burning smell or smoke, rattling noises, and unusually high electricity bills.
Electrical components are dangerous to work with, so make sure to disconnect the unit from power before any repair work and be cautious. Replacing the switch will restore your unit's functionality, enhance cooling efficiency, and prevent further damage to your air conditioner.
By following this guide, you can save time and money on repairs. If you encounter any issues, consult a professional technician.
O que você precisa
-
-
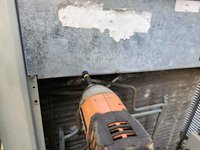
Turn off the AC unit at the circuit breaker box for your home.
-
-
-
-
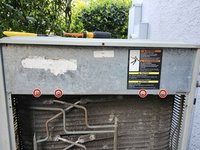
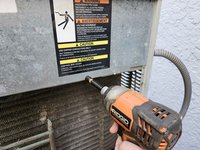
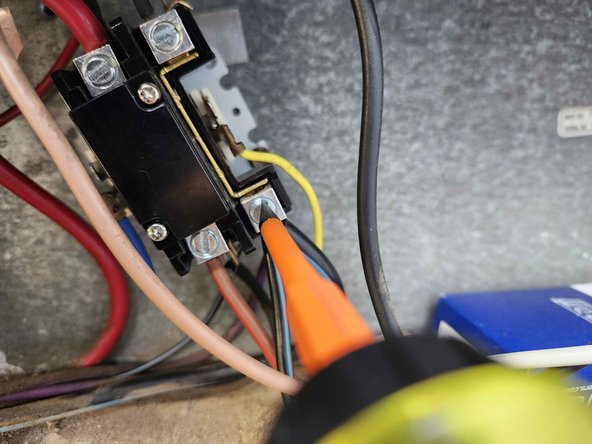
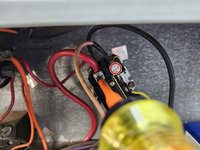
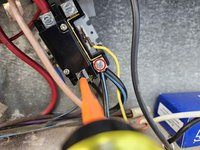
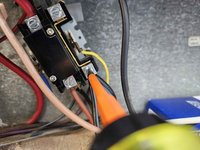
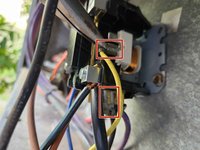
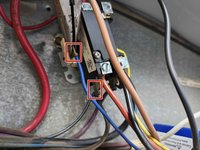
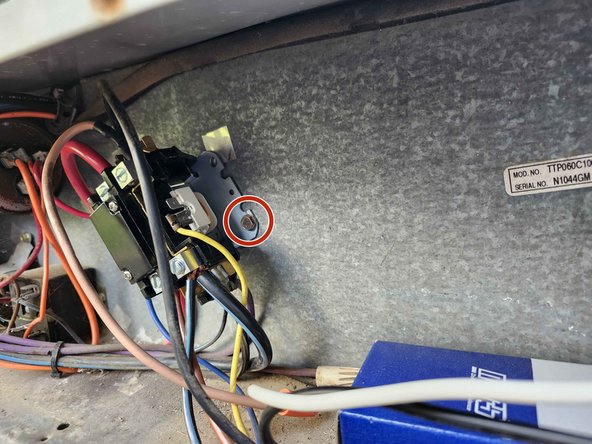
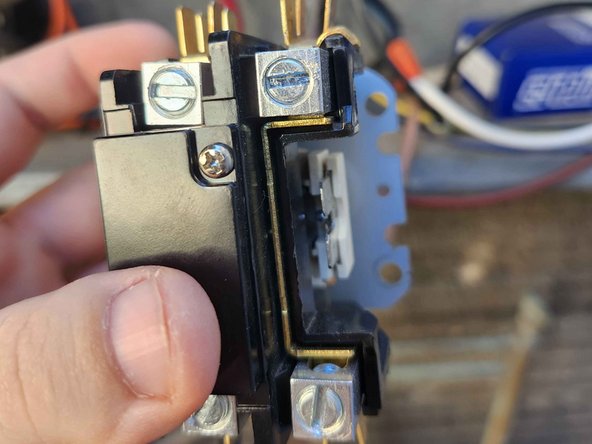
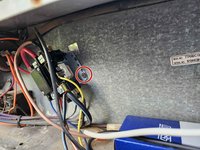
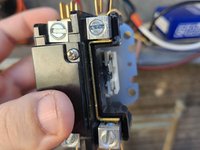
Identify the magnetic switch within the unit. It is typically located near the compressor or fan assembly.
-
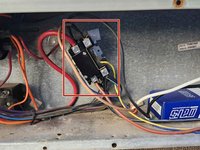
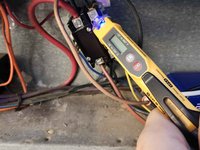
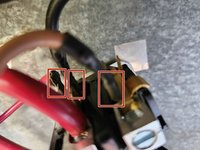
Use a multimeter, or any voltage tester, to test for a voltage.
-
If you detect any voltage, revert back to step 1. If no voltage is detected in the magnetic switch, you can proceed to the next step.
-


To reassemble your device, follow these instructions in reverse order.
To reassemble your device, follow these instructions in reverse order.
Cancelar: não concluí este guia.
Uma outra pessoa concluiu este guia.

Equipe

Austin Community College, Team 28-10, Watkins Fall 2024 Membro de Austin Community College, Team 28-10, Watkins Fall 2024
AUSTINCC-WATKINS-F24S28G10
1 Membro
1 Guia de autoria