O que você precisa
-
-
Flip the laptop upside down so the back compartment is facing up.
-
Place left thumb on the battery lock tab.
-
Place right thumb on the battery release latch.
 Pergunte ao FixBot
-
-
-
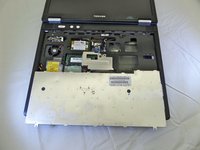
Use a #00 phillips head screwdriver to remove the 8mm screw for the keyboard strip located under the battery.
-
-
-
-
Turn the device over and open it up to the display and keyboard.
-
Gently lift a corner of the keyboard strip until it pops out of its position.
-
-
-
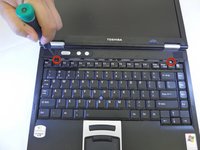
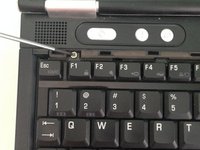
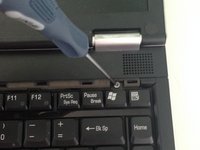
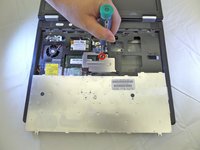
Using a #00 phillips head screwdriver, remove the two 4mm screws found underneath the keyboard strip.
-
-
-
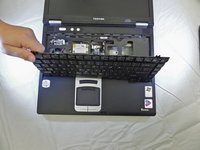
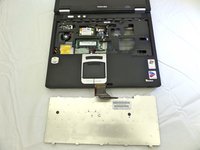
Pop the keyboard up gently and let it rest on top of the touch pad
-
-
-
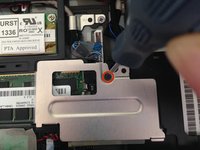
Using a #00 philips head screwdriver, remove the 6mm screw holding the metal plate down.
-
-
-
Gently remove the keyboard connector film from the motherboard with your fingers by lifting upwards.
-
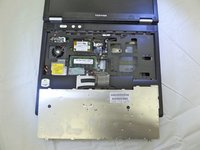
Set aside the keyboard.
-
-
-
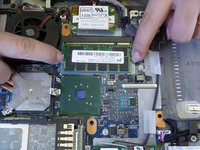
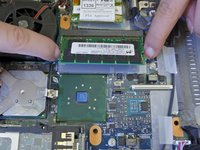
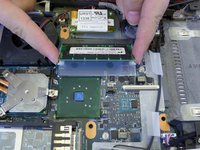
Pull back the metal tabs holding down your RAM card at the same time.
-
Grab the module by the sides with two index fingers and pull upwards after it has popped up.
-










To reassemble your device, follow these instructions in reverse order.
Cancelar: não concluí este guia.
2 outras pessoas executaram este guia.

Equipe

CSU Fullerton, Team 1-6, Bruce Fall 2014 Membro de CSU Fullerton, Team 1-6, Bruce Fall 2014
CSUF-BRUCE-F14S1G6
3 Membros
Autoria de 9 guias
2Comentários do guia
Awesome. Thanks!
Wow, so I was about to call BS on this being a weirdly convoluted way to do this, but instead I learned something. In the pictures you can see a panel, right above the Windows Authenticity sticker, with a black "CAUTION" sticker held in by a single screw. Remove this panel and, voila, there's your RAM slot. I kept wondering why the author of this guide was having the reader go to all the trouble of removing the keyboard when obviously you could access this area from this spot on the bottom a whole lot easier.
Well, guess what? Contrary to my initial belief, this is NOT just a more convoluted method of reaching the same slot! So yeah, it's probably worth mentioning that there are actually 2 slots in different locations for anyone else who may be screwing around with this ancient laptop and be as confused as I was for a second there. (I suspect the author just forgot to mention it, since you can see they've removed that back panel stick already in the Step 4 pic.)
