Introdução
This guide will help the user replace the disk drive on the Toshiba Satellite P855-S5312 . Reasons for replacement include jammed or unresponsive disk. Philips size 0, Tools required for task are phillips size 0 Screwdriver, Plastic Opening Tools, and Pointed edge tool.
O que você precisa
-
-
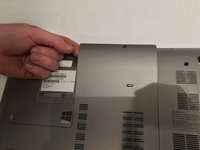
Turn laptop upside down with the spine facing towards you and locate the two tabs on the top of the back panel.
-
Move the sliders to the left and right to release the tabs holding the battery in.
-
While the tabs are pushed outwards, remove the battery from the device.
-
-
-
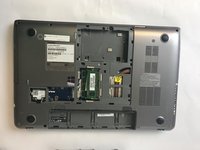
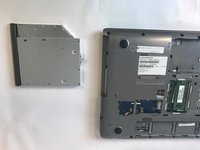
Once laptop is turned over with the spine facing you, locate the large L shape panel.
-
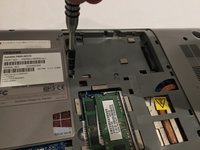
Using a Philips #0 screwdriver unscrew the 1.5mm screw towards the bottom of the laptop.
-
-
-
-
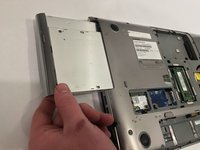
Flip your device over and rotate the side of the optical drive over to you.
-
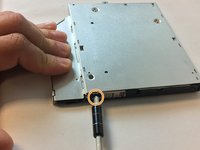
Unclip the clips on the side of the automatic release.
-
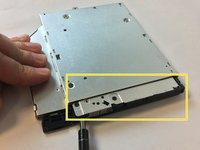
Use a paper clip or small needle tool to insert in the manual release located on the right of the automatic release button.
-
Once released slide the aluminum case out.
-


To reassemble your device, follow these instructions in reverse order.
To reassemble your device, follow these instructions in reverse order.
Equipe

USF Tampa, Team S10-G2, Thompson Fall 2017 Membro de USF Tampa, Team S10-G2, Thompson Fall 2017
USFT-THOMPSON-F17S10G2
Membros da 3
Autoria de 6 guias