Esta versão pode conter edições incorretas. Mude para o último instantâneo verificado.
O que você precisa
-
Este passo não foi traduzido. Ajude a traduzi-lo
-
Position the device so that the underside is facing up.
-
Tilt the EasyPort Mount slightly upward and rotate it counterclockwise 180 degrees from the initial position.
-
Firmly grab the EasyPort Mount and remove it.
-
-
Este passo não foi traduzido. Ajude a traduzi-lo
-
Turn the device 180 degrees so the screw in the EasyPort Mount compartment is on top.
-
Remove the 2mm screw beneath the EasyPort Mount compartment with the Torx T-5 head Screwdriver.
-
-
-
Este passo não foi traduzido. Ajude a traduzi-lo
-
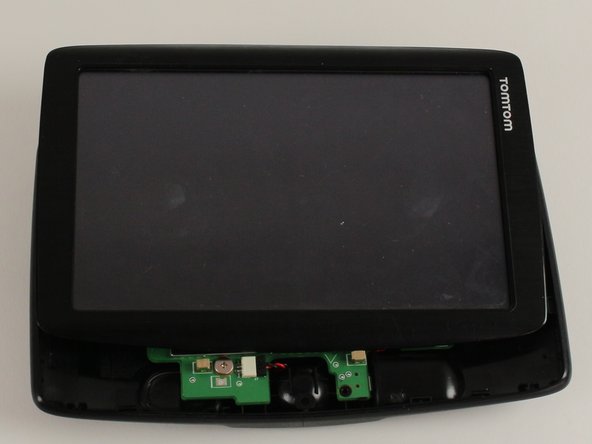
Flip the device over so that the screen is facing up.
-
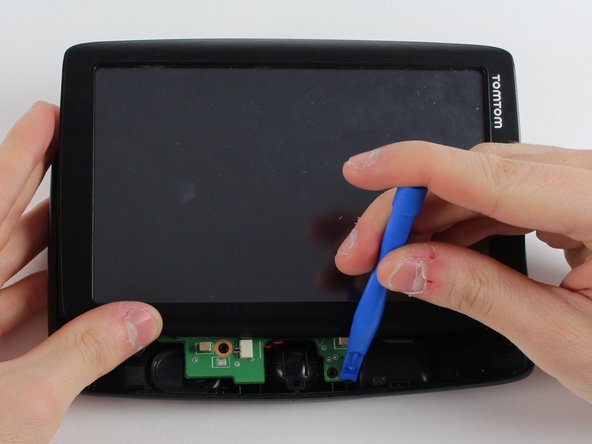
Wedge the plastic opening tool between the top and bottom of the device's frame, gently sliding it around the outside edge.
-
-
Este passo não foi traduzido. Ajude a traduzi-lo
-
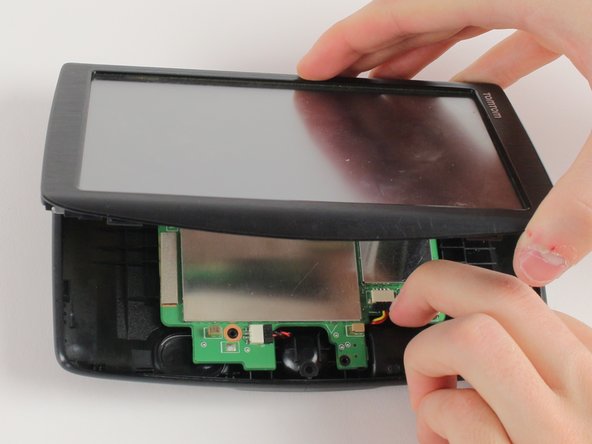
Carefully slide the screen forward, revealing the lower portion of the motherboard.
-
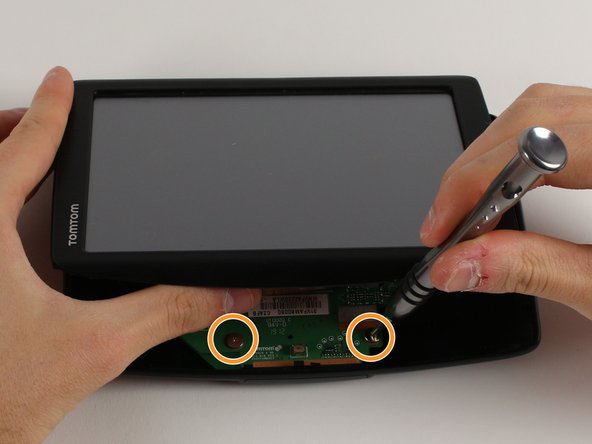
Remove the 3.6mm screw using the JIS #00 Screwdriver.
-
Rotate the device 180 degrees, carefully slide back the screen, and remove the remaining two screws.
-
-
Este passo não foi traduzido. Ajude a traduzi-lo
-
Disconnect the battery and speaker cables.
-
Unlatch the motherboard from the case.
-


Equipe

Cal Poly, Team S12-G2, Banghart Winter 2018 Membro de Cal Poly, Team S12-G2, Banghart Winter 2018
CPSU-BANGHART-W18S12G2
Membros da 3
Autoria de 6 guias