Esta versão pode conter edições incorretas. Mude para o último instantâneo verificado.
O que você precisa
-
Este passo não foi traduzido. Ajude a traduzi-lo
-
Remove the battery cover.
-
Remove the AAA batteries from the calculator.
-
-
Este passo não foi traduzido. Ajude a traduzi-lo
-
Remove the 5mm Philips #00 screw holding backup battery cover.
-
Remove the backup battery cover.
-
-
Este passo não foi traduzido. Ajude a traduzi-lo
-
Use plastic opening tool to remove the backup battery. Place the tool in the small cut-out next to the battery and pry the battery out.
-
-
-
Este passo não foi traduzido. Ajude a traduzi-lo
-
Unscrew the six 7.5mm T6 screws on the back case. You will need to use a screwdriver with a long and skinny head.
-
-
Este passo não foi traduzido. Ajude a traduzi-lo
-
Pry back case off. Insert the plastic opening tool in the track for the protective cover and pry the halves of the case apart.
-
-
Este passo não foi traduzido. Ajude a traduzi-lo
-
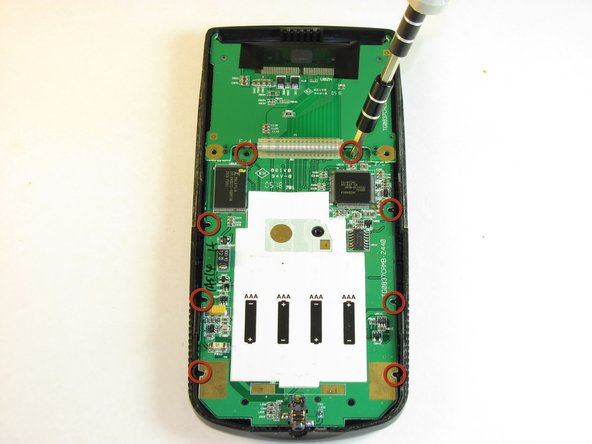
Remove the eight (8) 5mm Philips #00 screws on the motherboard.
-
-
Este passo não foi traduzido. Ajude a traduzi-lo
-
Carefully remove the motherboard and screen. Grab the board by its side with one hand and the screen with the other. Carefully lift the two parts up.
-
-
Este passo não foi traduzido. Ajude a traduzi-lo
-
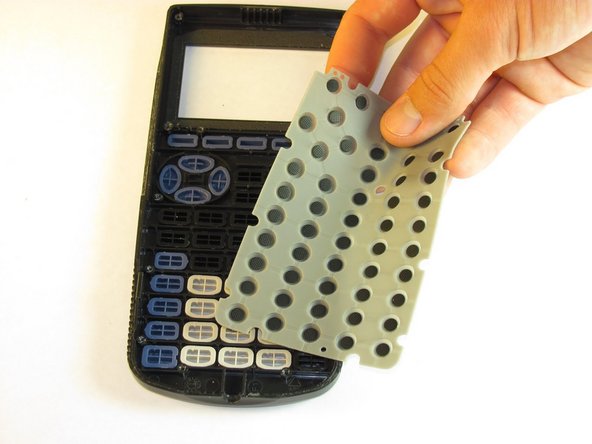
Clean the contacts on the keyboard with a soft cloth.
-
Cancelar: não concluí este guia.
Uma outra pessoa concluiu este guia.


