Introdução
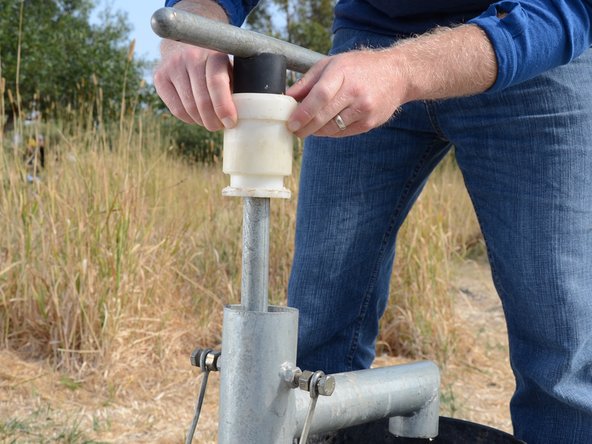
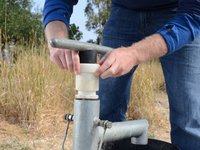
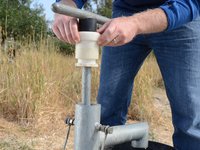
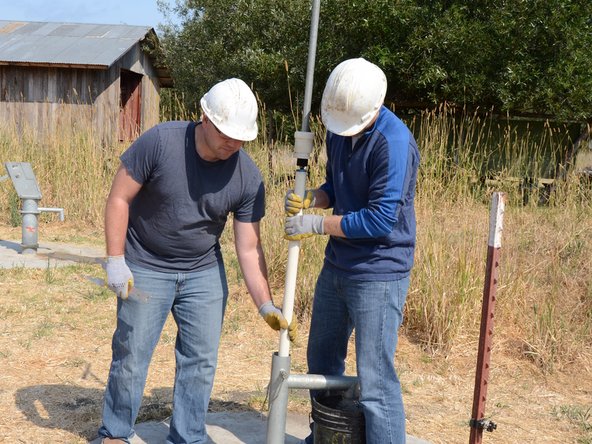
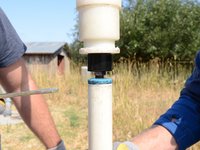
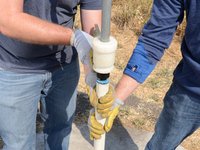
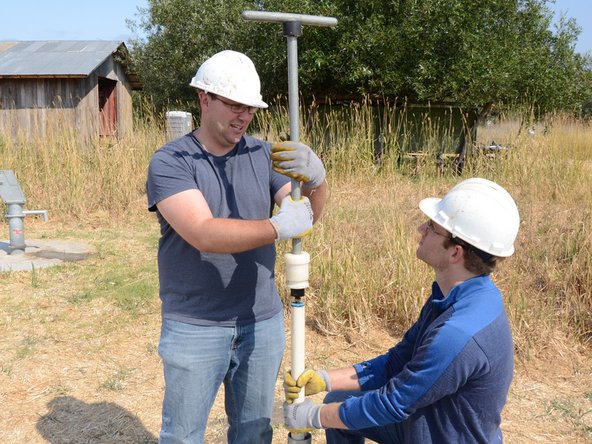
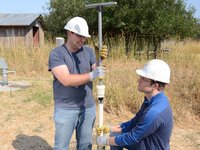
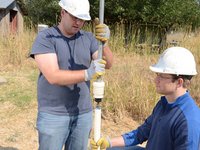
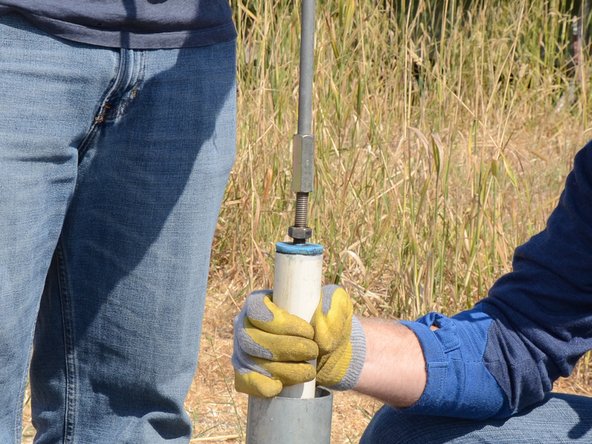
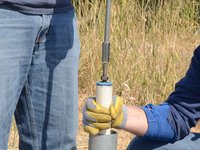
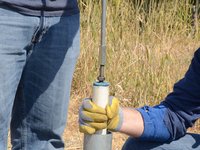
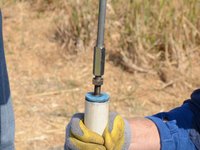
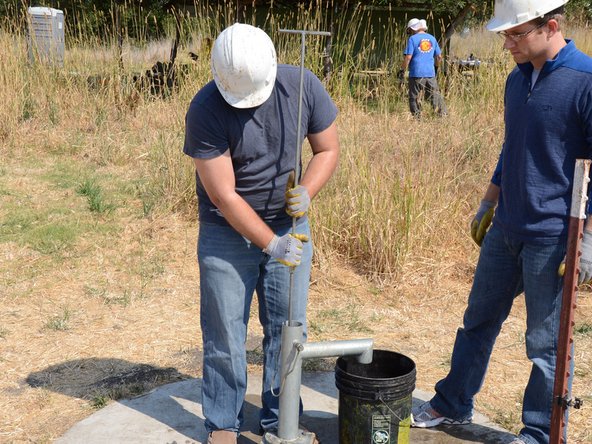
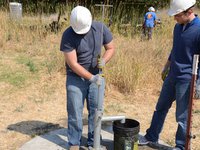
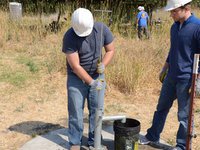
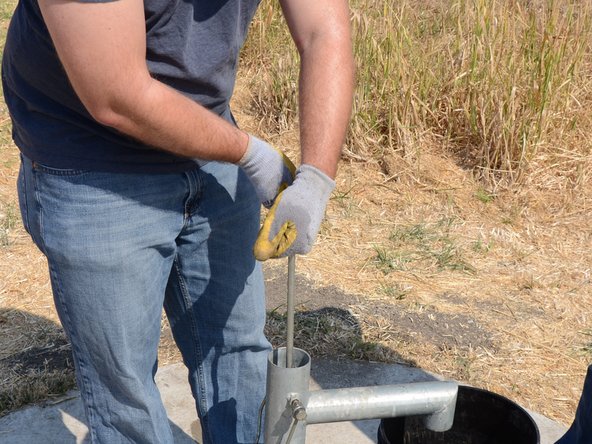
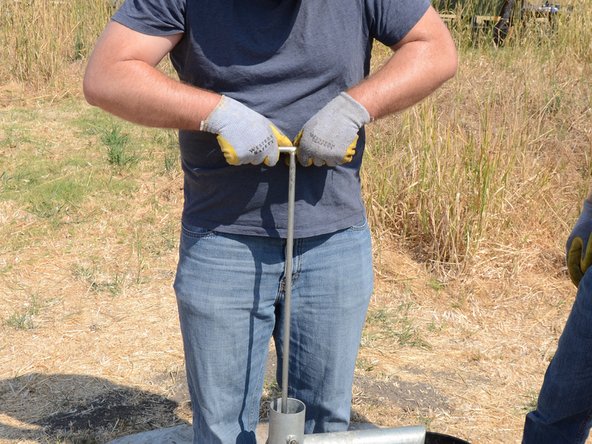
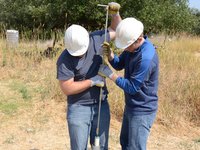
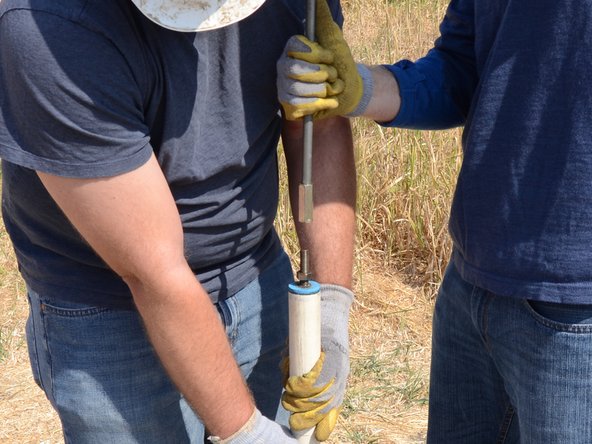
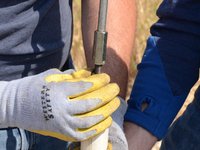
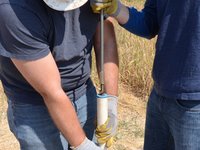
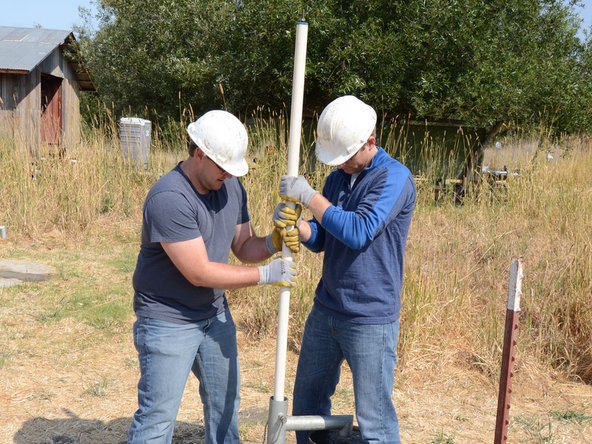
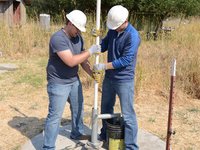
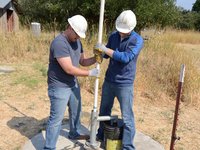
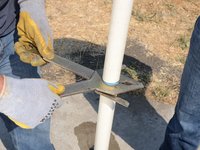
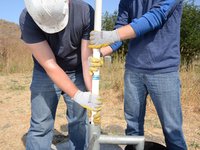
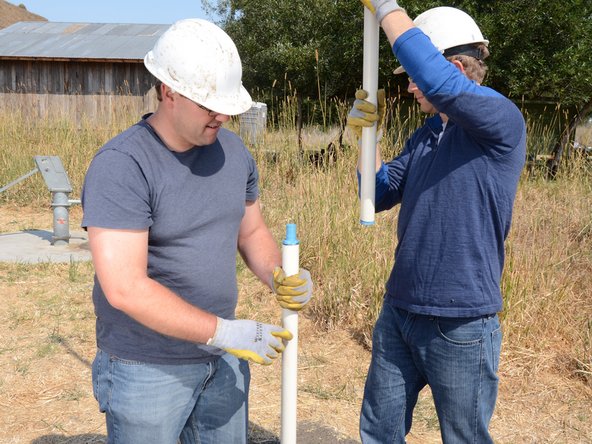
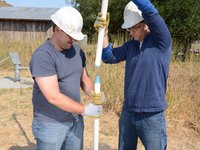
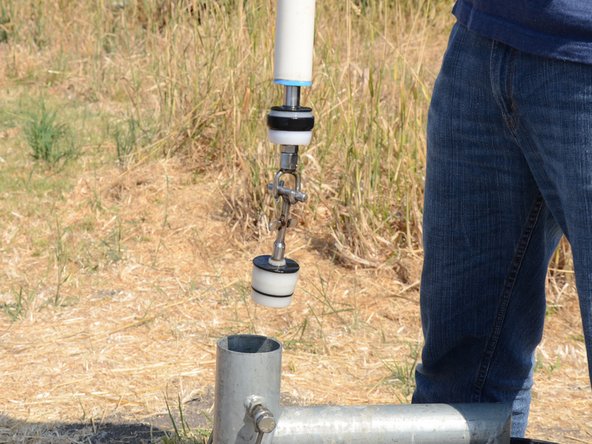
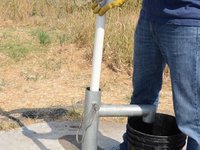
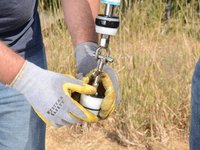
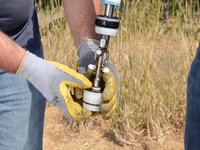
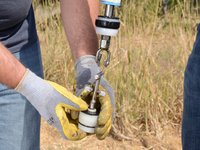
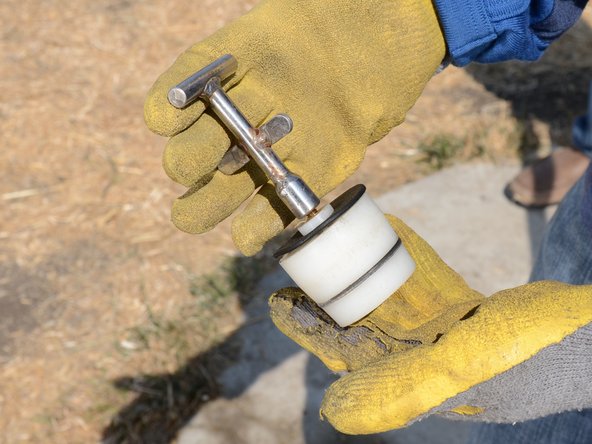
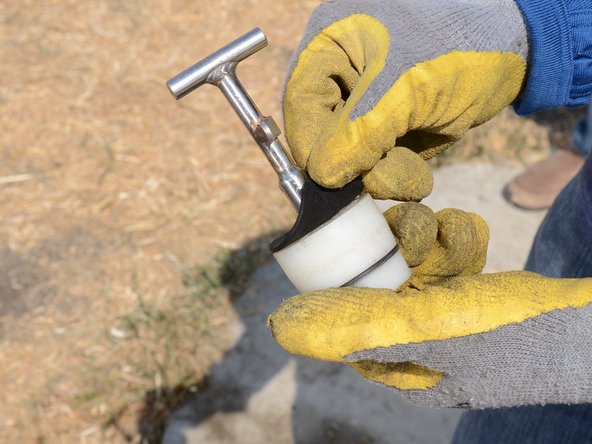
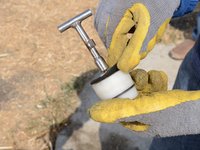
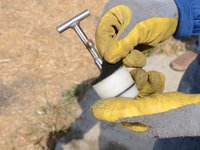
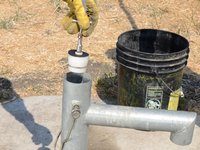
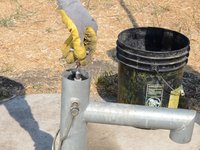
Follow this guide to access the foot valve of a Tara pump. You can then replace or repair the valve, as needed.
O que você precisa


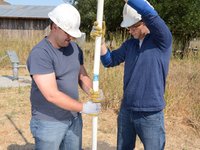


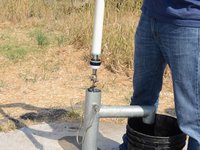


Quase terminado!
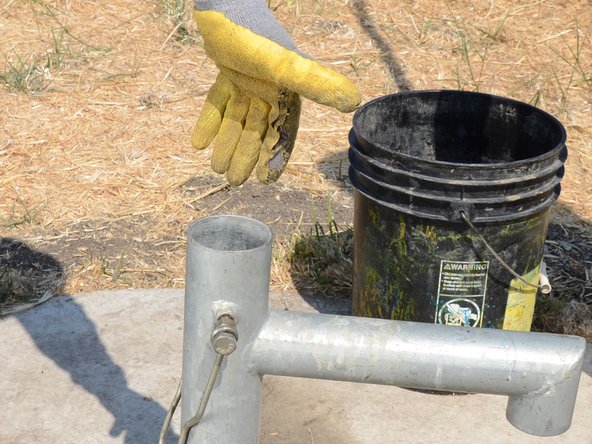
To reassemble your device, follow these instructions in reverse order.
Conclusão
To reassemble your device, follow these instructions in reverse order.

