Introdução
My own TP-Link HS110 malfunctioned right after the warranty expired. (within a week…) So I decided to fix it myself. I was able to find a way to disassemble it non-destructively, but I wasn’t able to fix it yet.
It keeps turning itself on and off, showing it is not connected to the Wi-Fi. Pressing any button on it won’t fix it. If you happen to be a competent human being, I would love to get some guidance about fixing the internals.
O que você precisa
-
-
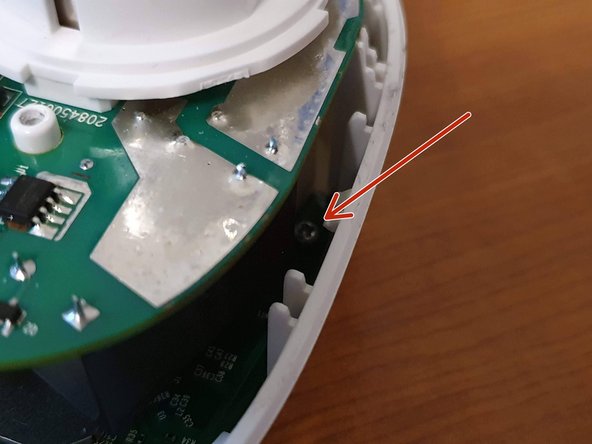
There is 1 screw that holds the cover plate in place. In order to open the housing you have to remove that screw.
-
The screw is hiding under the sticker. You can try to remove the whole sticker. I just scratched through with the spudger to expose the screw. (This voids your warranty!)
-
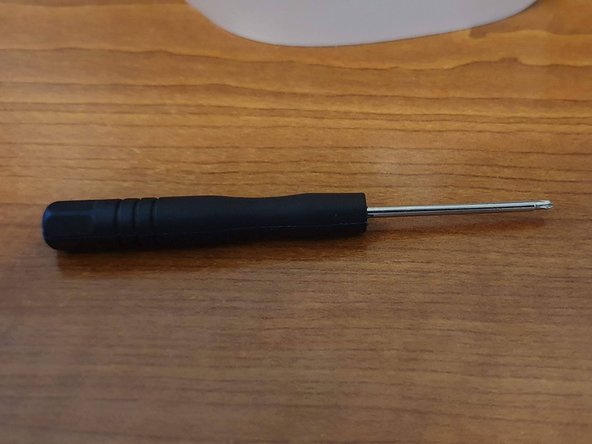
Remove the screw. I used a PH0 screw bit.
-
-
-
-
To remove the cover plate I used the metal spudger.
-
Start on the bottom of the plate. There is a little gap right above the Reset Connection button. The spudger fits perfectly in that little gap and you can pop the first clamps out by stretching it.
-
I think this was the key for the whole process.
-
After that, just go around with the spudger and pop all the clamps out one by one.
-


To reassemble your device, follow these instructions in reverse order.
Cancelar: não concluí este guia.
2 outras pessoas executaram este guia.

2Comentários do guia
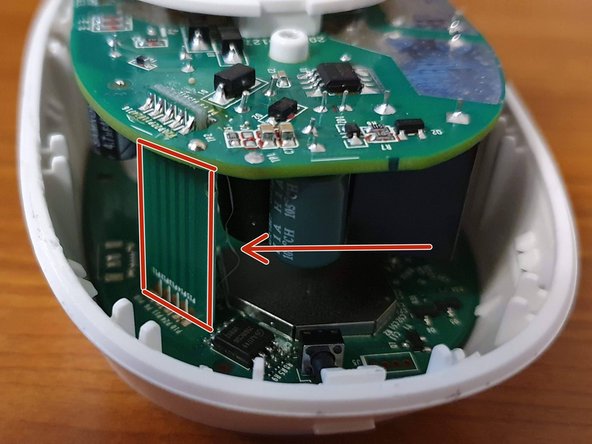
To repair the device, you must replace the capacitor C4 = 470 mf 16V that you see on the back of the the red arrow on step 5.
If you check, it have a bulge on the top, on my device happened the same, now it works.
Hello, I also have a problem with this equipment. Unlike you, I have a good WIFI connection and it doesn't switch off unexpectedly. However, when I press the switch or turn it off via the app, the power still flows. I think it could be the relay but I'm not sure. Do you think this could be the cause? How can I test it? Thanks