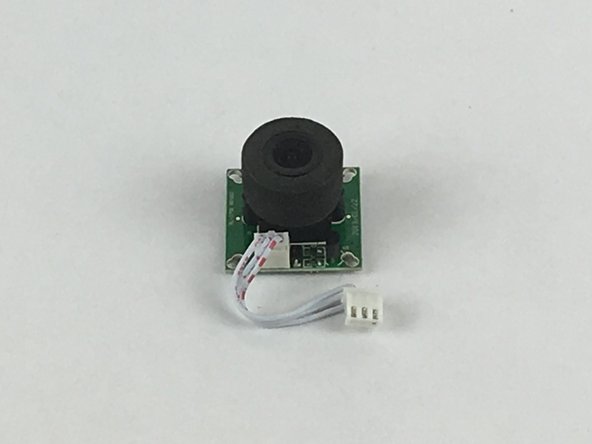
Ir para o conteúdo principal

Swann Doorphone Video Intercom Doorbell Replacement

O que você precisa

  1. Swann Doorphone Video Intercom Doorbell Replacement, Camera: passo 1, imagem 1 %32 Swann Doorphone Video Intercom Doorbell Replacement, Camera: passo 1, imagem 2 %32 Swann Doorphone Video Intercom Doorbell Replacement, Camera: passo 1, imagem 3 %32
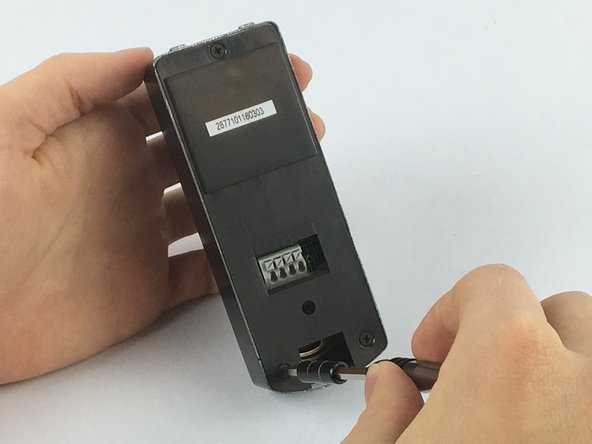
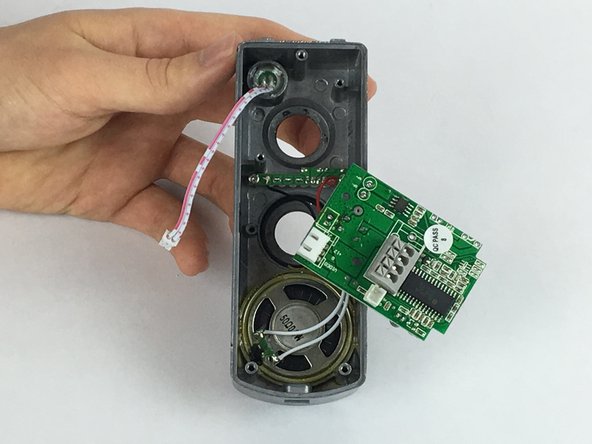
    • Flip the outdoor camera over so that the underside is facing up.

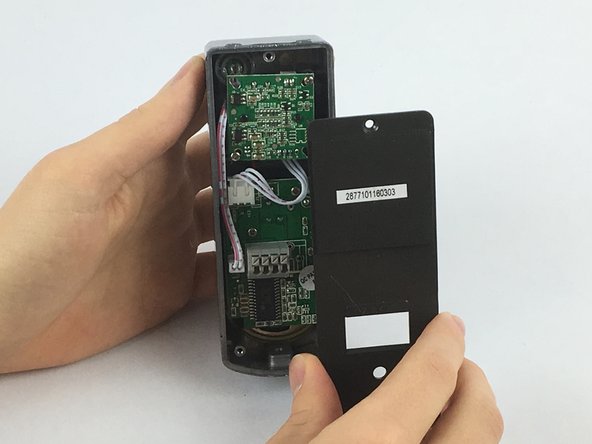
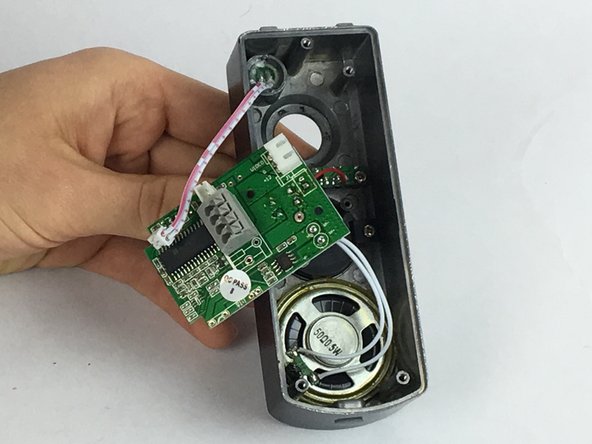
    • Remove the back cover by grabbing the sides of the camera and pulling towards your body.

  2. Swann Doorphone Video Intercom Doorbell Replacement: passo 2, imagem 1 %32 Swann Doorphone Video Intercom Doorbell Replacement: passo 2, imagem 2 %32
    • With the back cover of the outdoor camera off, press the first gray button, with blue wire underneath, down as shown in the picture.

    • While pressing the gray square button, remove the blue wire from the first opening under the button.

    • Be sure to remove the same color wire for the outdoor camera as was used for the indoor video intercom.

  3. Swann Doorphone Video Intercom Doorbell Replacement: passo 3, imagem 1 %32 Swann Doorphone Video Intercom Doorbell Replacement: passo 3, imagem 2 %32 Swann Doorphone Video Intercom Doorbell Replacement: passo 3, imagem 3 %32
    • Remove the other wires using the same steps as the blue wire.

    • Using the JIS #0 screwdriver, remove the 2mm screws from the back plate.

    • Remove the back plate by pulling the plate away from the device.

  4. Swann Doorphone Video Intercom Doorbell Replacement: passo 4, imagem 1 %32 Swann Doorphone Video Intercom Doorbell Replacement: passo 4, imagem 2 %32
    • Using the JIS #0 screwdriver, remove the 1mm screws from behind the camera.

  5. Swann Doorphone Video Intercom Doorbell Replacement: passo 5, imagem 1 %32 Swann Doorphone Video Intercom Doorbell Replacement: passo 5, imagem 2 %32
    • Using one of the tweezers from the Precision Tweezers Set, gently place them around the wire connector attached to the camera.

    • Pull slowly in the direction of the cables until the connector is no longer attached.

  6. Swann Doorphone Video Intercom Doorbell Replacement: passo 6, imagem 1 %32 Swann Doorphone Video Intercom Doorbell Replacement: passo 6, imagem 2 %32
    • Remove the camera from the device.

  7. Swann Doorphone Video Intercom Doorbell Replacement, Doorbell: passo 7, imagem 1 %32 Swann Doorphone Video Intercom Doorbell Replacement, Doorbell: passo 7, imagem 2 %32 Swann Doorphone Video Intercom Doorbell Replacement, Doorbell: passo 7, imagem 3 %32
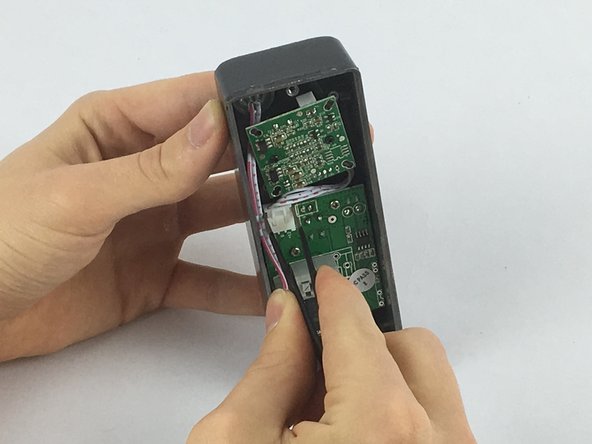
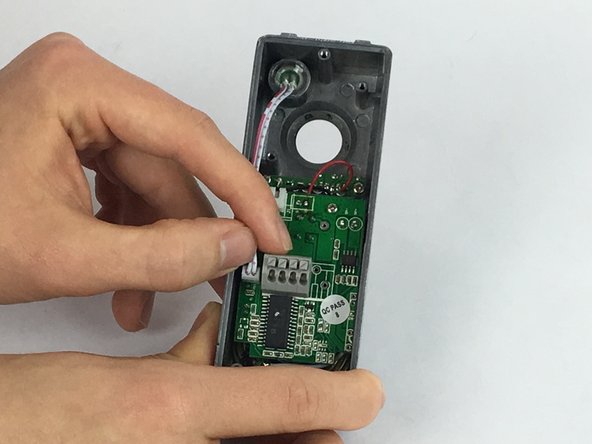
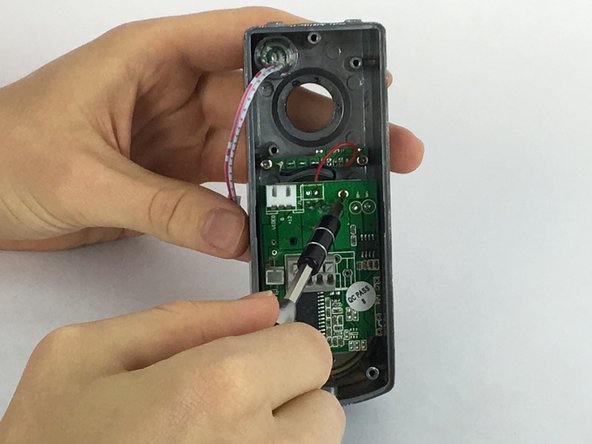
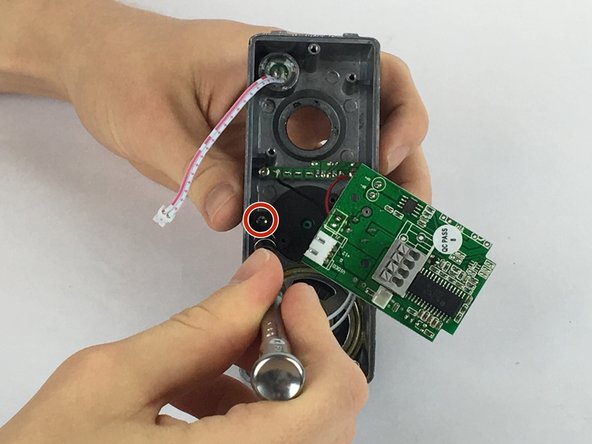
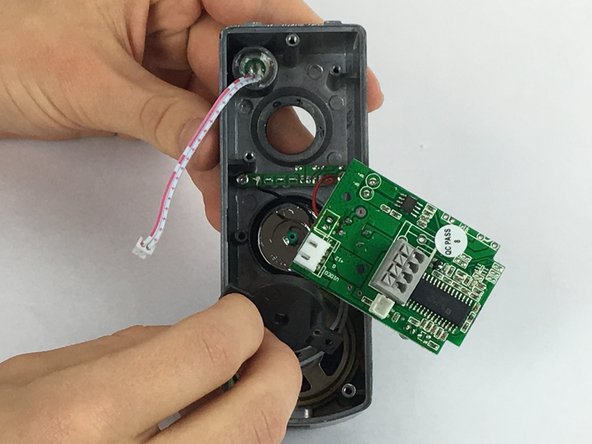
    • Using your fingers, take hold of the wire connector attached to the main board

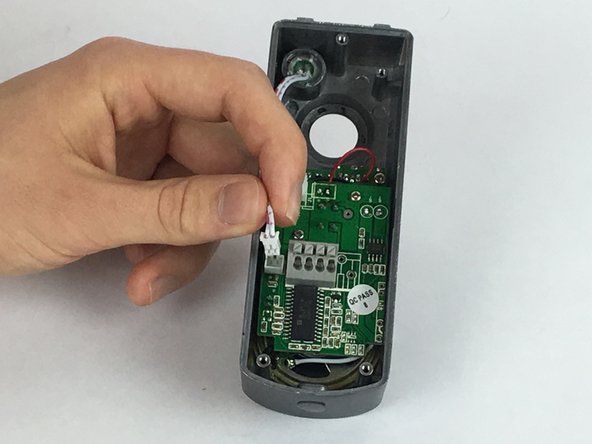
    • Pull slowly towards your body until the connector is no longer attached.

  8. Swann Doorphone Video Intercom Doorbell Replacement: passo 8, imagem 1 %32 Swann Doorphone Video Intercom Doorbell Replacement: passo 8, imagem 2 %32 Swann Doorphone Video Intercom Doorbell Replacement: passo 8, imagem 3 %32
    • Using the JIS #0 screwdriver, remove the 2 mm screws diagonal from each other from the main board.

  9. Swann Doorphone Video Intercom Doorbell Replacement: passo 9, imagem 1 %32 Swann Doorphone Video Intercom Doorbell Replacement: passo 9, imagem 2 %32
    • Gently pull the main board away from the inside of the device and leave to the side.

    • The main board will still be attached to the device by a remaining set of wires, but do not need to be removed.

  10. Swann Doorphone Video Intercom Doorbell Replacement: passo 10, imagem 1 %32 Swann Doorphone Video Intercom Doorbell Replacement: passo 10, imagem 2 %32 Swann Doorphone Video Intercom Doorbell Replacement: passo 10, imagem 3 %32
    • Using the JIS #0 screwdriver, remove the 1mm screws from each side of the doorbell spring-loaded cover-plate

    • While removing the second screw, hold down the cover-plate with your index finger to prevent the plate from springing out.

  11. Swann Doorphone Video Intercom Doorbell Replacement: passo 11, imagem 1 %32 Swann Doorphone Video Intercom Doorbell Replacement: passo 11, imagem 2 %32 Swann Doorphone Video Intercom Doorbell Replacement: passo 11, imagem 3 %32
    • Remove the black circular doorbell cover-plate.

    • Remove the metal circular doorbell button.

Conclusão

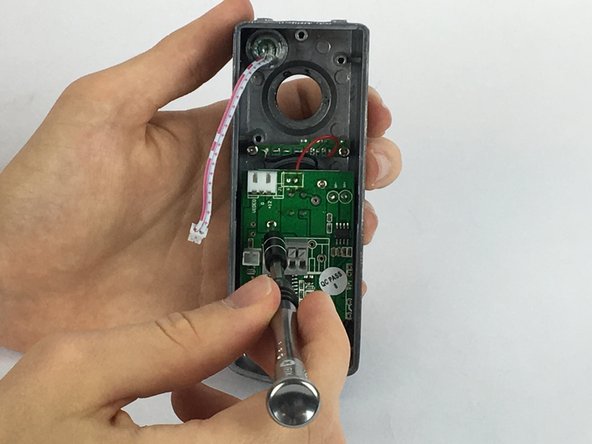
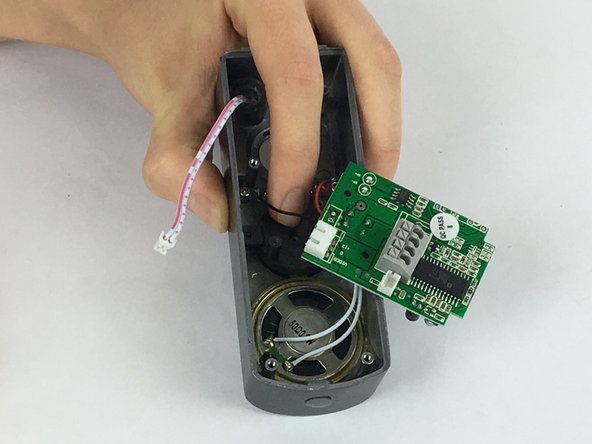
To reassemble your device, follow these instructions in reverse order.

Uma outra pessoa concluiu este guia.

Joseph Kelemen

Membro desde: 02/14/18

227 Reputação

Autoria de 1 guia

Equipe

USF Tampa, Team S2-G4, Eyestone Spring 2018 Membro de USF Tampa, Team S2-G4, Eyestone Spring 2018

USFT-EYESTONE-S18S2G4

Membros da 4

Autoria de 5 guias

Um comentário

Thanks for posting. It is great to find new sources of doorbell replacement information.

Jeselle Arce - Responder

Adicione um comentário

Exibir estatísticas:

Últimas 24 horas: 1

Últimos 7 dias: 3

Últimos 30 dias: 7

Duração total: 1,097