Introdução
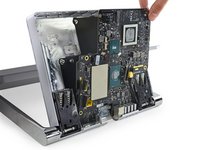
This guide shows you how to replace the motherboard in the Surface Studio
O que você precisa
-
-
Lay the Surface face down on a padded surface
-
Remove the four rubber feet at each corner concealing the Torx screws
-
Remove the four Torx screws under the rubber feet.
-
Two screws on the upper corners are longer than two screws on the lower corners.
-
Attach suction cups to the bottom cover and then pull on the suction cups to free the bottom cover.
-
-
-
-
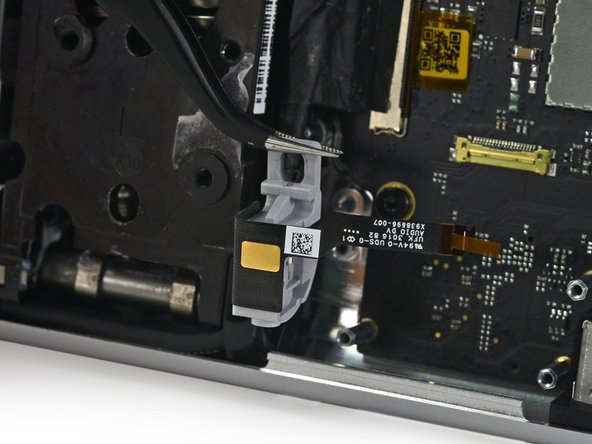
Lift the black plastic flap attached to the data cable retainer and rotate it away from motherboard.
-
Pull the data cable out of its socket.
-
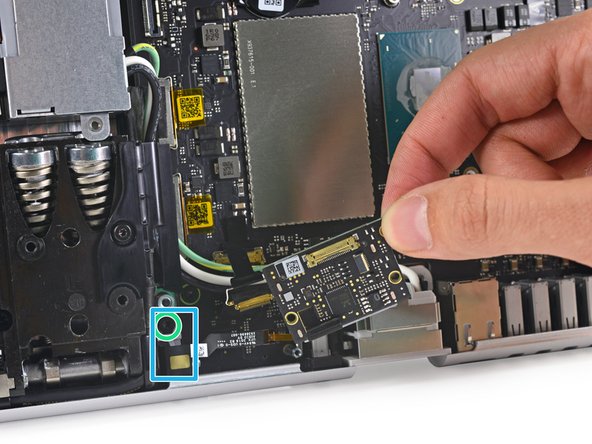
Disconnect the data cable connecting the headphone jack to the SD card slot modular board
-
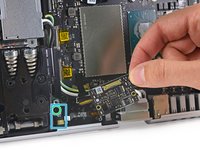
Remove three torx screws holding the SD card slot modular board
-
Remove the SD card slot modular board
-
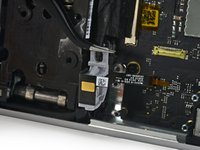
Remove a torx screw holding the headphone jack
-
Remove the headphone jack
-


To reassemble your device, follow these instructions in reverse order.
To reassemble your device, follow these instructions in reverse order.
Cancelar: não concluí este guia.
7 outras pessoas executaram este guia.
3 comentários
I would like to find a new motherboard too… 32gb ram though.